


Creating & Modifying Picklists
Workbooks includes many fields that use a dropdown or picklist of options for the User to select from. The picklists supplied by Workbooks can be modified (with some restrictions in some situations) and in addition, you can create your own Picklists to use with any Custom Fields you create. The same picklist can be used for more than one field so you might be able to reuse an existing picklist.
Creating a new Picklist
To create a new Picklist click Start > Configuration > Customisation > Picklists> New Picklist.
When creating your Picklist, consider the following:
- Name – choose a name that gives an indication of what the contents relate to. The name will not be visible to Users but is used when creating a Custom Field to indicate which Picklist to use.
- Description – add a description to help further identify what the Picklist is used for. You might, for example, want to include information here on which Custom Fields use this Picklist, which could be helpful if you decide to amend the values in the Picklist as you’ll have reminder about which fields use this Picklist.
- Unrestricted – if you want Users to be able to type in their own choice of data rather than having to use an option from the Picklist, put a tick in this checkbox. If you want to limit the Users to only the options offered in the Picklist, leave this checkbox empty. NOTE: If you want to use the Picklist with a MultiSelect field do not allow unrestricted entries.
- Alphabetic Sort – If this setting is on, then the Picklist values will be sorted Alphabetically. Turning the setting off allows you to change the order of the values.
- Translate Entries – Enable this setting to show Picklist values differently depending on the user’s language if you have the Multi Language extension. Disabling the setting will hide the ‘Display Value’ field on the Picklist entry.
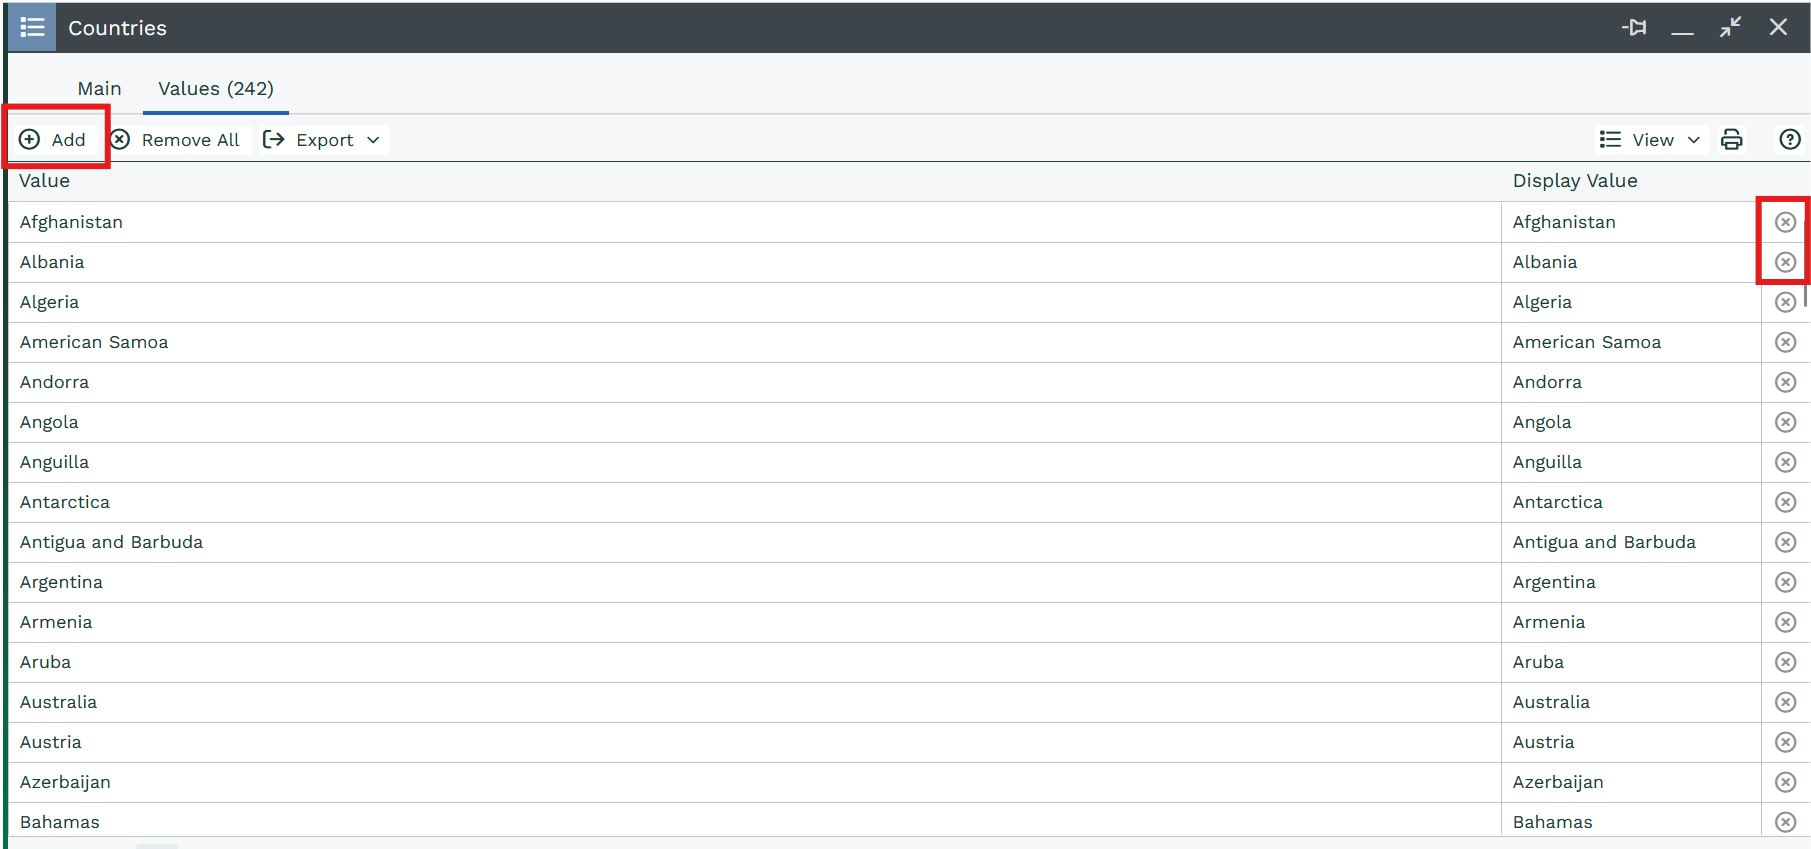
Click the Add button to start adding values to your Picklist. You can control the order in which the Picklist options are displayed using the values next to Position. Your Picklist values will be shown here in the order in which they’ll appear when a User opens the Picklist on a record.
You can remove values from a Picklist using the Delete button on the right-hand side.
When you’ve made all the changes you require, click Save & Close.
NOTE: It is not possible to add multiple picklist entries of the same value.
Modifying an Existing Picklist
To modify the selections available in an existing Picklist, simply click on the name of the Picklist and either click Add to create more options or use the Delete button at the end of each row to remove existing ones. You can also amend the Display Values of existing picklist entries, and amend the name of the Picklist itself. The original name will still exist in the field ‘Internal name’.
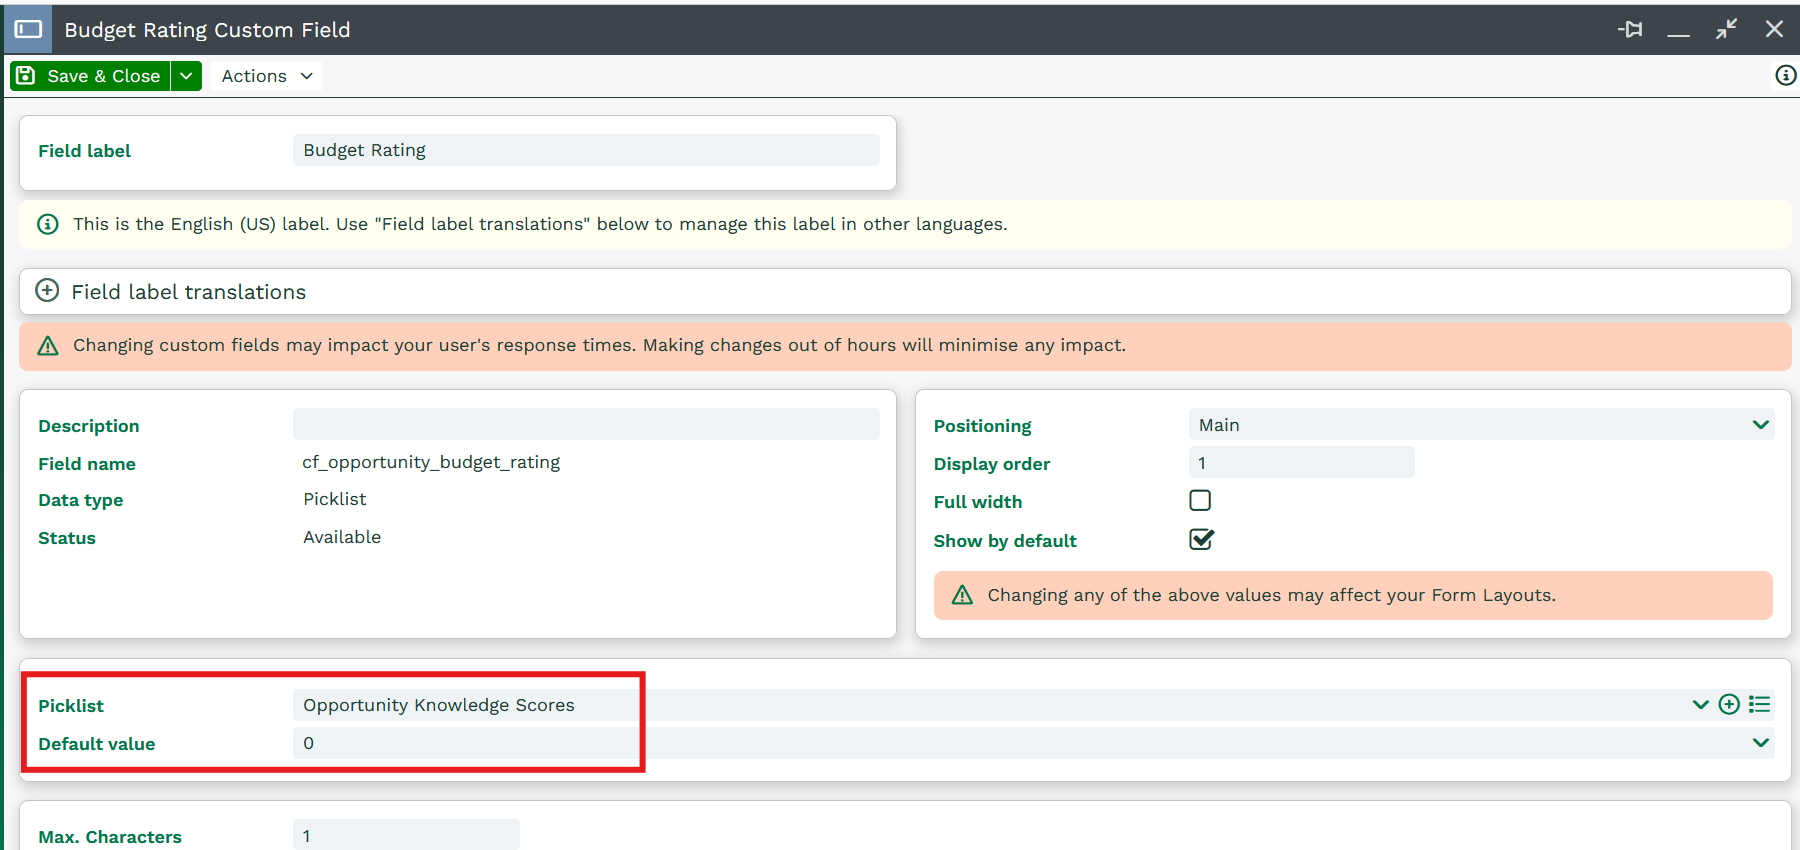
If you’re not sure which Picklist is being used by a particular field – for example, if you’ve got a Picklist field on, say, an Opportunity record, called ‘Budget Rating’, navigate to the fields on an Opportunity (Start > Configuration > Customisation > Record Type > Opportunities) and look for the Field Label on either the Fields tab or the Line Items Fields tab. Open the field and you will see the name of the picklist about half-way down the screen. Click on the symbol on the far right to open the Picklist.
Note
While you can modify the contents of some system generated Picklist by deleting or adding values, some others (such as Activity Statues_ contain values that contain values that cannot be deleted. You cannot alter which Picklist standard system fields utilise. However, if you have the the 'Translate Entries' setting turned on for the Picklist, you can change their Display Value.
Status Picklist
The values on existing picklists that are used to describe the status of a record can be linked to an Associated Record State of either ‘Open’ or ‘Closed’. This enables you to allocate a value to a record that controls whether or not the record then appears in Open or Closed views, as well as making reporting on All Open or All Closed records much easier.
Activity Statuses, Campaign Statuses and Case Statuses are all examples of Status Picklists