
Customer Forum
Event Portal - Setting up the Event Portal
| Posted: 2017-11-22 16:51 |
|
We provide a basic 'Event Portal' in our Script Library. This forum post will cover how to set up the required processes and configuration. For more information on what the Event Portal does, see here.
Run the PluginWe have built a plugin that will do a lot of the set up for you, including creating fields and setting up Web Processes. To run the plugin, go to Start > Configuration > Automation > Plugins and click on Add Plugin. Pick 'Event Portal' from the dropdown, then click Install. You will get a form like below:
Fill in the form as follows:
Once you have filled in the form, click on the 'Submit' button. The plugin will now set up the following fields (for more information about how these fields are used, see Event Portal - Creating a new Event): Marketing Campaigns
Campaign Memberships
People
The plugin will also create 2 Web Processes: Event PortalThis is the main Web Process used to control the Portal that people can use to sign up for upcoming Events, or download recordings, white papers etc from previous Events. The plugin will fill in the Parameters on the process for you, using default values and the information you filled out in the plugin form. You can later edit these parameters to customise the portal. Event Check InThis is the Portal that you can use on the day of an event to check people in as they turn up, or register new people that attend but had not signed up. The plugin will fill in most of the parameters for you, but there is one that still needs to be filled in manually:
Create a reportGo to Start > New > Report >Create a report from a template report and choose the template called 'Template - Event Registration Portal'. Name the report 'API - Event Portal' and ensure you add a column called 'Claimed Employer' (Members > Person > Claimed Employer). Save and run this report, then click on the 'i' button in the top right, and copy the Id. Open the 'Event Check In' Web Process and navigate to the Parameters tab. Open the 'report_id' parameter and paste in the Id.
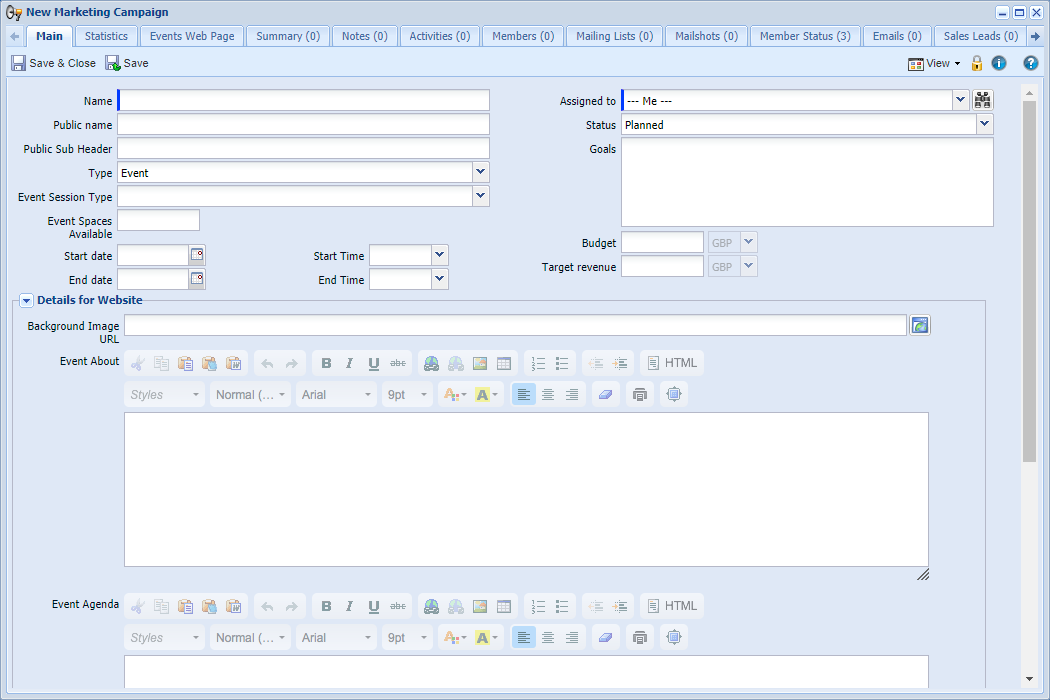
Amend your Form LayoutsYou need to amend your Form Layouts to cater for the new fields. We would advise that you create a new Campaign Record Template and Form Layout specifically for Events (Campaign Type = Event). Ensure that your Form Layout includes all of the new Marketing Campaign fields mentioned above, as well as:
Don't forget to move the 'Event Portal Page' and 'Event Check In Page' tabs.
Set up the 'Create Membership Statuses' button processOn the Automation tab of your new Event Form Layout, click New Process Button. On the new Process Button, set the following fields:
Save, and then navigate to the Parameters tab. You will see one Parameter called 'additional_statuses'. This can be left blank if you are happy with the default statuses that the process will create. These are:
If there are any other statuses that you want to have for each Event you run, you can add them to this parameter. Add a new line between each status you add, e.g.
You can then Save and Close the new Process and your Form Layout.
Customise the PortalsYou can start to use the Event Portals as they are, or customise them more. For more information about how to edit the parameters of the Web Processes to customise the Portals, see Event Portal - Customising the Portal. |
- Log in to post comments


