
Customer Forum
Setting up an Import Template for use with an SFTP/FTP Server
| Posted: 2019-01-17 17:50 |
|
Import Templates are required for creating automated Import jobs with the SFTP/FTP process available on our Script Library. Please see here for more information on how to use this functionality. Before you begin, you will need an example CSV file with the column headers and at least 1 row of data that can be used to test the Import Template has the desired behaviour. Once you have a sample test file, you can create a new Import.
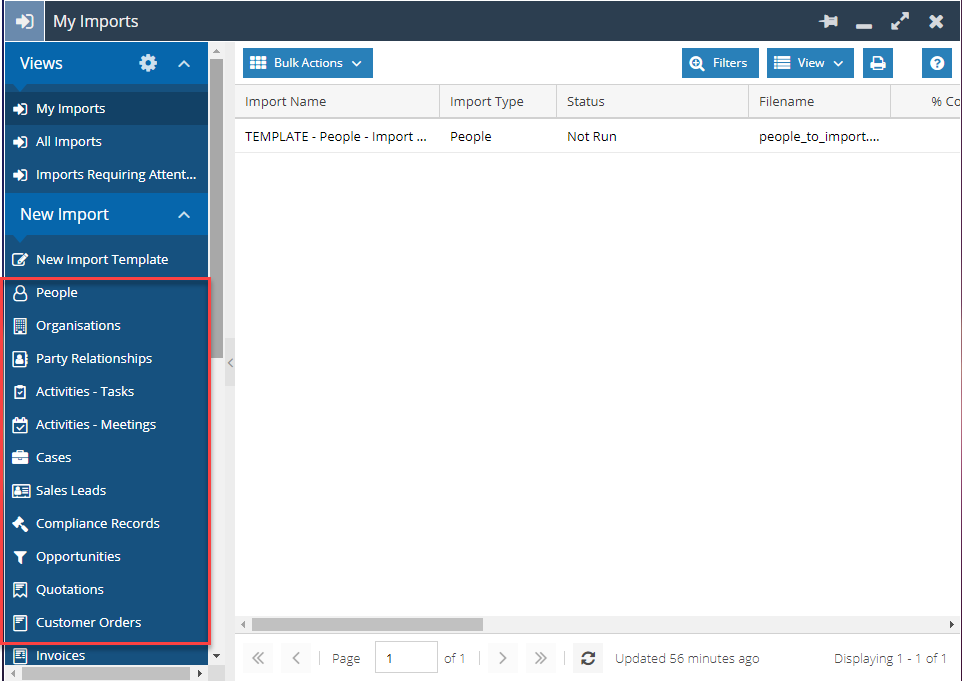
A Workbooks Import is used to define the field mappings that will be used to update existing records or create new ones if they don’t exist when a new file is made available on your SFTP/FTP server. Once an Import is created, it will be selected in the SFTP/FTP Settings Plugin to allow any processes you setup to use that Import as a Template. Click Start > Import. Select the Record Type you wish to Import on the left-hand menu:
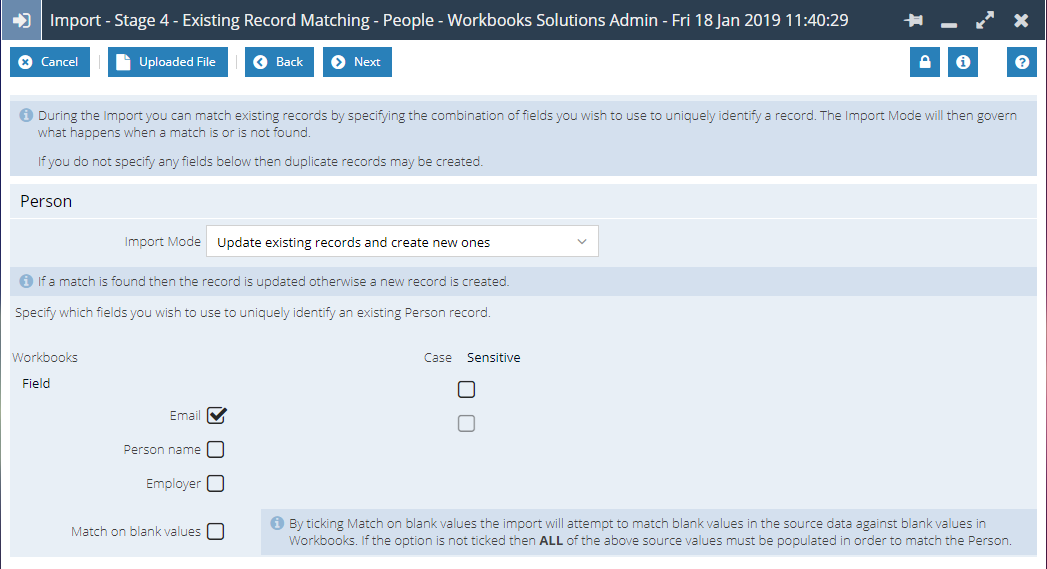
On the final screen, DO NOT click "Run" like you would with a manual Import. This Import is now our "Template" which can be re-used by our SFTP/FTP Process. Simply close this screen now.
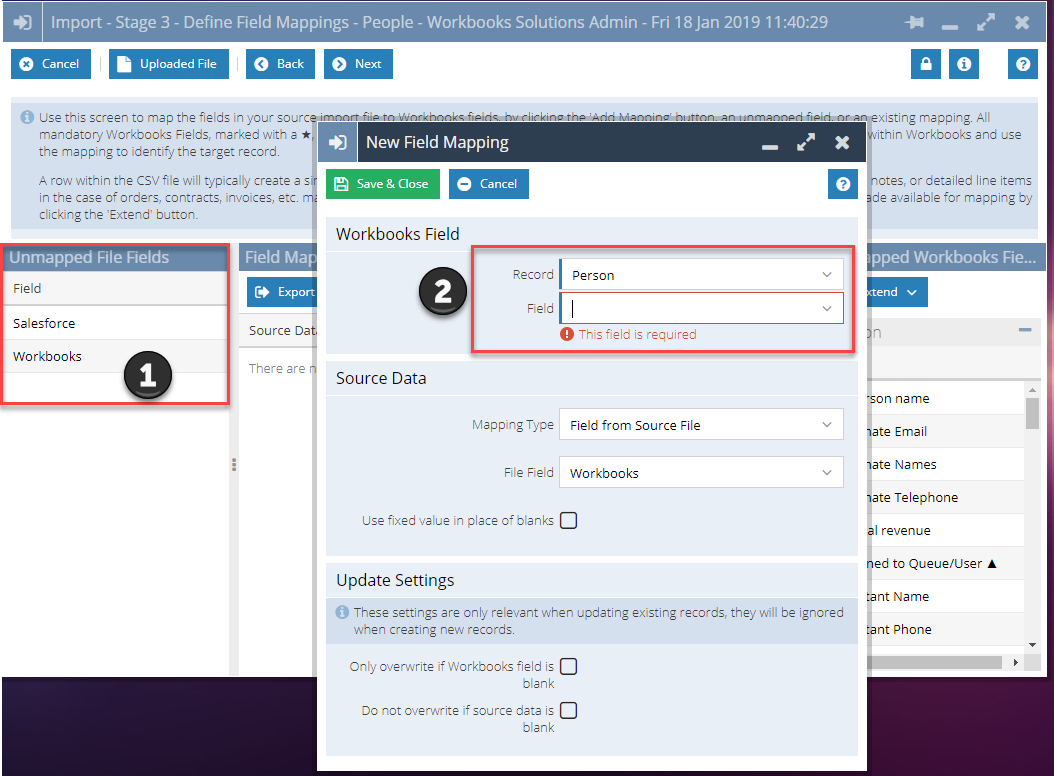
The key thing to remember is that this Import will be used as a template for the automated imports, so you should map each field as though it was a manual Import. For instance, you can use fixed mappings, concatenate fields and extend through to other records as required. When the SFTP/FTP Process runs and finds a file on your server to process, a new Import is created, using the mappings from the Template you just created. If you need to change the mappings at any point i.e. a new column has been added to your file, you will need to repeat this process to create a new Import. From here, navigate to the SFTP/FTP Settings window under Start > Configuration > Email & Integration. Select your existing process and change the “Import Template Name” setting to the new Import. See our Knowledge Base here for more information on how to use the Import Tool. |
- Log in to post comments