
Customer Forum
Using Workbooks to send and track Survey responses from Survey Monkey
| Posted: 2017-03-13 11:44 |
What does this forum post cover?This forum post describes how we have automated the sending of SurveyMonkey surveys to customers after a Case has been closed. Due to the fact that each requirement will be different, you will need to contact support@workbooks.com to discuss your specific requirements and obtain an estimate. For a cut-down version which requires a manual sending of surveys, please see our Zapier Template ‘Create survey responses from SurveyMonkey as Tasks in Workbooks CRM’.
Why should I do this?Surveys are a really important part of knowing how your customers feel about the service they have received. Ideally, we would all like to think that we are providing the best service possible, however in reality, this doesn’t always happen. Sending a survey will allow you to know where the strengths and weaknesses are, allowing your business to make informed decisions to improve the service provided. It’s up to you what questions you ask, and what you do with the data collected, but having this information will allow you to know:
Based on the above, at the very least you’ll be able to identify if any staff training or product improvements are required, and which customers or industries are least satisfied. It will also give you the opportunity to proactively follow-up any feedback, and resolve any outstanding issues before they potentially become a much bigger problem. Using reporting in Workbooks, you can easily track the responses over a period of time, which will allow you to assess how these metrics have changed based on improvements or changes in business process.
How does it work?PrerequisitesIn order for this to work, you will need to have a:
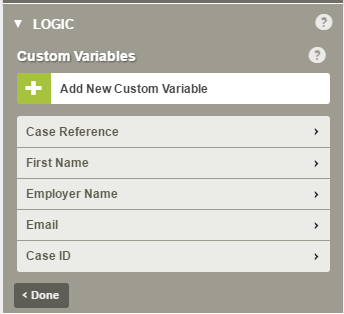
DetailsStep 1: Create the SurveyThe Survey has been generated using SurveyMonkey and includes questions about the level of service received, including the NPS question of ‘How likely is it that you would recommend the Workbooks solution to a friend or colleague?’. We’ve added in Custom Variables so that after submission we can track:
These are included within the survey link that is sent to customers, meaning that we do not need to include fields to ask who is submitting the survey, and removes the risk of someone entering their details incorrectly by mistake. The survey responses will therefore always be linked to the correct Person record and Case record in Workbooks.
Step 2: Decide who you want to send the survey toWe’ve built a report to decide who the survey should be sent to, which is then used by a process to send out the email using a specified Email Template. We added some custom fields to the various records so that we could narrow down when a customer receives a survey. Therefore, we created custom fields for:
We then created a report with the following criteria:
The automated process then sends the survey out using an Email Template, only processing one report row at a time, and populates the Last Survey Request field. This means that if the same person appears on the report multiple times, they would only receive a survey request once, as once the ‘Last Survey Request’ field has been updated the first time, they no longer fit the criteria of the report and so will not get picked up a second time.
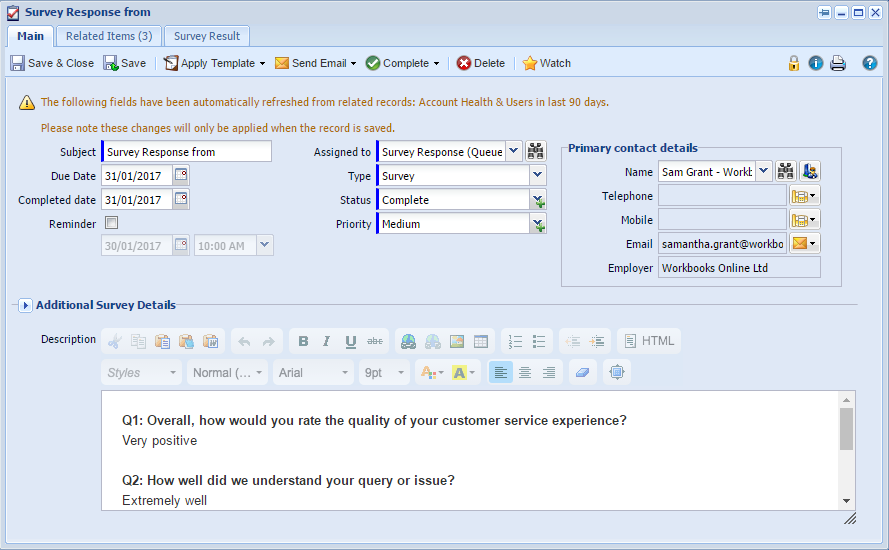
Step 3: Bring responses back into WorkbooksAfter a survey has been submitted, we use Zapier to push the response back into Workbooks as an Activity. The automated process relates the Activity to the Person, Organisation and Case (using the data from the Custom Variables), and assigns it to a Survey Response queue. This means that anyone who is a member of that queue will receive a notification for any survey responses immediately, and can decide whether further action is required.
As you can see, the responses to the survey are stored in the description field, and the Primary Contact is set to the person who left the response. Within the Additional Survey Details reveal, we also store the NPS score, and a link to the full survey results within Survey Monkey.
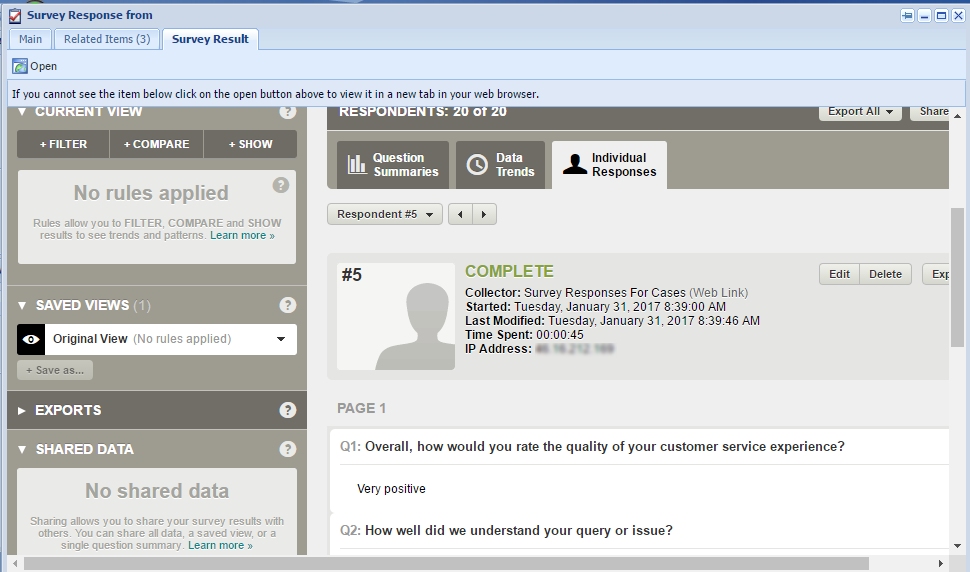
If we don't want to open a new window to view the results, we can also view them using the Survey Result tab.
This is an iFrame displayed as a tab which opens the URL that is displayed within the Full Survey Results field above by referencing that field name i.e. @cf_task_full_survey_result_@. The URL is populated automatically via the process when the Activity is created.
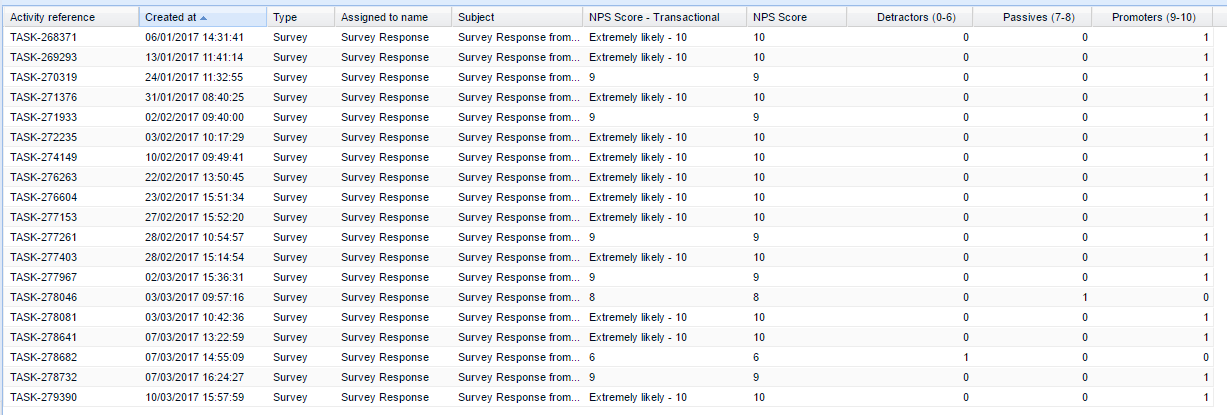
Step 4: Report on the results We use additional reports to monitor how many surveys have been submitted and to see how well we are doing. These include:
This report lists down all Survey Responses, who left the response and the score they left. It allows us to see which customers may need to be followed up at a glance.
This report is a Summary View based on the above report. It contains calculated columns to work out the NPS score using the same calculations that SurveyMonkey use. We monitor progress on a Quarterly basis to monitor the trend, but you could amend the criteria to be monthly, annually or just calculate the overall score.
Additional reports can be used to determine feedback for each team member, or each Product area. We can discuss what reports you would like when discussing your requirements. |


- Log in to post comments