


Survey Monkey responses to Tasks
Use this Zap to keep track of who is responding to your surveys and report on the results within Workbooks
What is SurveyMonkey?
SurveyMonkey lets you send surveys to your customers and gather their feedback. It comes with ready-made templates and example questions to help you build your survey quickly.
Once responses start coming in, SurveyMonkey collects everything in one place so you can review answers, track who’s responded, and build reports to spot trends.
What does this Zap do?
This Zap uses the respondent’s email address to find a matching Person record in Workbooks. If no match is found, it creates a new Person for you.
It then creates an Activity against that Person, storing the details of their survey response so you’ve got everything logged in Workbooks.
Setting up the Zap
A Zap Template called ‘Create survey responses from SurveyMonkey as Tasks in Workbooks CRM’ can be used to speed up the process of setting this up.
To find it:
- Select Explore apps from the home page
- Use the search bar to find Workbooks CRM
- Scroll down to launch your first automated workflow
- Search for the template
This template selects the correct Trigger, Search Step and Action for you, and sets up a few field mappings.
You will be taken through the Zap wizard as normal but you will need to tell Zapier which accounts to connect to.
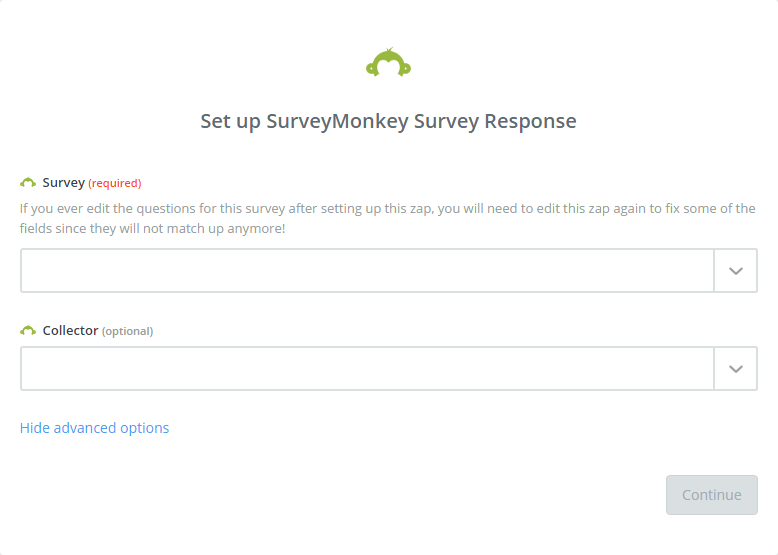
After connecting to your SurveyMonkey account, you need to tell Zapier which Survey you want to collect responses from, and the specific Collector if necessary.
Next, you will then need to connect to your Workbooks Account and tell Zapier how to identify an existing Person, and what information to use when creating a new one. We’d recommend using the email address, as it’s more likely to be unique than a name.

You can then set up the Task. The Person that was found or created in Step 2 will be set as the Primary Contact of the Task, and you can fill in the other field mappings as appropriate to your business. For example, you may want to map all of the Survey Responses into the Description field, or you could create custom fields for each of the questions to make it easier to report on the results.
The Completed Date has been set to ‘today’, which means that the Date will be set to the date that the Zap run, which should be the same as the date the survey was completed.

Using Workbooks to send the Survey requests
To send out the survey using Workbooks, you have a few choices, you could:
- Add the Survey link to all emails being sent, normally added to the signature.
- Use an email template and manually send this for each Case. This relies on your staff to send out requests, although you could report on the number of requests sent to check that this is being done.
- Use an email template and send to a specific set of customers via a Marketing Campaign. You would have to manually send the mailshot, but this would be done in bulk and can be based on a report i.e. send to all customers where the Case was Closed this week/month.
There is also an option to automate this process so that it sends out the survey request automatically after a Case has been closed. It will bring the response back in as an Activity and will relate it to the relevant Case, Person and Organisation records.