The Upload Library can be used to store files or images that can then be added to Emails, Templates or Records.

Accessing the Upload Library
In order to access the Upload Library Users will need the "Modify Upload Library files and groups" Capability. Once they have this users can access the Upload Library from Start > Marketing > Upload Library. Images and files can be separated into different categories to help you better manage your uploaded resources.

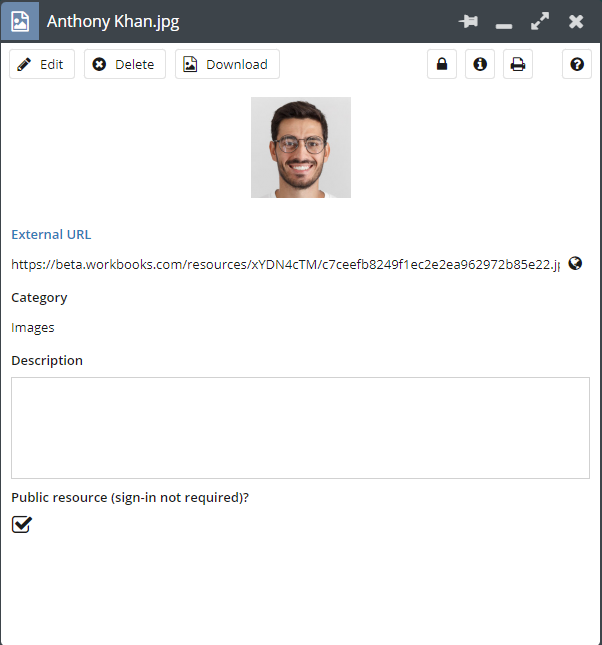
Clicking on a file displays will provide you with more details, including the URL that identifies its location (in read-only format). This URL can be embedded into an email or file which will provide the recipient with a link to the file.
Click Start > Marketing > Upload Library > New Library Item.
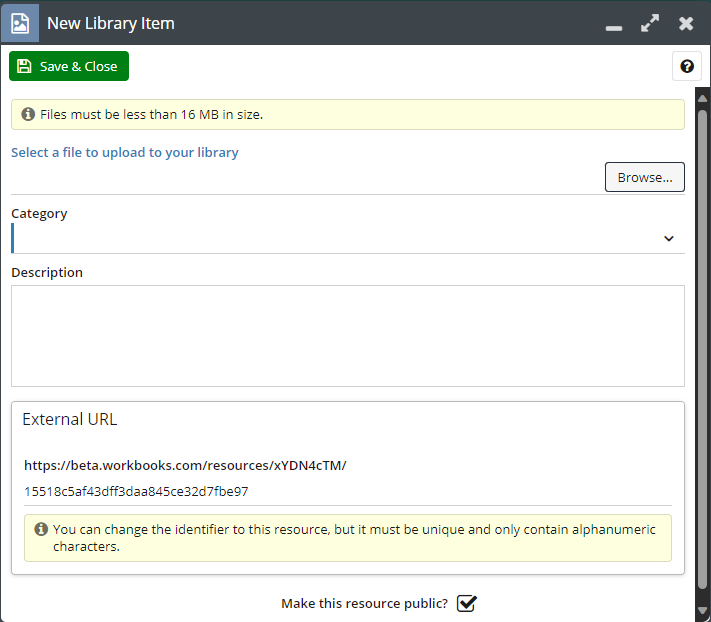
To select the file you wish to upload select Browse, this will open your file manager application and allow you to navigate to the file you want to upload. When you've chosen the file, click Open.
To apply a Category you can use the Picklist to select the Category that you want to apply to this resource. If you enter a description, this will appear under the thumbnail of the file instead of the name.
Workbooks will automatically generate a URL for the file. You can change the latter part of this URL if you want but it must be unique and only contain alphanumeric characters. This URL can be made available for public or private use through the Picklist. Keeping the resource private means that a user needs to log in with Workbooks to access it, whereas a public resource is accessible for anyone if they are provided with the link.
When you've finished click Save & Close.
NOTE: If you delete an asset from the Upload Library, the URL will become invalid, meaning that anyone clicking on it will get an error message saying (something along the lines of) the webpage cannot be found. If you want to update an asset (replacing outdated information with a newer version, for example), you should upload a new file to the existing URL by editing the existing asset, as detailed below.
Once you have created a new Library Item certain aspects can be amended at a later date. This is done by opening the Library Item and then selecting the Edit button.

NOTE: The information message on the screenshot above is to signify that the item was scanned by Workbooks built in AV scanner at the time of upload and no viruses were detected
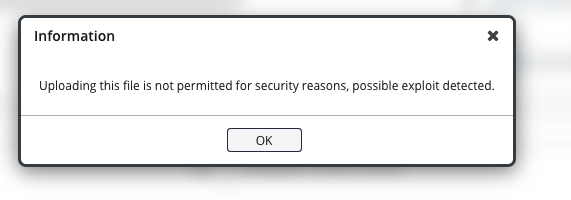
When editing an Item you are able to change any aspect of the Item other than the URL that is used to access the Record. You are also able to download the original file from the Upload Library by using the Download button. If an attempt is made to upload a file containing virus, it will be rejected and the message below shall appear:
Likewise if a file is downloaded from the Upload library(or comments/notes) and if it contains virus the following messages below will appear with information regarding the type of vulnerability/virus(in Workbooks):

For a file detected with virus the browser will display the following message:

From Start > Marketing > Upload Library > Categories you are able to review the number of Library Items within each Category as well as create a New Category if required.
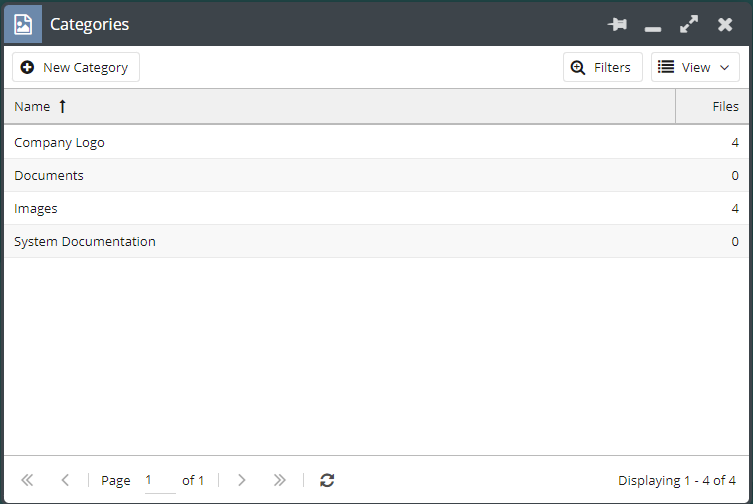
Selecting a Category from this list will drill into all Library Items and only show the Items that have this Category set, from this view you can either upload more Items to this Category or rename the Category if needed.
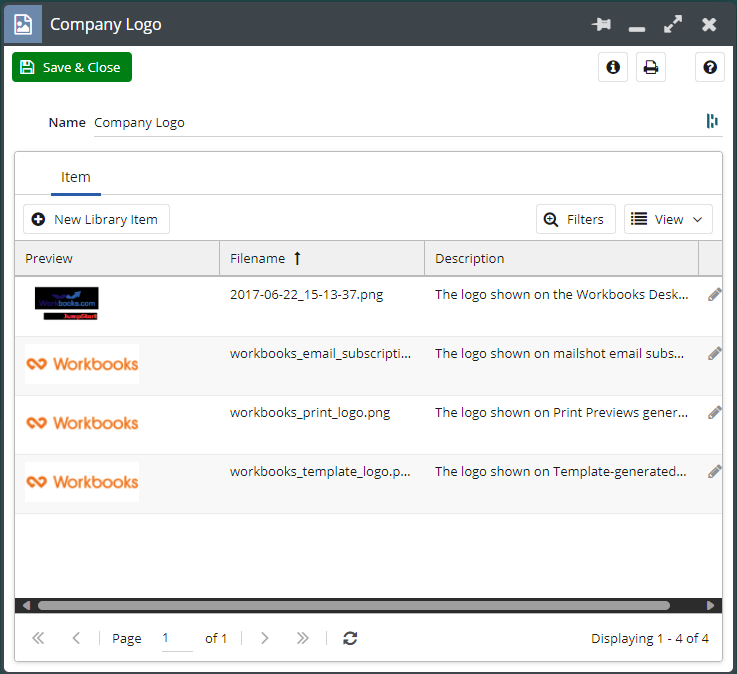
Within the Upload Library are four images in the Company Logo section. These are the images that are used on your Workbooks User Interface, on printed output, on your templates and on the mailshot subscription management page. It's not possible to delete these assets but if you want to replace any of them with your own logo or another image, open the relevant asset by double-clicking on it, click Edit > Choose File and browse to the image you want to upload. Once you've chosen the image, remember to click Save & Close.
The image on your Desktop will be displayed at the same size as the image you've uploaded. The image that appears on your printed output is limited to a maximum width of 180px regardless of the size of the uploaded image.