How to save views, add reports as views, set a default view, share a view and manage saved views.

Remember to click View > Save or Save As to retain any customisation you've applied.
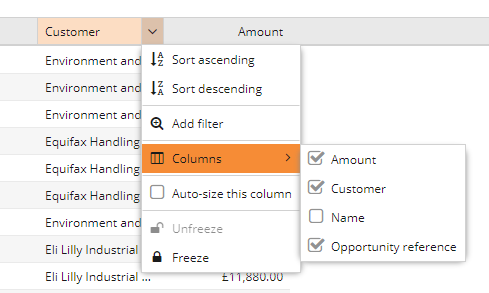
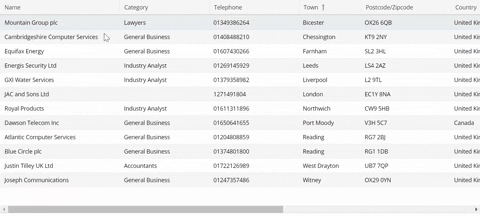
To add a new column to the data displayed, hover over the right-hand side of the header row of one of the columns until you see a down arrow. Click on the arrow and from the menu that appears, choose Columns. A sub-menu will appear listing all the fields it's possible to display for this area of the database. Put a tick in the relevant box(es) for any columns you want to display and remove the tick for any you don't want to see, as shown below:
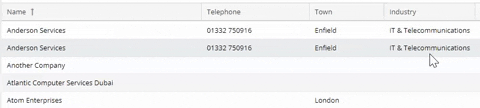
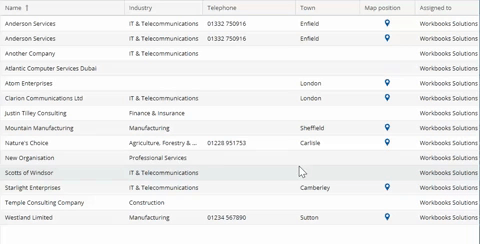
To change the order of the columns displayed click on the header row of the column you want to move and, with the left mouse button held down, drag it to the boundary between the two columns where you want it to appear. When it's where you want it to be, release the left mouse button to drop the column into place. The image below shows the Industry column being moved so that it appears next to the Name column instead of the Town column:
To resize a column click on the boundary line on the right-hand side of the header row and drag it to your desired width. All columns can be resized automatically using the View > Autosize all columns checkbox. If this check box is ticked, you will be unable to adjust the individual columns.
There are three ways to sort columns in grid views:
1. Click on the column header, which will sort the column in ascending order. Clicking the column header again will then sort it in descending order.
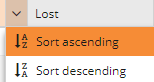
2. Click on the down arrow and choose if you want it in ascending or descending order.
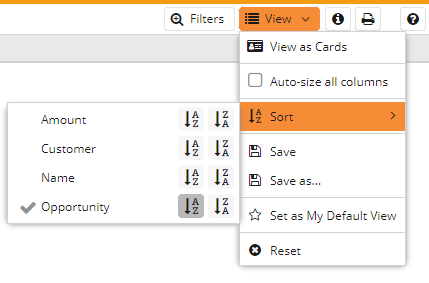
3. Click View > Sort and click on either the ascending or descending option next to the field you want to sort by. This makes it easy to sort by a column that isn't showing in your view.
You can freeze columns to make it easier to review data when scrolling across pages with many columns. To do this click on the down arrow on the column you want to freeze, and click the Freeze option. Repeat this on any additional columns you want to freeze, or drag and drop them into the frozen section. Click on the down arrow and choose Unfreeze to put them back to normal.
It can be useful to group similar types of data together for ease of navigation. To do this hover over the header row of the column you want to group by until you see a down arrow. Click on the arrow and from the menu that appears, choose Group By This Field. Workbooks will automatically group the data in the column for you. Below shows the Organisation Landing Page being grouped by Industry.
To remove grouping, click on the header row of any of the columns and remove the tick from the Show in Groups box.