- Welcome to the Knowledge Base
- Introduction
- Training
- Desktop Environment
- Preferences
- Activities
- Cases
- Forecasts & Quotas
- Importing Data
- Leads
-
Marketing
- Introduction to Marketing
- Marketing Campaigns
- Mailing Lists
- Products
- Mailshots
- Upload Library
- Templates
-
Workbooks Web Insights
- Tracking Code
- Setting up the Plugin
- Viewing Web Insights Data on your Form Layouts
- Domain Names and Online Activities
- Gator Popup
- Reporting incorrect Leads created through Web Insights
- Reporting on Web Insights data
- Using UTM Values
- Why aren’t Online Activities being created in the database?
- Why is GatorLeads recording online activities in a foreign language?
- Using HubSpot with Workbooks
- Event Management
- Compliance Records
- GatorMail Integration
- Opportunities
-
Integrations
- Mapping
- Electronic Signing Tools
- Creditsafe Integration
-
Zapier
- Introduction to Zapier
- Available Triggers and Actions
- Linking your Workbooks Account to Zapier
-
Setting up Zaps
- Posted Invoices to Xero Invoices
- Xero payments to Workbooks Tasks
- New Case to Google Drive folder
- New Case to Basecamp Project
- New Workbooks Case to JIRA Ticket
- Jira Issue to new Case
- 123FormBuilder Form Entry to Case
- Eventbrite Attendee to Sales Lead and Task
- Facebook Ad Leads to Sales Leads
- Wufoo Form Entry to Sales Lead
- Posted Credit Note to Task
- QuickBooks Online
- Survey Monkey responses to Tasks
- Multistep Zaps
-
Email Integrations
- Email Dropbox
- Workbooks Exchange Server Sync
- Workbooks Outlook Connector
-
Event & Webinar Integration Tools
- GoToWebinar
- ON24
- Microsoft Office
- Outreach
- Scribe/Workbooks Connector
- People & Organisations
- Reporting
- Dashboards
- Transaction Documents
- Auditing
-
Configuration
- Introduction to System Administration
- Users & Security
- Database
- Accounting
- Email & Integration
- Customisation
- Automation
- PDF Configuration
- Contact Support
-
Releases & Roadmap
- Roadmap
- December 2020 Release
- September 2020 Release
- April 2020 Release
- January 2020 Release
- September 2019 Release
- February 2019 - Event Management Release
- January 2019 Release
- October 2018 Release
- May 2018 Release
- February 2018 Release
- January 2018 Release
- November 2017 Release
- September 2017 Release
- June 2017 Release
- March 2017 Release
- December 2016 Release
- August 2016 Release
- January 2016 Release
- Workbooks Glossary
Dashboard Views
It is possible to create a number of Views for a Dashboard with a different Filters applied to allow the data to be presented in a number of different ways.
To add a View to a Report you must first go to Start > Dashboards to reach the Dashboard Landing Page and then open the Dashboard. This will then provide you with an Action that allows you to Edit the Dashboard.
Once you are in the editing the Dashboard you will need to navigate to the Views Tab, this will always have at least one View called Default. This View can be edited if needed by using the Pencil Icon. From this Tab you can see which Views are available for Users as well as which View is set to the Default view.
Note: when a view is set to be the default view it cannot be deleted from the Dashboard, only amended.
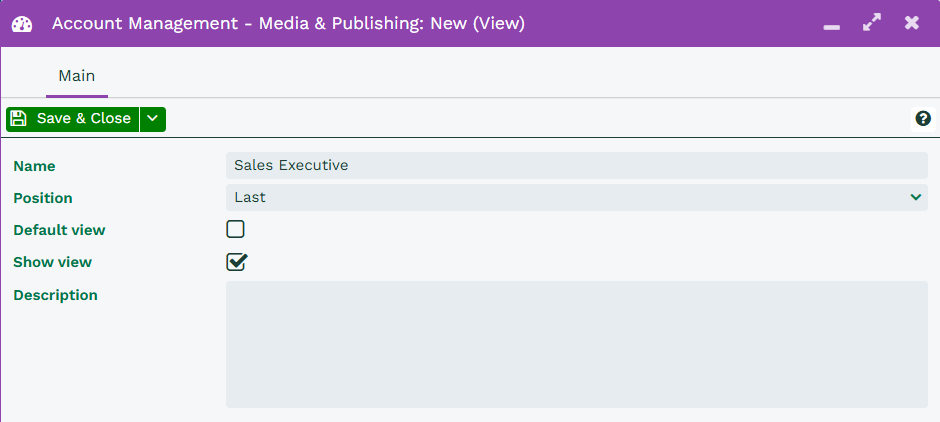
To create a new View select the Add Button, this will create a new dialogue box that allows you to name and position your newly created view.
Once you have named the View you can decide whether you want this View to be set as the Default View for Users and whether this View is shown or not. Additionally a Description can be added to the View to provide a short summary of what the View provides.
Note: View names need to be unique across all Dashboards
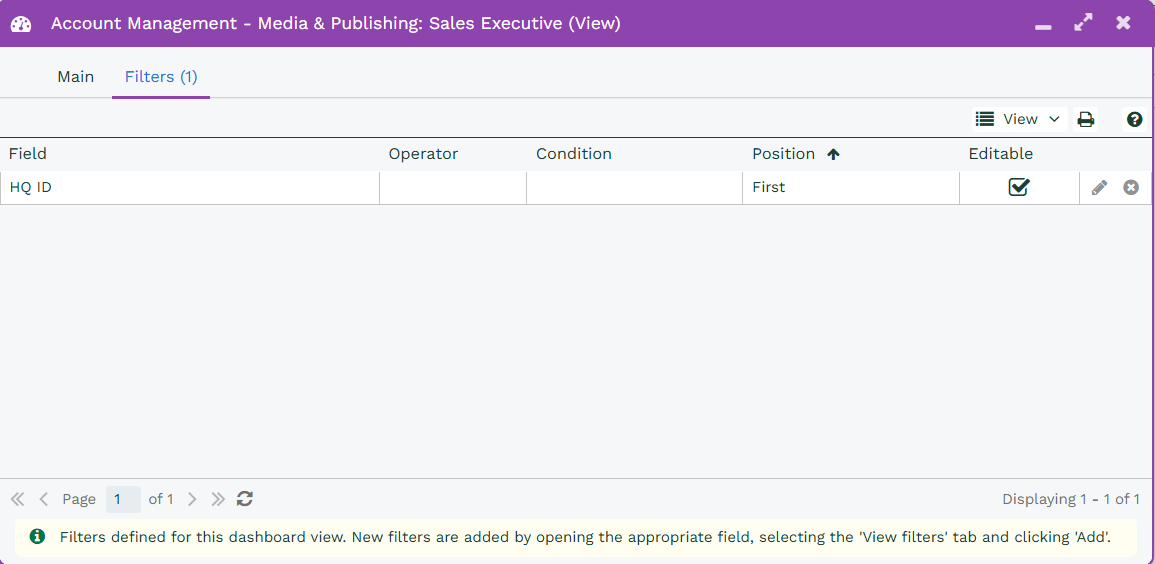
Filters can be added to a specific View, once the View has been saved the Filters tab will appear, Filters are view specific to each View and can be added from either the View or from the Item on the Dashboard, more information on setting up Views can be found on the Knowledge Base.
Once you have have set up your View you can run the Dashboard, the View will now appear under the Views section like it would with a Landing Page.
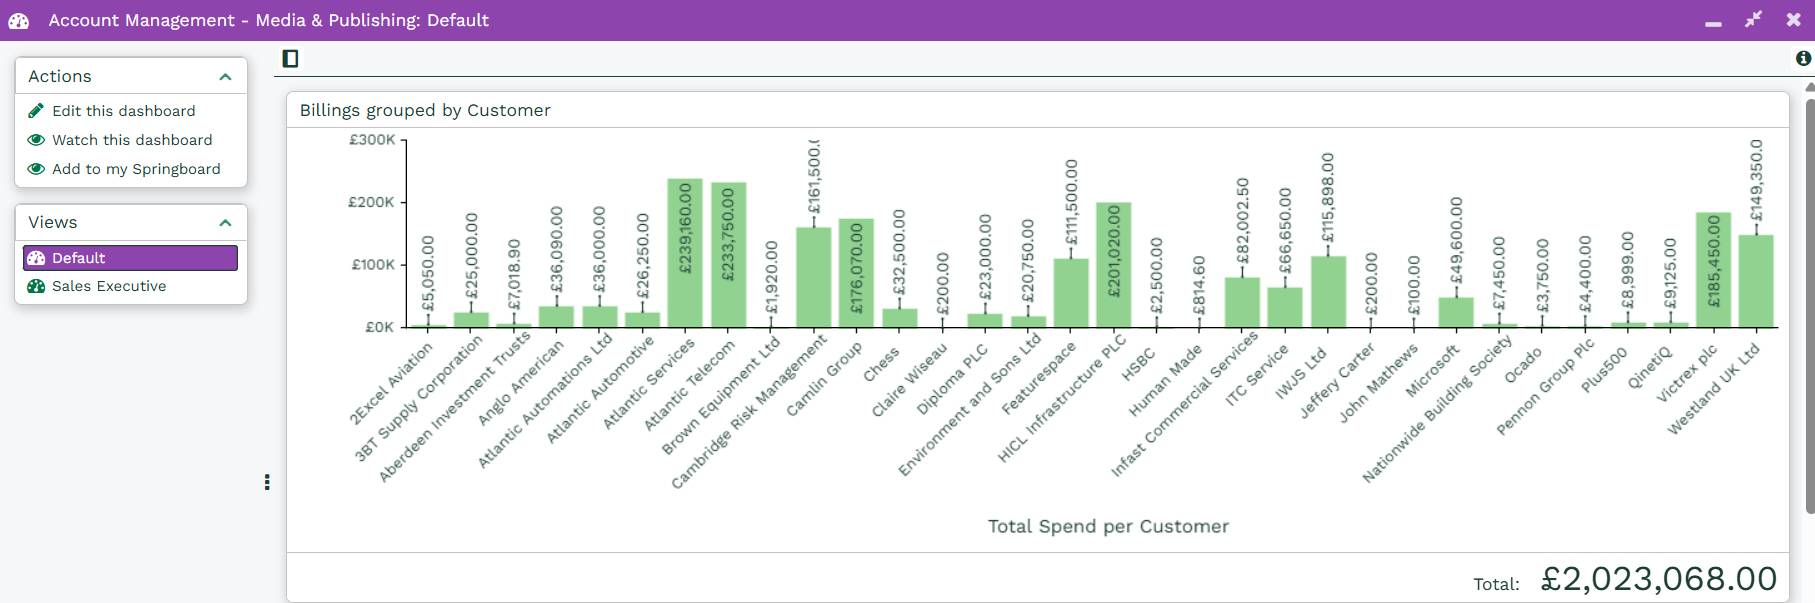
If the Default view checkbox is checked on the View then when the Dashboard is ran this will be the View that will be the one loaded when the Report is ran.
The Default View will also include any filters applied to the View for Users to see.