- Welcome to the Knowledge Base
- Introduction
- Training
- Desktop Environment
- Preferences
- Activities
- Cases
- Forecasts & Quotas
- Importing Data
- Leads
-
Marketing
- Introduction to Marketing
- Marketing Campaigns
- Mailing Lists
- Products
- Mailshots
- Upload Library
- Templates
-
Workbooks Web Insights
- Tracking Code
- Setting up the Plugin
- Viewing Web Insights Data on your Form Layouts
- Domain Names and Online Activities
- Gator Popup
- Reporting incorrect Leads created through Web Insights
- Reporting on Web Insights data
- Using UTM Values
- Why aren’t Online Activities being created in the database?
- Why is GatorLeads recording online activities in a foreign language?
- Using HubSpot with Workbooks
- Event Management
- Compliance Records
- GatorMail Integration
- Opportunities
-
Integrations
- Mapping
- Electronic Signing Tools
- Creditsafe Integration
-
Zapier
- Introduction to Zapier
- Available Triggers and Actions
- Linking your Workbooks Account to Zapier
-
Setting up Zaps
- Posted Invoices to Xero Invoices
- Xero payments to Workbooks Tasks
- New Case to Google Drive folder
- New Case to Basecamp Project
- New Workbooks Case to JIRA Ticket
- Jira Issue to new Case
- 123FormBuilder Form Entry to Case
- Eventbrite Attendee to Sales Lead and Task
- Facebook Ad Leads to Sales Leads
- Wufoo Form Entry to Sales Lead
- Posted Credit Note to Task
- QuickBooks Online
- Survey Monkey responses to Tasks
- Multistep Zaps
-
Email Integrations
- Email Dropbox
- Workbooks Exchange Server Sync
- Workbooks Outlook Connector
-
Event & Webinar Integration Tools
- GoToWebinar
- ON24
- Microsoft Office
- Outreach
- Scribe/Workbooks Connector
- People & Organisations
- Reporting
- Dashboards
- Transaction Documents
- Auditing
-
Configuration
- Introduction to System Administration
- Users & Security
- Database
- Accounting
- Email & Integration
- Customisation
- Automation
- PDF Configuration
- Contact Support
-
Releases & Roadmap
- Roadmap
- December 2020 Release
- September 2020 Release
- April 2020 Release
- January 2020 Release
- September 2019 Release
- February 2019 - Event Management Release
- January 2019 Release
- October 2018 Release
- May 2018 Release
- February 2018 Release
- January 2018 Release
- November 2017 Release
- September 2017 Release
- June 2017 Release
- March 2017 Release
- December 2016 Release
- August 2016 Release
- January 2016 Release
- Workbooks Glossary
Quick Start Wizard
When you create a new Database in Workbooks, you will need to setup an Own Organisation, Accounting Periods and Tax Regimes. These items are on a "per database" level rather than across your account so any changes you make in a new database are separate to your live implementation and won't cause any issues.
Before starting to complete the Quick Start Wizard it's helpful to make sure you've got the following information to hand:
- Your Own Organisation's full name and address, including County/State and Postcode/Zipcode.
- Details on which tax regime and currency you use.
- Your Own Organisation's sales tax and company registration numbers.
- Your Own Organisation's accounting period requirements. Workbooks gives you 3 options:
- Calendar Months
- 4-4-5 Week Pattern
- Quarters
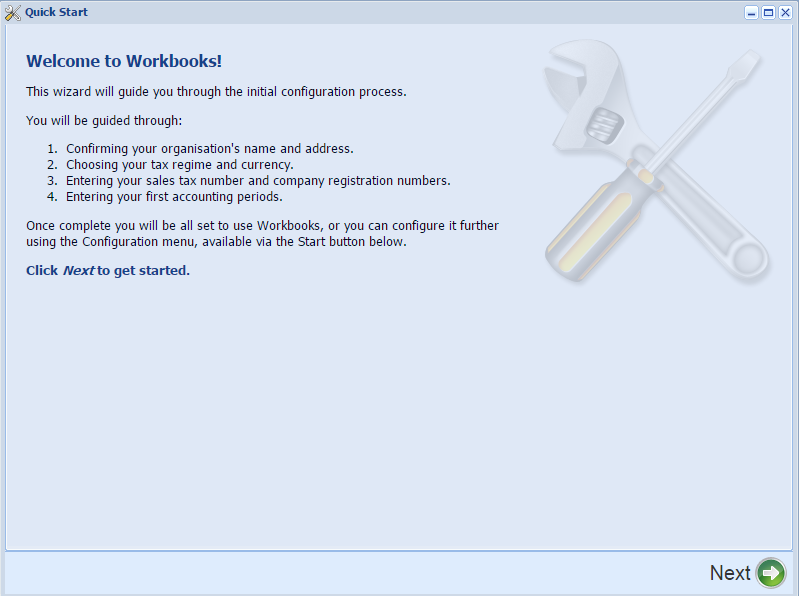
The Wizard is self-explanatory and consists of 7 easy steps to configure your Workbooks database as per below:
Step 1 - Introduction
Step 2 - Confirming your Organisation's name and address
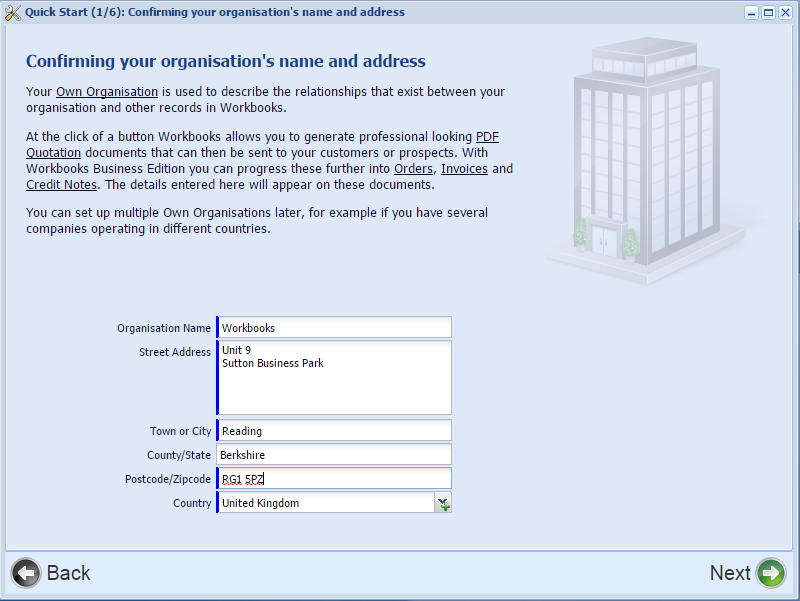
The details that you enter for your Own Organisation will be used on PDF documents such as Quotations, Orders, Invoices and Credit Notes.
Step 3 - Choosing your Tax Regime and Currency
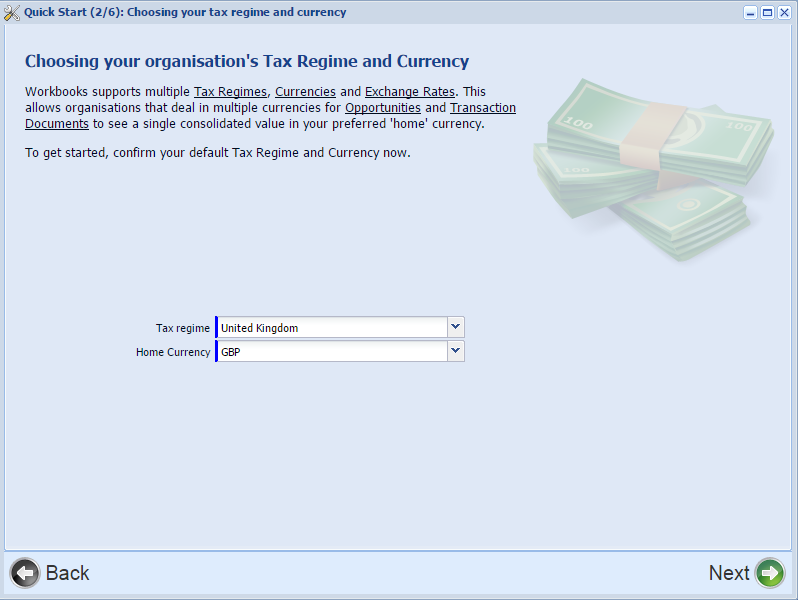
When you've completed the Quick Start Wizard remember to check that the sales tax information for the Tax Regime you choose is correct (by clicking Start > Configuration > Accounting > Sales Tax Regimes and opening the appropriate row from the grid on the right).
Step 4 - Date and Time Settings
These settings are applied to all of your users as they are created. Individual users can change these settings in their preferences if they work in a different timezone.
Step 5 - Entering your Sales Tax and Company Registration Numbers
If your Own Organisation isn't registered for Sales Tax then you should leave the Sales Tax Number field blank.
Step 6 - Entering your first Accounting Periods
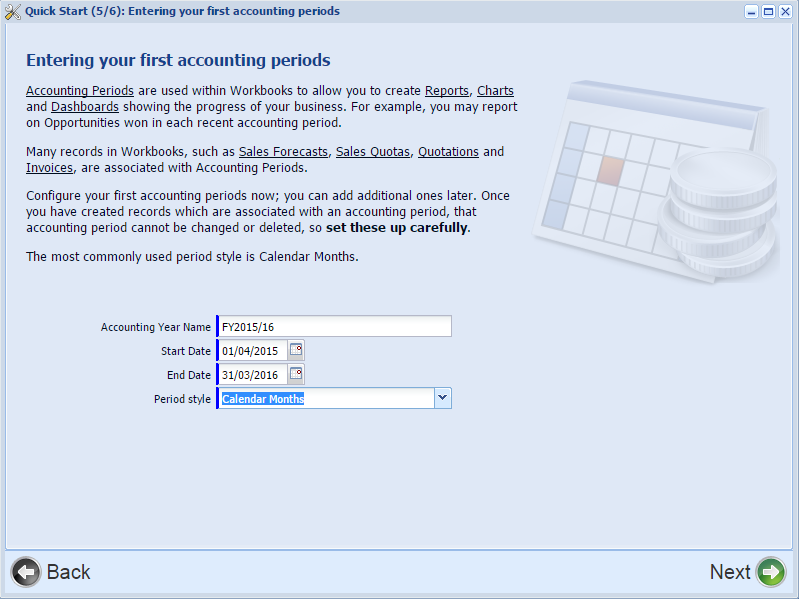
Accounting Periods are used within Workbooks to allow you to create Reports, Charts and Dashboards for specific Accounting Periods. Many records, such as Sales Forecasts, Sales Quotas and Transaction Documents, are associated with Accounting Periods.
NOTE: Once you've created records that are associated with an Accounting Period, that Accounting Period cannot be changed or deleted so take care when setting these up.
The Wizard will default to showing a Start Date of the first of the current month and you will probably need to amend this to tie in with the start date of your financial year. Changing the Start Date does not automatically change the End Date so be careful to change that to the correct date too. Workbooks gives you 3 options:
- Calendar Months (the most common option)
- 4-4-5 Week Pattern
- Quarters
Step 7 - Next Steps
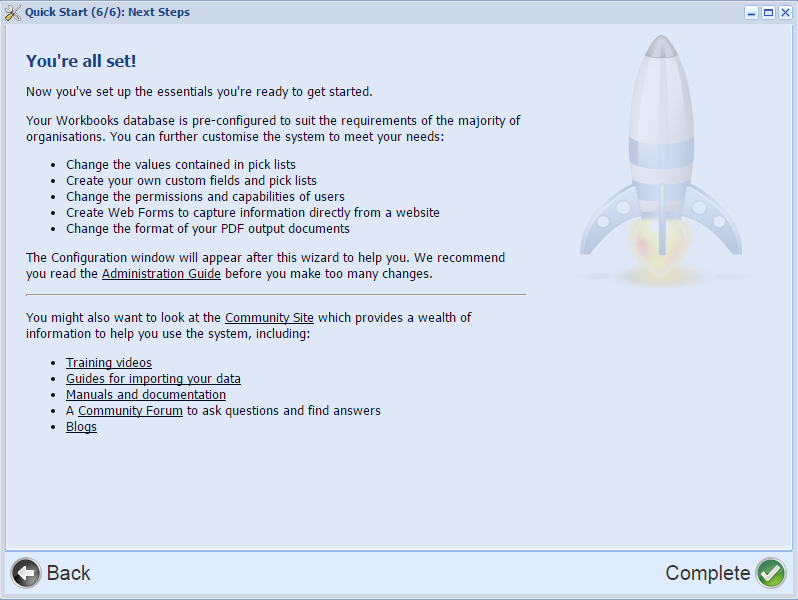
Remember to click Complete, otherwise the Wizard will re-appear each time you login. Clicking Complete will open the Configuration Landing Page where you can make changes to your configuration, such as creating new Users, adding Custom Fields and so on. To return to this page at any time, simply click Start > Configuration.