Read-only Assigned to Fields
This Knowledge Base page covers how to setup and configure the Assigned to Field on a Person Record to be read only on a Form Layout.
It is possible to make the Assigned To Field read-only on a form layout, preventing Users that are not in certain User Groups from reassigning records. This could be especially useful for Cases or Opportunities where ownership needs to remain with an individual.

This example will explain how to setup this configuration for People Records, allowing Users to assign People Records to themselves when the Person is assigned to Unassigned, this then becomes read-only once the Record has been assigned to another User.
However, the same configuration can be applied to any other Record Type with other rules to determine when the Field will become read-only.
Stage 1 – Configure Tasks
In order to enable this configuration on any Record you will first need to disallow Tasks to be created without a Record Template. With this setting you are unable to customise the Assigned to on a Form Layout, as it also controls the ability to set Default Values which may overwrite existing Task Record Templates that could be generated from a Record.
To access this navigate to Start > Configuration > Customisation > Record Types > Tasks > expand the Advanced section and then ensure that the checkbox “Allow Tasks to be created without a Record Template when templates are available” is unchecked.
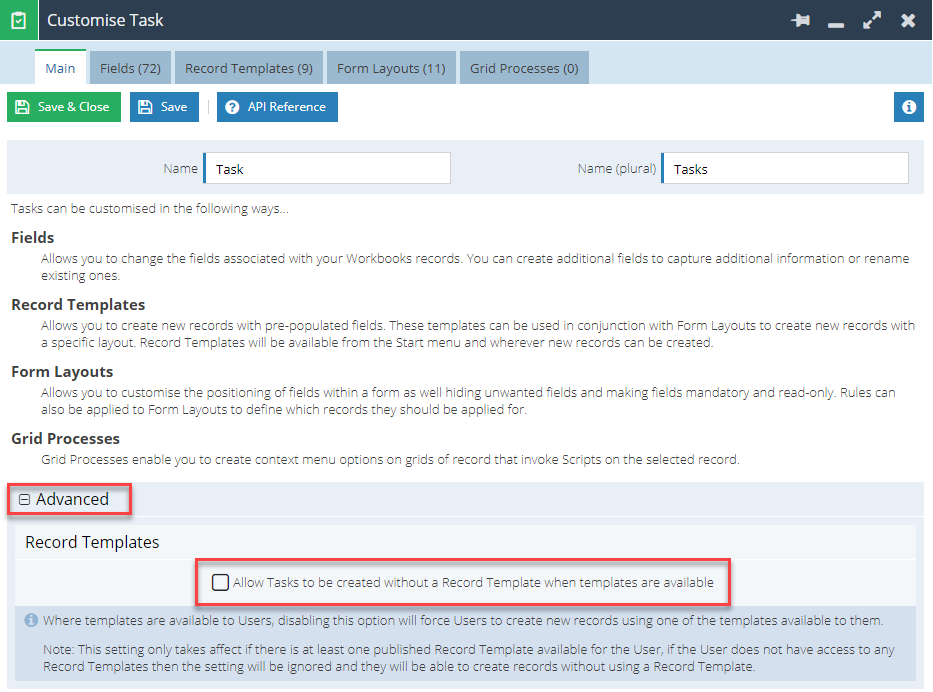
Stage 2 – Configure People Form Layouts
To create the new Form Layouts, you will need to navigate to Start > Configuration > Customisation > People > Form Layouts
When setting up Form Layouts with a read-only Assigned to field you will need three Form Layouts for managing this successfully:
- Form Layout with a read-only Assigned to – A form with a read-only Assigned to with a Layout Rule applied for when Assigned to is not the Unassigned Queue.
- Form Layout with an editable Assigned to – A form with an editable Assigned to with a Layout Rule applied for when Assigned to is the Unassigned Queue.
- An Admin Form Layout – This is only shared with the System Admin Group and allows them to always be able to change the Assigned to Field.
When creating a Form, give it an easily identifiable name or description, so that you are sure that you are updating the correct Form with the right logic and that all subsequent changes are made to the correct form.

Step 1 – Configure a Form Layout with a read-only Assigned to
Open the first Form Layout, ensuring it is appropriately named and navigate to the Assigned to Field.
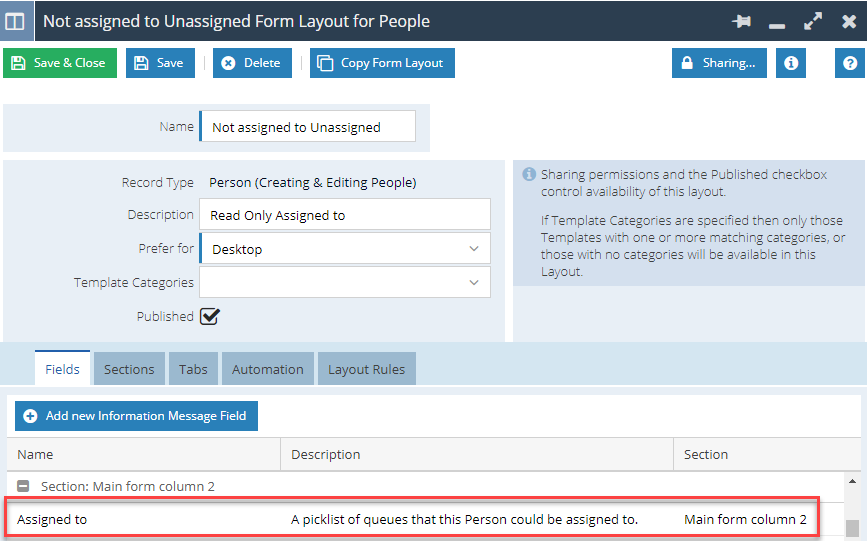
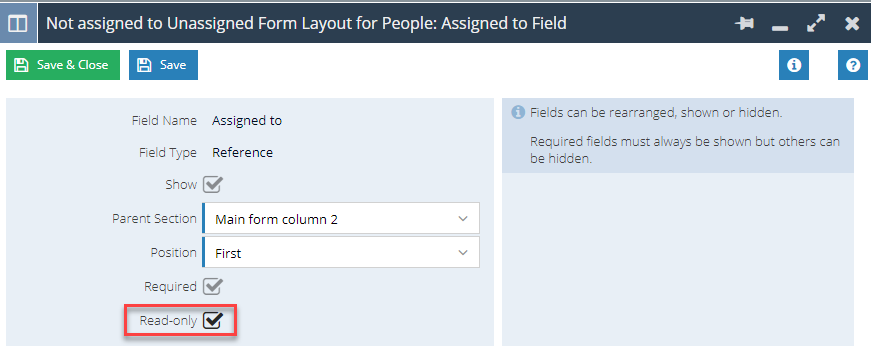
Here you will now have the option to set the Assigned to Field to be Read-only:
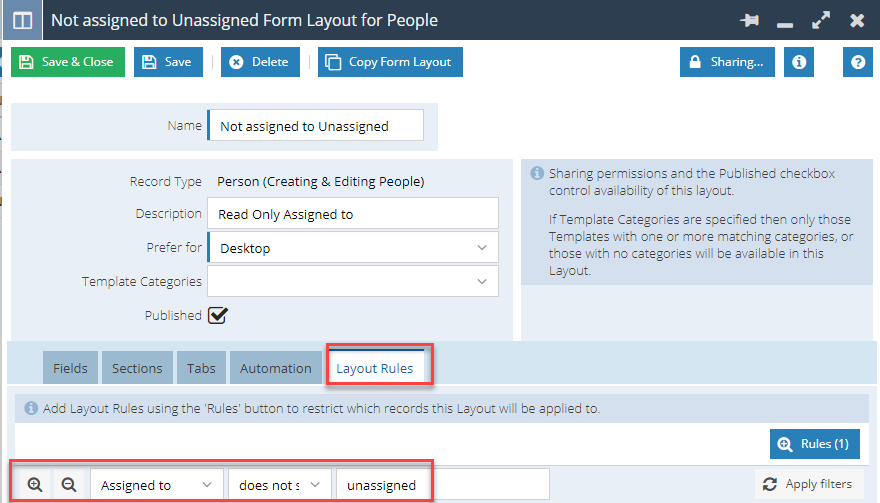
Save and Close the field and navigate to the Layout Rules Tab of the Form and apply a rule, so that the Assigned to does not start with unassigned:
Finally, update the sharing Permissions of the Form, by using the Padlock Button, so that it is accessible to the Everyone Group:
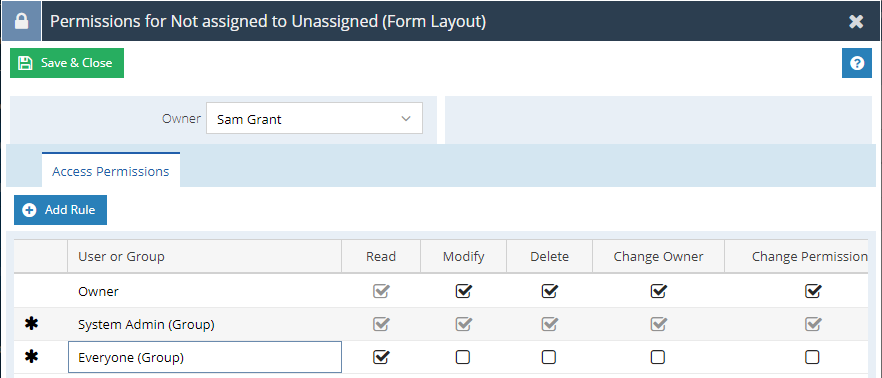
Once you have configured the Sharing Permissions you can now create a copy of the Form Layout to create the non-read only version.
Step 2 – Configure a Form Layout with an editable Assigned to
Once you have copied the Form Layout created in Step 1, most of the configuration will already be completed for you and you will have a carbon copy of the original Form. You will only need to make some slight amendments, as below:
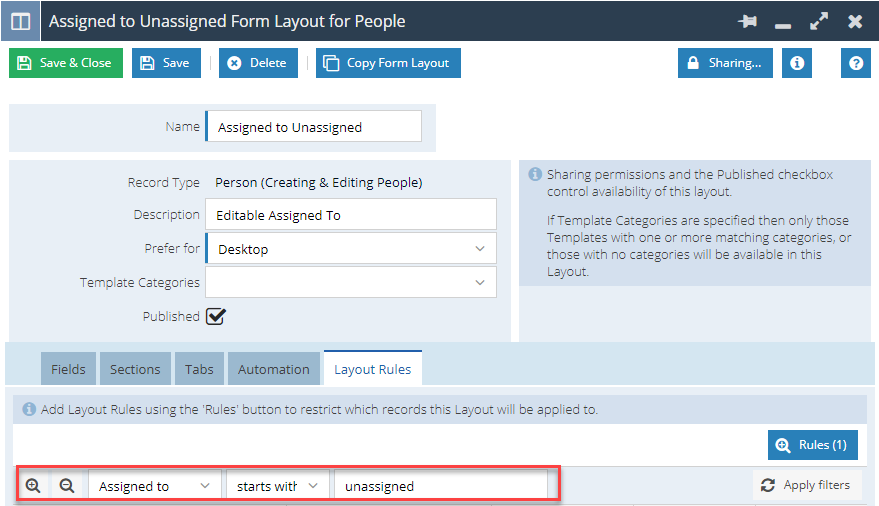
First you will need to give the Form an appropriate name and description, as this will be copied from the Source Record, then open the Assigned to Field:
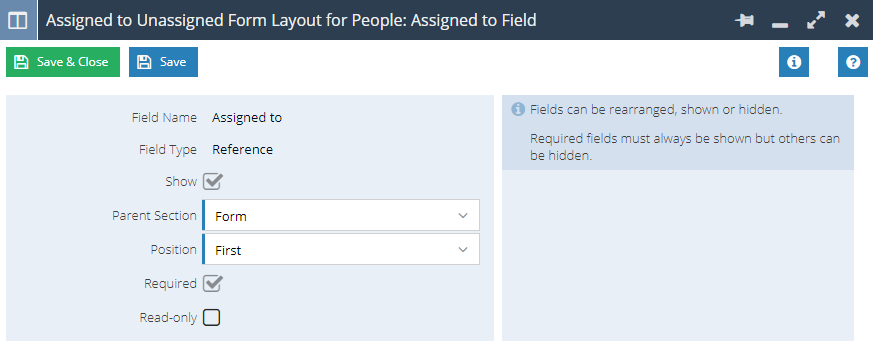
Once open change the Read-only option back to false, clearing the checkbox:
Save and Close the Assigned to, then navigate to the Layout Rules Tab and amend the rule to be Assigned to starts with unassigned.

Finally, open the Sharing Permissions and update the Permissions, so that the Everyone Group has access to the Form Layout.
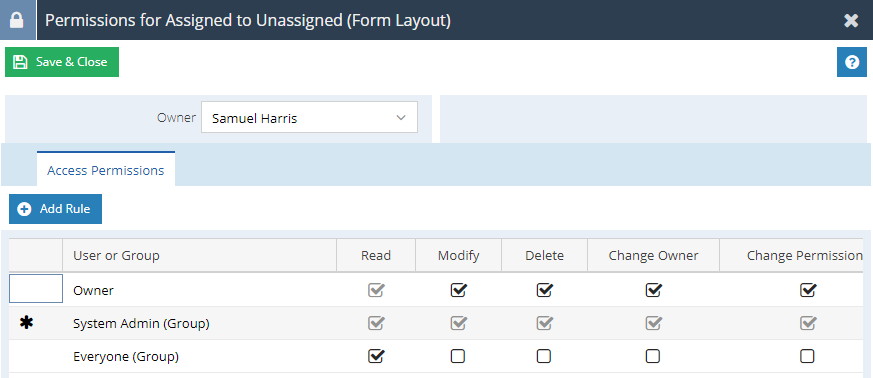
Now make a copy of this Form Layout, as this will form the basis of your Admin Layout.
Step 3 – Configure an Admin Form Layout
To configure the Admin View you will need to remove the Layout Rule, this gives the Admins access to records regardless of the assigned to. As this is a copy of the Form Layout with an editable Assigned to then this has already been set to be editable.
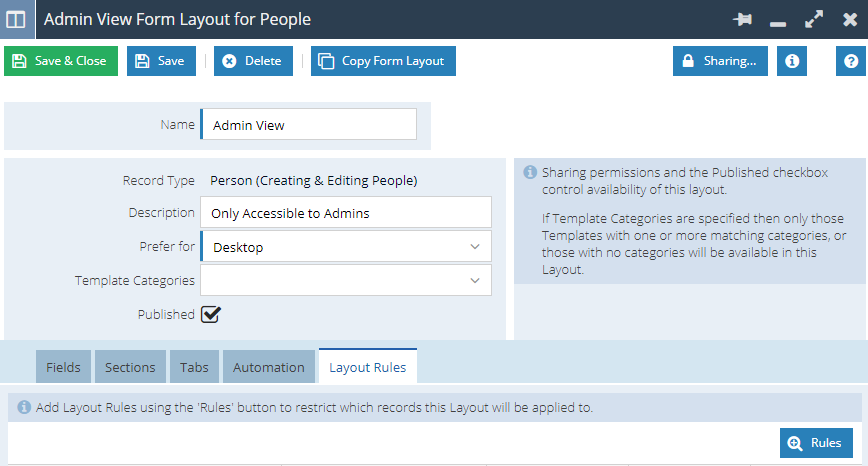
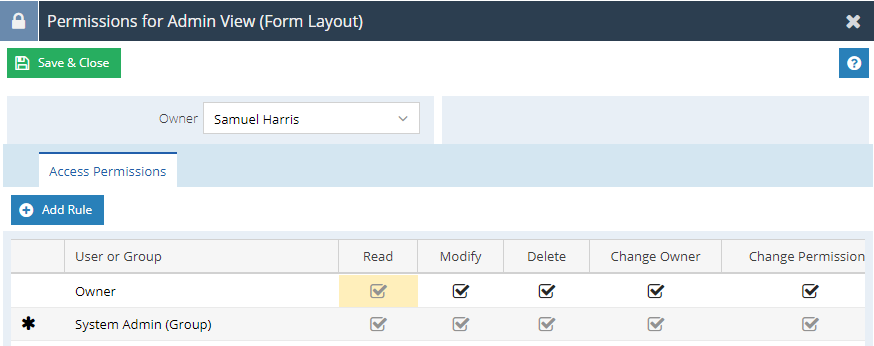
Finally ensure that the Permissions are setup, so that this is only shared with the System Admin Group and no other User Groups.
Stage 3 – Review and Confirm
Once this has been configured, you will be able to open a Record that is assigned to the Unassigned Queue and see that you can reassign it to any other user or queue:

However once reassigned and saved the Assigned to Field will then become read-only:
