





Event Records
This page goes through each section of the Event record, explaining what each field does and how it’s reflected in your Event Portal.
As covered in Using Event Records, the only fields that are populated when you select Add a blank Event are the Name and Campaign fields. You can configure the rest of the fields and tabs as needed.
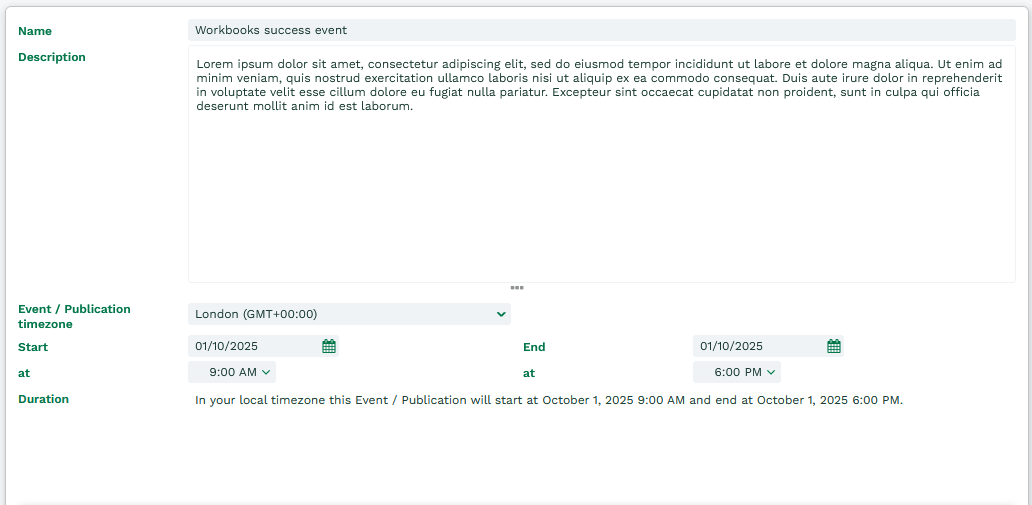
Name: The name of your Event, as it will appear to customers in the Portal.
Description: An overview of your Event. This is pulled through to the Portal and gives people an idea of what you’re hosting.
Event / Publication timezone: The time zone your Event will be hosted in. This controls the time zone the Event’s date and time are displayed in on the Portal, so it shows in the actual time zone of the event rather than the time zone of the user’s browser.
The time zone picklist is the same as the one in your Preferences. It lists capital cities rather than the time zones themselves (except for US time zones, which are split into Eastern, Central, Mountain and Pacific). This means it can automatically switch between summer time and standard time, for example GMT and BST.
Start and End: The start and end times of the Event itself. These may be different from the Campaign’s start and end dates, especially if you plan to market the Event to your customers beforehand.
Details
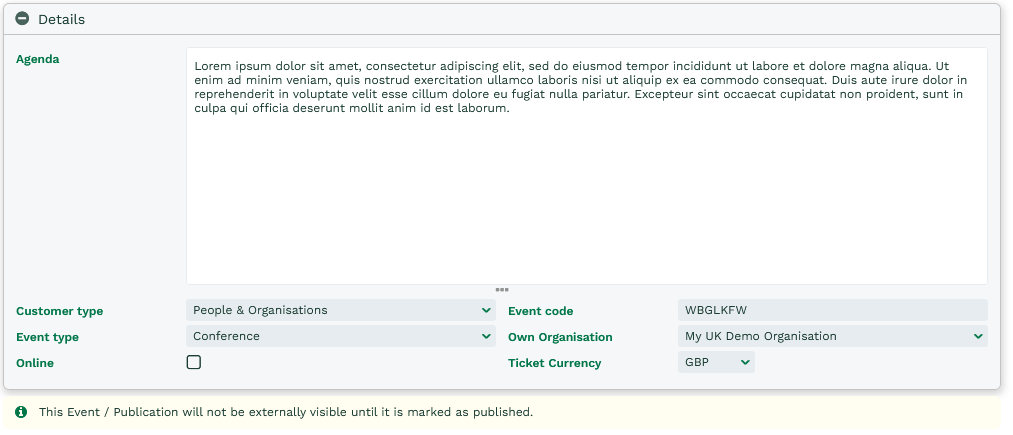
Agenda: A more detailed overview of what your Event will include. This is especially useful if you’re hosting an event with multiple sessions running at different times in different areas.
Customer type: Whether the customers coming to your Event will be People, Organisations or People & Organisations. This changes the text and fields on the Order Details page in your Portal, which controls whether Orders and Invoices are made out to individuals or their employers.
Event code: Every Event is given a unique Event code. The Check In process uses this, along with a similar unique code on each Event Ticket, to make sure people are checking in to the correct event.
Event type: Used to categorize your Events (for example, Conference) and to help with reporting. The options come from the Event Types picklist.
Own Organisation: The Own Organisation the Event is associated with. This controls which Own Organisation any Transaction Documents are created against later on.
Online: Check this box if your Event is being hosted online. This controls which time zone is shown on the Portal. In-person events always display in the time zone of the venue, whereas online events can be attended from anywhere, so they’re shown in each registrant’s browser time zone.
Ticket Currency: The currency that Tickets are paid in, which is useful if you’re hosting international Events. This is the currency used on the Portal, and it must match the currency of the Products you publish there. If the currencies don’t match, the Products won’t show on the Portal.
Once Transaction Documents (Opportunities, Orders or Invoices) have been created for the Event, you can’t change the currency.
Registration Portal and Display
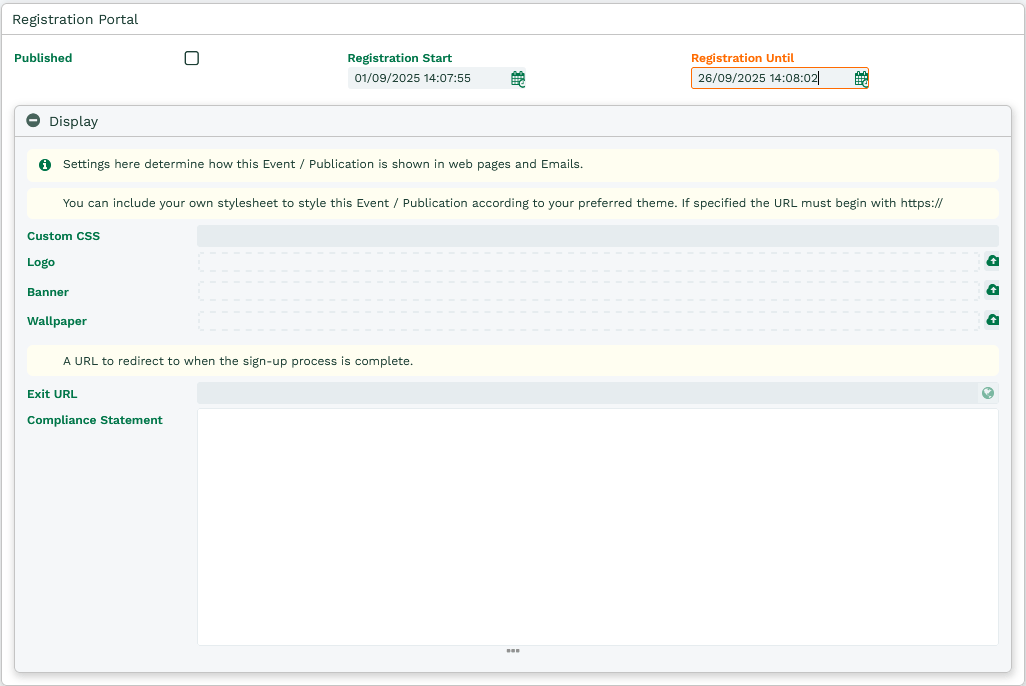
Published: Once this box is checked, the Event is visible on the Event Portal straight away. People can then view the Event details and sign up, as long as registration is open.
Registration Start and Registration Until: These control when Tickets can be sold for the Event through the Portal. This is useful if you want to close registration before the event to confirm final numbers, or publish the Event to start advertising it before Tickets are available. If these fields are left blank, registration is open for as long as the Event is published.
Custom CSS: You can create your own stylesheet and reference it here to use your own colors and fonts, giving attendees a seamless transition from your website to the Event Portal. The URL must begin with https://. Your IT team may be able to provide a stylesheet. Otherwise, see Adding Custom CSS to the Event Portal.
Logo: Upload your company logo so your Event is properly branded.
Banner: Upload a banner, which you can use to share information with customers, such as “Only 100 tickets remaining!”
Wallpaper: A background image that helps keep the Event in line with your company branding.
Note
Images will stretch on larger screens as needed. We recommend testing various resolutions of Logos, Banners and Wallpapers.
Exit URL: The URL attendees are redirected to once they’ve registered and confirmed their details. If it’s left blank, they’ll be taken back to the Select Tickets page.
Compliance Statement: A statement shown to people as they register. As part of your GDPR policy, you may want to include one, as you’ll be holding attendees’ personal information.
Email Confirmation
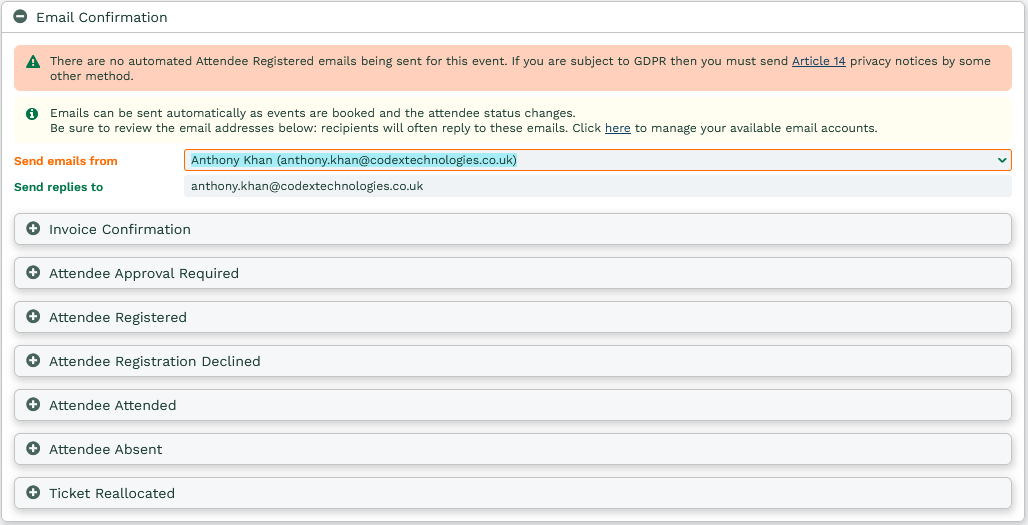
Send emails from and Send replies to: The email address used to send this Event’s emails, and the address replies go to. The sending address must exist as an Email Account in Workbooks. See Email Accounts for how to set one up.
Email templates: You can choose templates that are sent automatically as Attendees book and their status changes. There’s a separate section for each type of email:
- Invoice Confirmation
- Attendee Approval Required
- Attendee Registered
- Attendee Registration Declined
- Attendee Attended
- Attendee Absent
- Ticket Reallocated
Workbooks includes a few basic templates for the Mailing List Member object type to get you started. For more on creating email templates, see Creating Templates.
Note
If you'd like these emails to be sent as someone other than the User running the process, fill in the 'Send emails from' field with a valid Email Account set up in Workbooks. You'll also need to share that Email Account with any User who'll be adding or amending Attendees, including any Users that automated processes run as, such as the 'Form Submissions to Event Attendees' process.
Venue
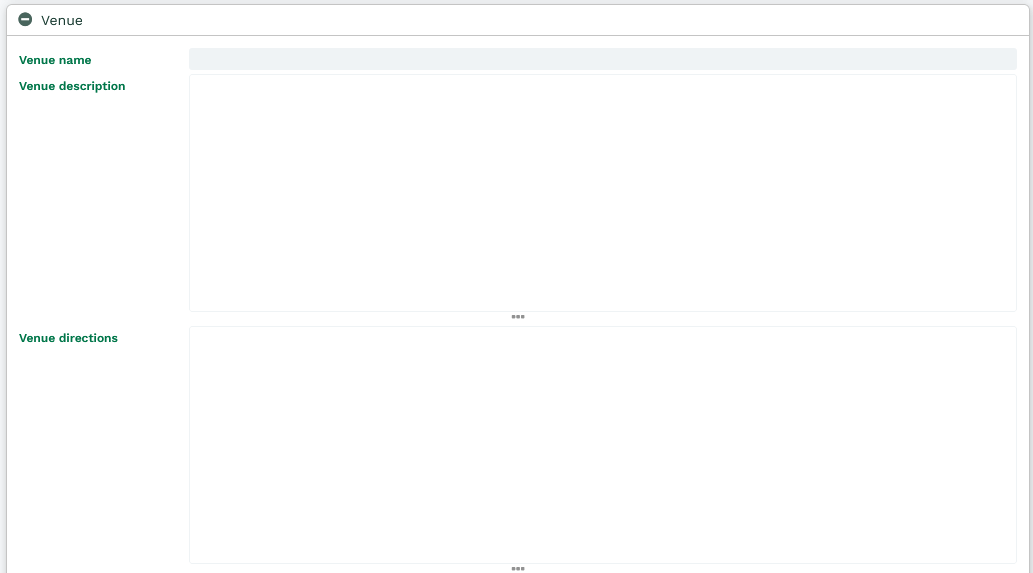
Venue name: The name of the venue hosting your Event.
Venue description: A brief summary of the venue, such as why you chose to host your Event there.
Venue directions: Directions to the venue for attendees, covering different ways of getting there.
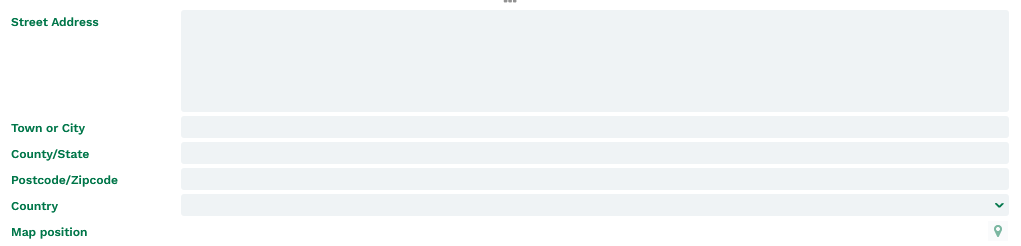
Address: The Street Address, Town or City, County/State, Postcode/Zipcode and Country fields let you enter the exact address of your venue. This can then be used with our Mapping Module to work out a map position.
Map position: For customers who use our Mapping Module, this field shows the latitude and longitude of the venue and displays a map on the Portal for attendees.
Options
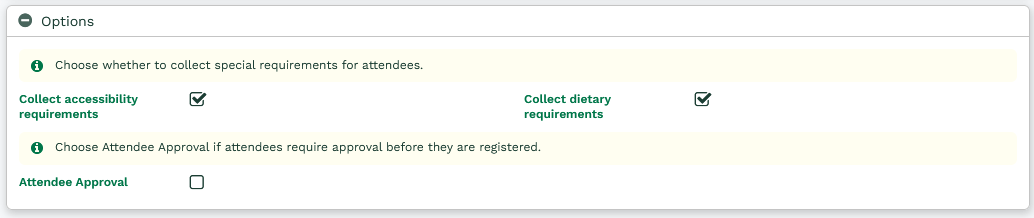
This section lets you choose whether to collect extra information from Attendees in the Event Portal, as it may not be relevant for every type of Event:
- Collect accessibility requirements and Collect dietary requirements: When checked, these options appear for Attendees to fill in when they enter their Ticket details.
- Attendee Approval: Check this if Attendees need to be approved before they’re registered.