


Setting up the Outlook Add-In
The Mail Sync Add‑in (WOA) is available only to users with an active Workbooks Exchange Server Synchronisation account. Please ensure this account is fully configured before enabling the add‑in.
Exchange Server Configuration
As the add‑in communicates directly with your Exchange Server, it can be deployed silently to all users or to specific groups within your Exchange environment. Before installation, we recommend reviewing Microsoft’s Supported Hosts documentation to confirm compatibility with your setup. The sections below outline configuration steps for both Office 365 and hosted Microsoft Exchange
The Outlook Add‑in can be deployed to all users or to selected user groups through the Office 365 Admin Centre. This method is recommended, as it allows the add‑in to be rolled out at scale rather than installed individually. Once configured, you can manage access by adding or removing users from the assigned groups, which will install or uninstall the add‑in for them automatically.
Note: You must be an Office 365 admin to complete this process. Please note that the O365 interface updates regularly, so the screenshots and labels shown below may differ slightly from your current view.
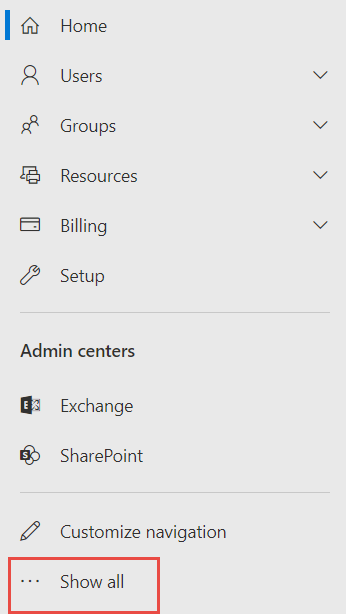
In the Admin Centre, click ‘Show all‘ on the left hand toolbar:
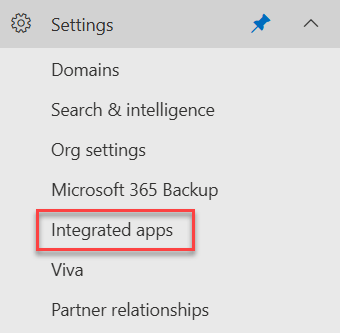
Expand ‘Settings‘ and click on ‘Integrated apps‘:
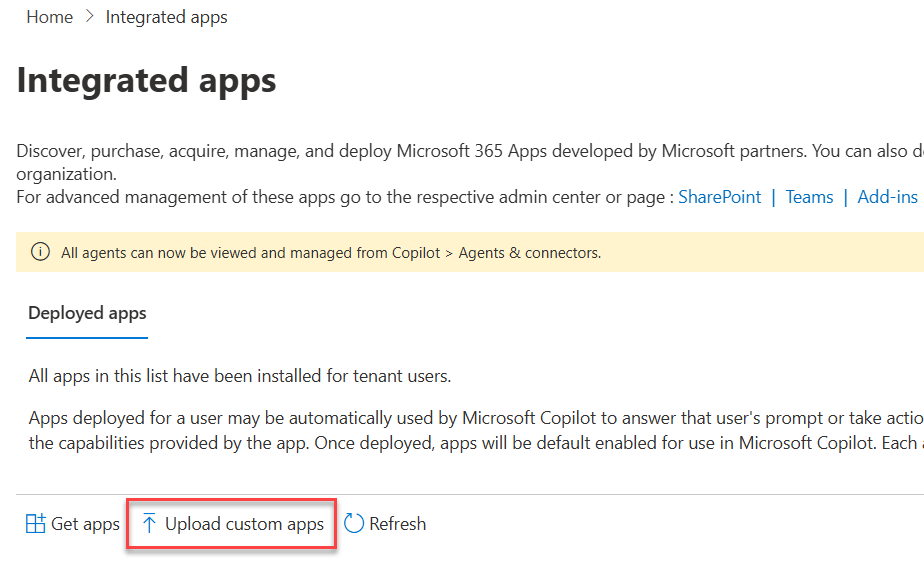
Select ‘Upload custom apps‘
Following this the screen below will appear, change the ‘App type‘ to ‘Office Add-in‘ and select ‘Provide link to manifest file‘:
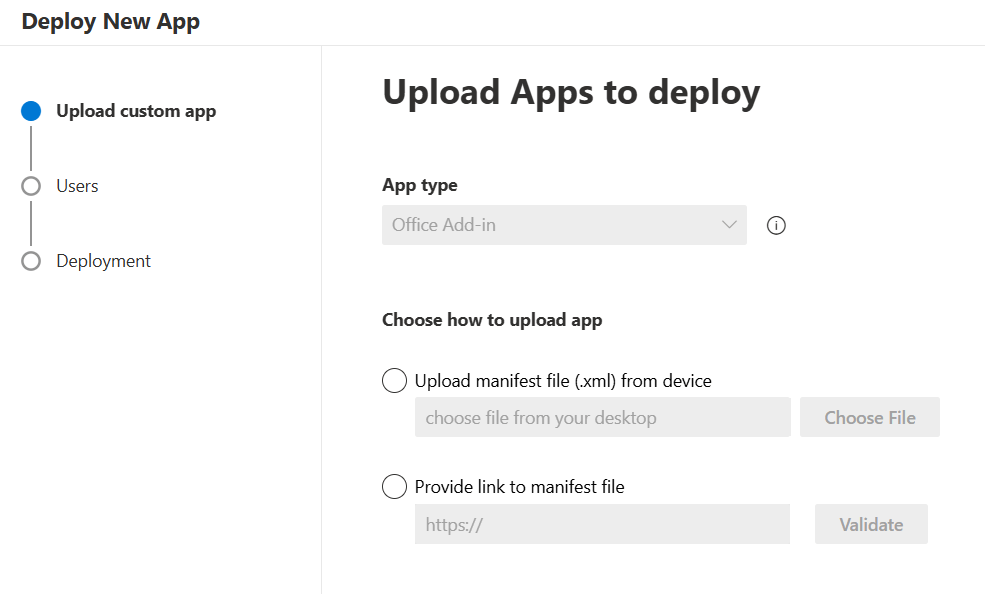
Note: Depending on the Office 365 interface, the field where you enter the URL may appear to start with ‘https://’, but you must still include it when entering the URL: wess.wessconnect.io/api/private/mailapp/manifest
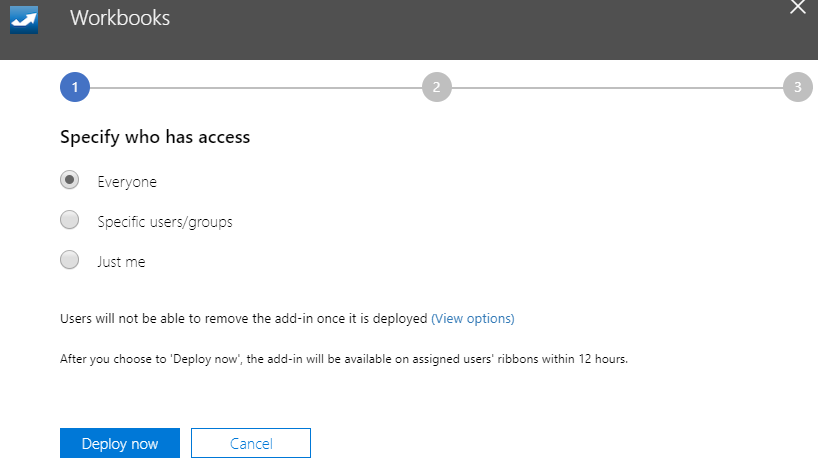
You’ll now be able to define which users can access the Mail Sync Add‑in. You can assign it to Everyone, specific users or groups, or only yourself.
Selecting Specific users/groups opens a dropdown that allows you to search for and select the required users or groups. Each selection is added to the deployment list, and you can include multiple users or groups as needed.
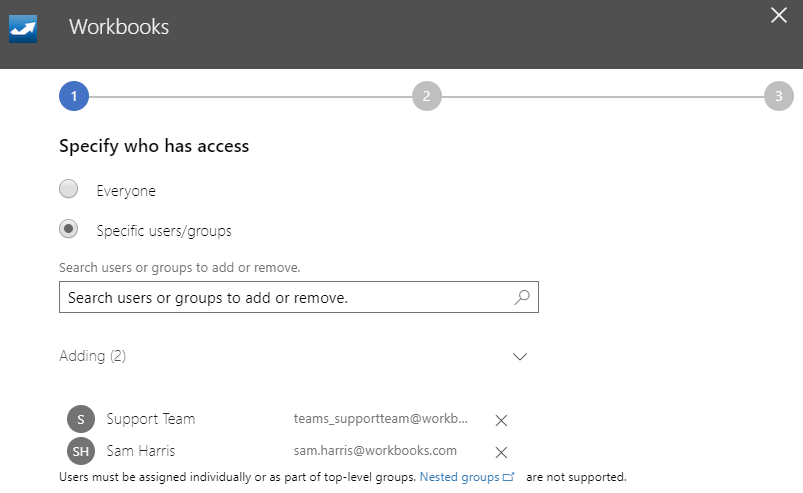
Note: Only users with an active Office 365 Licence will be able to have the add-in assigned to them, shared mailboxes cannot have this functionality enabled.
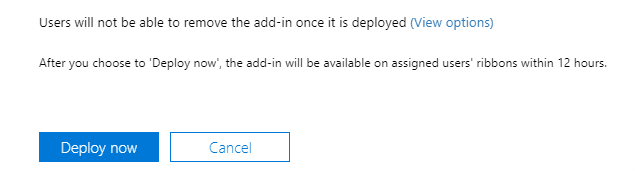
Once you’ve confirmed the deployment list, select Deploy now at the bottom of the page. The add‑in will then be made available to the chosen users or groups.
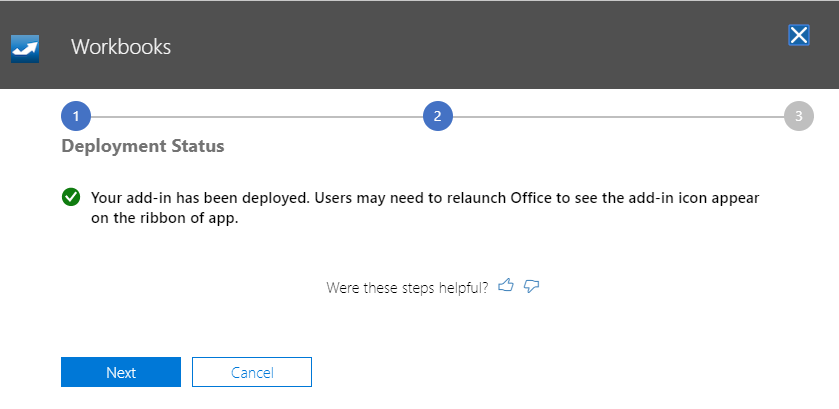
This may take a few minutes to finish deploying. Office will notify you once the installation is complete. Users will then need to restart Outlook for the add‑in to appear.
Note: It can take up to 12 hours for the Add-in to appear in a user’s Outlook and each Outlook Client must be restarted. If after 12 hours the Add-in is still not available please ask a Support Contact to raise a Case with Workbooks Support via the Case Portal for further investigation.
To install the Mail Sync Add-in on a hosted MS Exchange environment you will need to do the following:
- Request your IT Team to whitelist the following IP addresses –
- 52.142.112.4/31
- 20.67.154.92/30
- 20.67.154.92/30
- 20.71.6.12/31
- 20.73.199.196/30
- 20.73.199.196/30
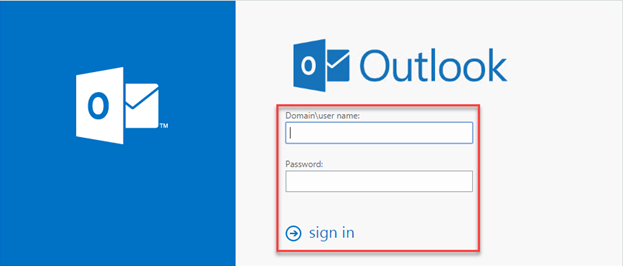
Log in to your Outlook Web App page for your organisation. Once you are at the login page you will need to enter your login details and sign in.
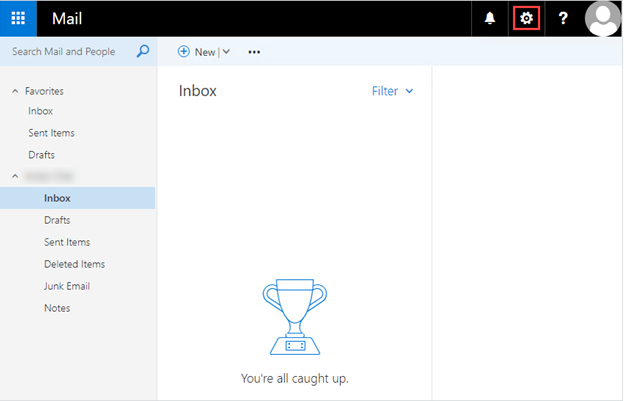
Once logged in, select the Settings Menu (cog icon) in the top right-hand corner of the screen.
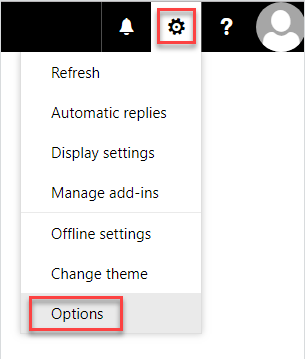
This will open a new menu, you will need to select Options.
This will open a new menu, you will need to expand the General tab and select Manage add-ins.
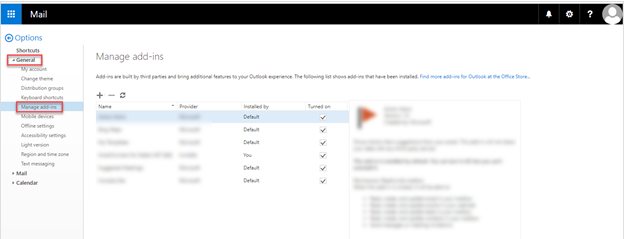
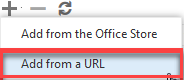
Select the plus (+) icon this will open a new menu asking you for the source of the install. You will need to select Add from a URL.
This will open a new dialogue box with a URL field, where you will need to enter the following URL: wess.wessconnect.io/api/private/mailapp/manifest and then press Next.
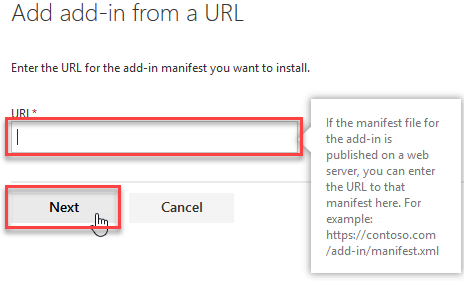
Then click Install.

Once complete and Users have restarted their version of Outlook they will now see the Workbooks Icon appear in Outlook ribbon (top right corner of the Outlook UI)

Selecting the add‑in icon expands the sidebar, allowing users to view the relevant Workbooks information associated with the email or contact.
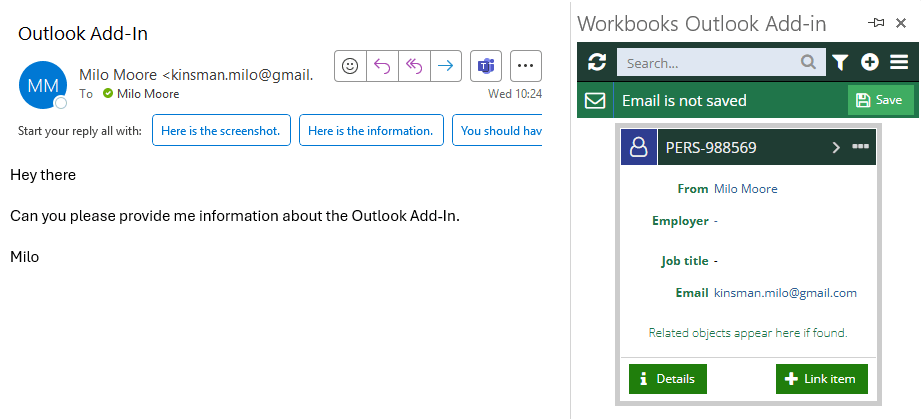
We recommend you pin the add‑in to keep the sidebar visible until you close your email client. Select the pin icon in the top‑right corner of the add‑in; it will rotate from horizontal to diagonal to indicate that it is pinned.

Now active, the sidebar will enable you to sync emails, relate emails to other records, create and amend contacts & tasks.
Note
In certain scenarios, behind the scenes the Add In will use your email Dropbox to create the link to the record in Workbooks. As such, it’s important that you’ve configured your email Dropbox and authorised senders appropriately.