


Calculated Targets
It is possible to use Calculated Columns as a way to set targets in a Report. These can be Custom Fields, such as an “Annual Budget” Field on an Organisation Record. Alternatively you can use calculated Columns to create a very simple single value targets or a more complex calculations based on a number of different criteria.
This Knowledge Base page will focus primarily on using Calculated Columns to create a Target, however the same principles can be applied to any numeric column within a Report View.
To create a Calculated Target you will first need to create a calculated column on the same View as the Actual Value Column (the Calculated Target Column can be hidden from the View if needed). This page will talk you through how to build a number of different Calculated Targets from the Summary View of a pre-populated Opportunity Report.
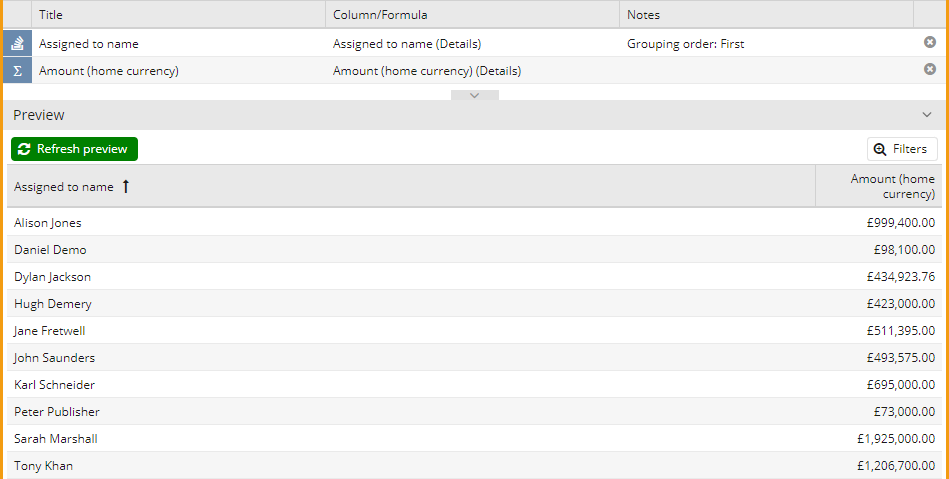
To create this Report go to Start > New > Report > Create a pre-populated Report > Opportunities. Once the Report has been created you will need to Add a Summary View to the Report, using the Assigned to as a Grouping Column and creating a Subtotal Column for the Amount (home currency) Field.
Setting up a simple Calculated Target
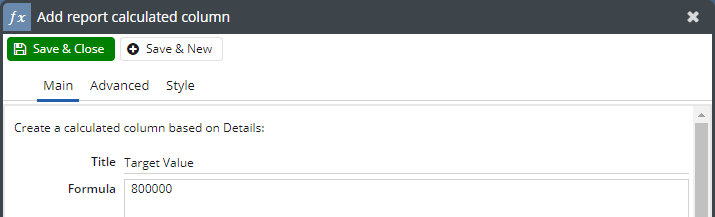
To set up a basic calculated Target create a calculated column called “Target Value” on the Summary View, in the Formula Field enter a numeric value, for this example we will use 800000.
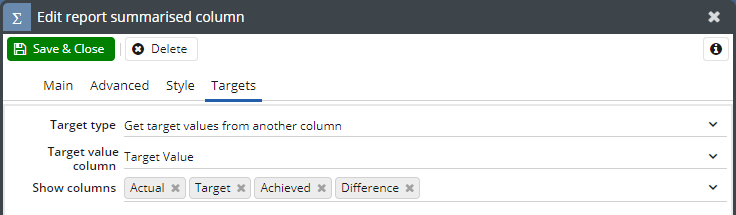
Once this is added open the subtotal column (Total Amount (home currency)), and go to the Targets Tab and select “Get target values from another column” this will allow you to select the Target Value column. As with all Targets you can show which values from Actual, Target, Achieved Percentage and Difference are displayed in the Report.
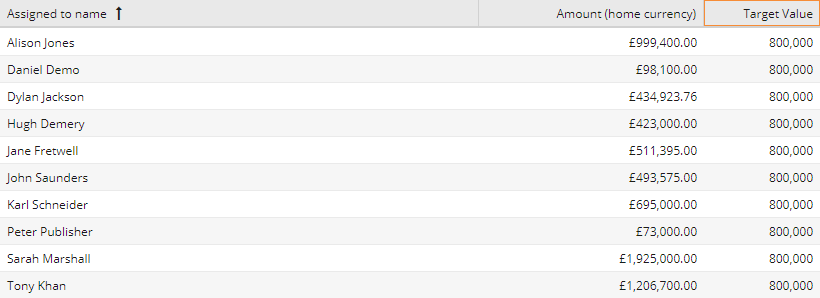
Save and close the Subtotal Column and this will generate the new targeted column, you can then hide the Target Value column from the view to produce a Report like below:
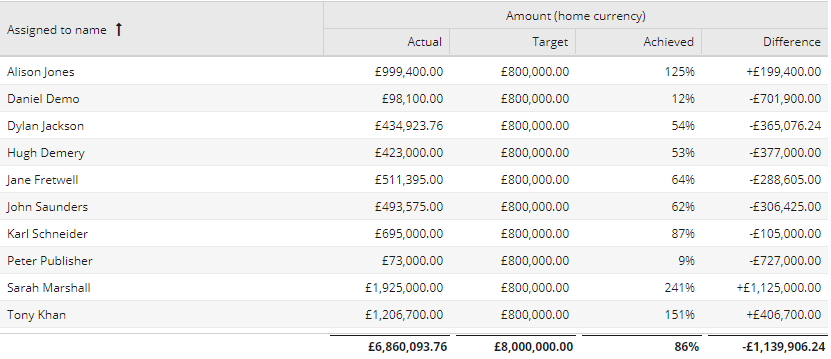
This will display the Totals of the Target and the Total Percentage of the Target that has been achieved as well as each individual’s performance against the Target.
Creating a complex Calculated Target
As with the simple Calculated Target you will need to create a Calculated Column called Target Value, however rather than set a single value for the Target you can use a CASE Statement to create Custom Targets for each Person such as:
CASE
PARENT('Assigned to name')
WHEN "Alison Jones" THEN 250000
WHEN "Daniel Demo" THEN 150000
WHEN "Dylan Jackson" THEN 500000
WHEN "Jane Fretwell" THEN 225000
ELSE 200000
END
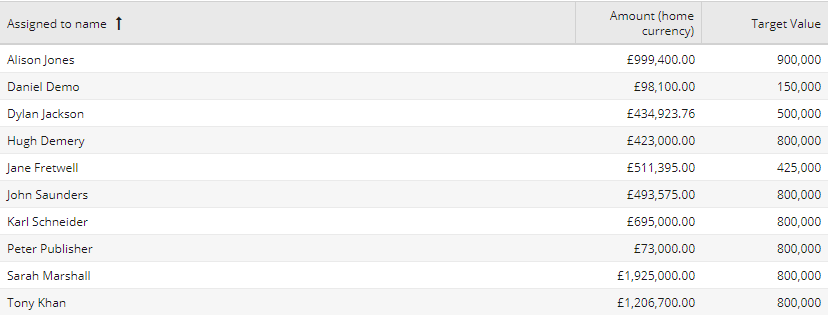
Open the subtotal column (Total Amount (home currency)), and go to the Targets Tab and select “Get target values from another column” this will allow you to select the Target Value Column. As with all Targets you can show which values from Actual, Target, Difference and Achieved are displayed in the Report.
As with the basic Calculated Target each User has their own individual target as well as the overall total being shown for the Report view:
