


Creating Word Add-in Templates
Workbooks Word Add‑in Templates allow you to generate professional Word documents such as Invoices, Quotes, Contracts, and letters using live data from Workbooks. These templates combine a Word document layout with data from a Workbooks Report, so that documents are automatically populated with the correct information for each record.
Creating a Word Add‑in Template involves three core components:
- A Word template designed in Microsoft Word
- A Workbooks Report that supplies the data
- A Template record in Workbooks that links the Microsoft Word file to the Workbooks Report
For more guidance on building Word Templates you can review our Tips & Tricks page
1. Designing the Word Template (Microsoft Word)
The Word template defines the layout, formatting, and static text of your document. You can download and adapt example templates provided by Workbooks to help you get started.
What the template can include:
- Fixed text (for example: headings, labels, terms and conditions)
- Placeholders for dynamic data from Workbooks Report (for example: customer name, invoice date, totals). These should be the name of the field that you want to be mapped, between square brackets, like so
[Customer Name]
Here is an example of what the header of an Invoice Word Template would look like with placeholders added:
To control layout and alignment, it is recommended to:
- Use tables to structure the document
- Use unformatted tables so formatting remains consistent when data is merged
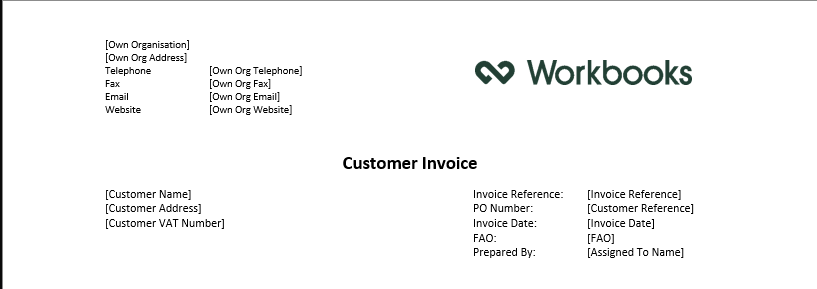
From this, you can see that not only are there placeholders to pull in details from the Invoice like Invoice Reference and Invoice Date, but also the Own Organisation details, so that if you have multiple Own Organisations, the correct details will be pulled through, instead of requiring multiple templates. Placeholders need to be configured slightly differently for images or for HTML/Rich Text fields
Adding Image Placeholders
The Word Add-In allows you to pull images from Workbooks into your template. For example, as part of your Line Items table you may want to pull through product images to show customers what they have purchased, or you may want to pull in a different header logo for your different Own Organisations. To do this, the placeholder requires additional parameters inside the square brackets.
[Picture file@image]
The placeholder is formed of the name of the field the image is pulled from, followed by ‘@image’ so that the Word Add-In knows to display the image and not just the image file name or URL. You can also specify the dimensions of the picture, for example:
- You can specify the width of an image as 100px using [Picture file@image, 100x] or,
- You can specify the height of an image as 200px using [Picture file@image, x200] or,
- You can specify both dimensions using [Picture file@image, 100×200].
HTML / Rich Text Placeholders
If you have Rich Text fields on your records, then in order for the text formatting to be pulled through into your Template, like bold or highlighted text, the placeholder requires an additional parameter. The placeholder is formed of the name of the field the text is pulled from, followed by ‘@html’:
[Product Description@html]
Line Item Tables / Iterating Tables
The Word Add-In will support tables that iterate to produce multiple rows. The most common use of this would be to add Transaction Line Items to a document, but could also be used anywhere you have multiple records related to your header record, like Activities related to Cases, or People related to Organisations.
To do this, your Template needs to contain a table with one header row, and a second row for the data that will iterate. On the line above your table, you must write the syntax:
<repeat_table>
and in the line below write:
</repeat_table>
In order for the table to iterate.
The second row should contain the placeholders; for example, if building a Line Item table, it might look like the following:

When this Template is generated from Workbooks, the second row will then be repeated as many times as there are line items to produce the following:

Once you are happy with the Template, save the document as a .docx file, as you’ll need to upload it to Workbooks later.
2. Creating Workbooks Report
The report is the mechanism that passes the data into the templates. Mostly the report will just need to be a simple list report that has columns for each of the fields that you would like in your template, but you can add in calculated columns and drill through to related record types.
When creating the Report for the Word Add-in you will need to ensure the below:
- On the Report View that will be used in the Template there is a column for the Record’s Id. If you have built a Line Item Report, you will need to include the Document Id, not the Line Item Id.
- When using multiple reports, all the reports must include the Record Id for the Record on which template is placed. If the template is on an Organisation Record, then all Reports used must have an Organisation Id column. The reports can be on any Record type, but must include this Id Column.
- The Report is shared with all the Users that will have Read access to the Word Template; this is controlled through the Padlock Icon.
- The Column names within the Report need to have exactly the same spelling as the merge fields in your Word Template. They do not need to be a case sensitive match but look out for spelling and additional spaces.
- Consider carefully any criteria you apply to the Report; if a record does not appear in the Report you will be unable to create a Word document for it.
Once the Report has been created you are now able to bring this together with the template.
3. Creating the Template within Workbooks
Once the Microsoft Word document and Workbooks Report are ready, you create a Workbooks Word Add‑in Template record in Workbooks to link them together.
System Admins will be able to go from Start > Configuration > Templates > New Template.
1. Click Start

2. Click Marketing > Templates

3. Click “New Template”
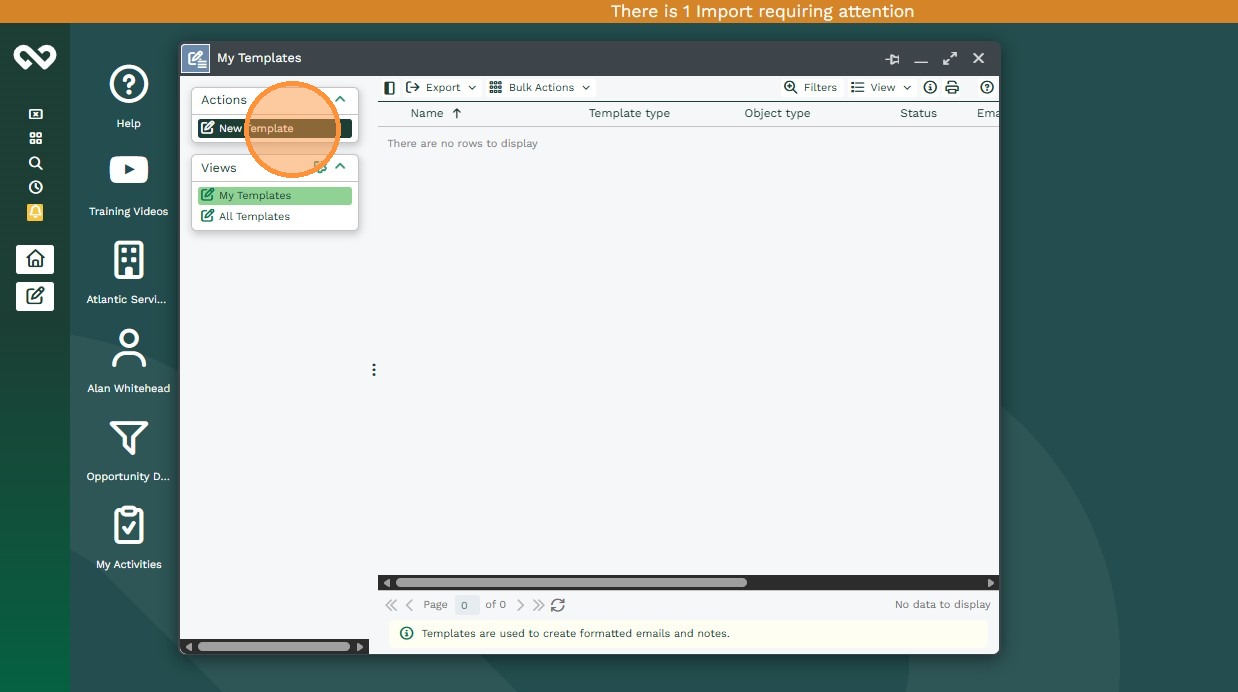
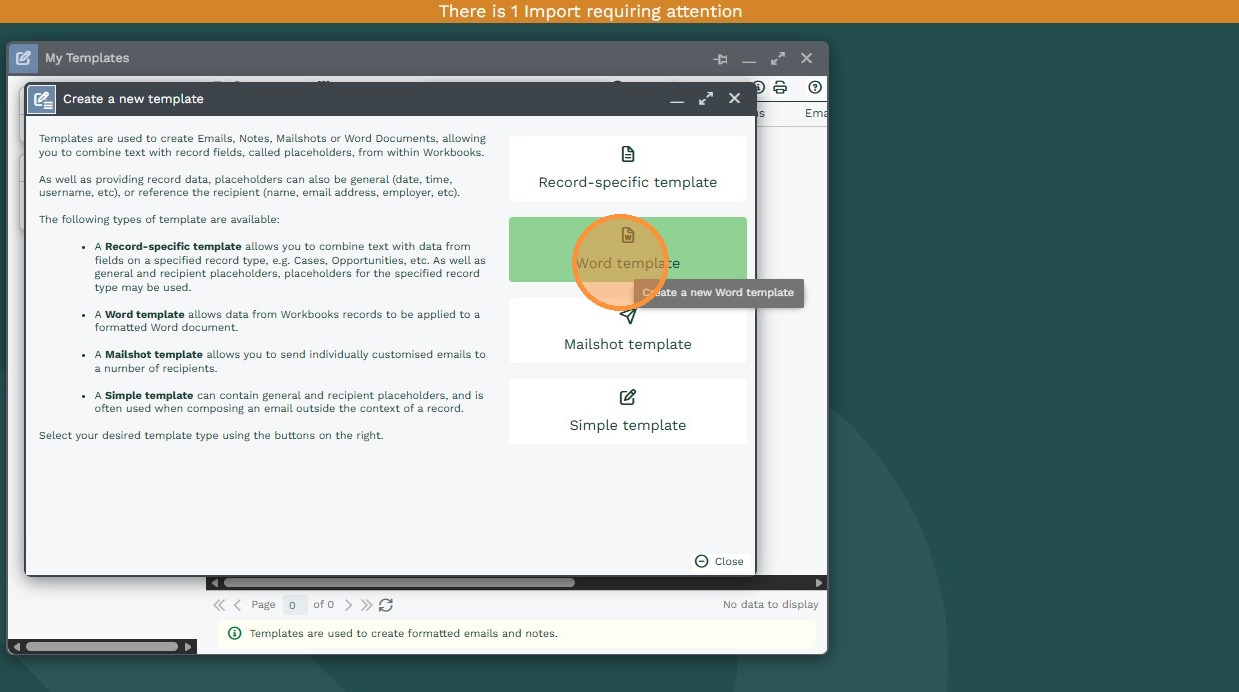
4. Click “Word template”
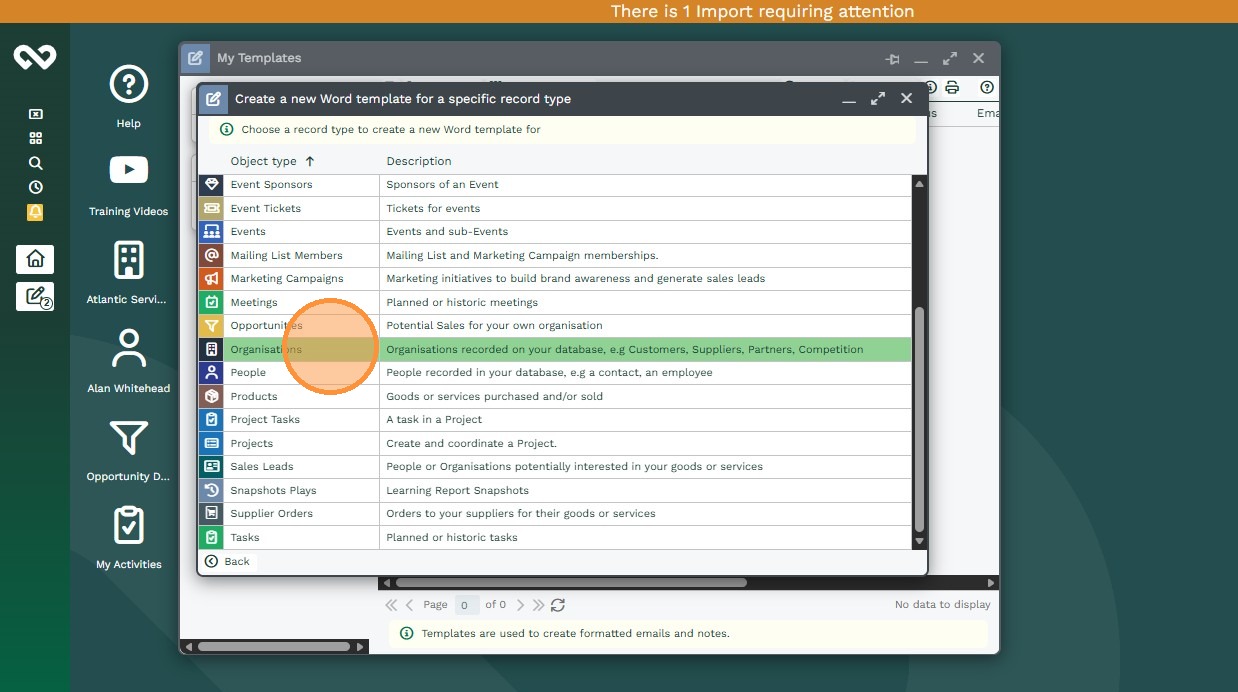
5. Select a Record type
6. Name: The name of the Word Template as it will appear to users.
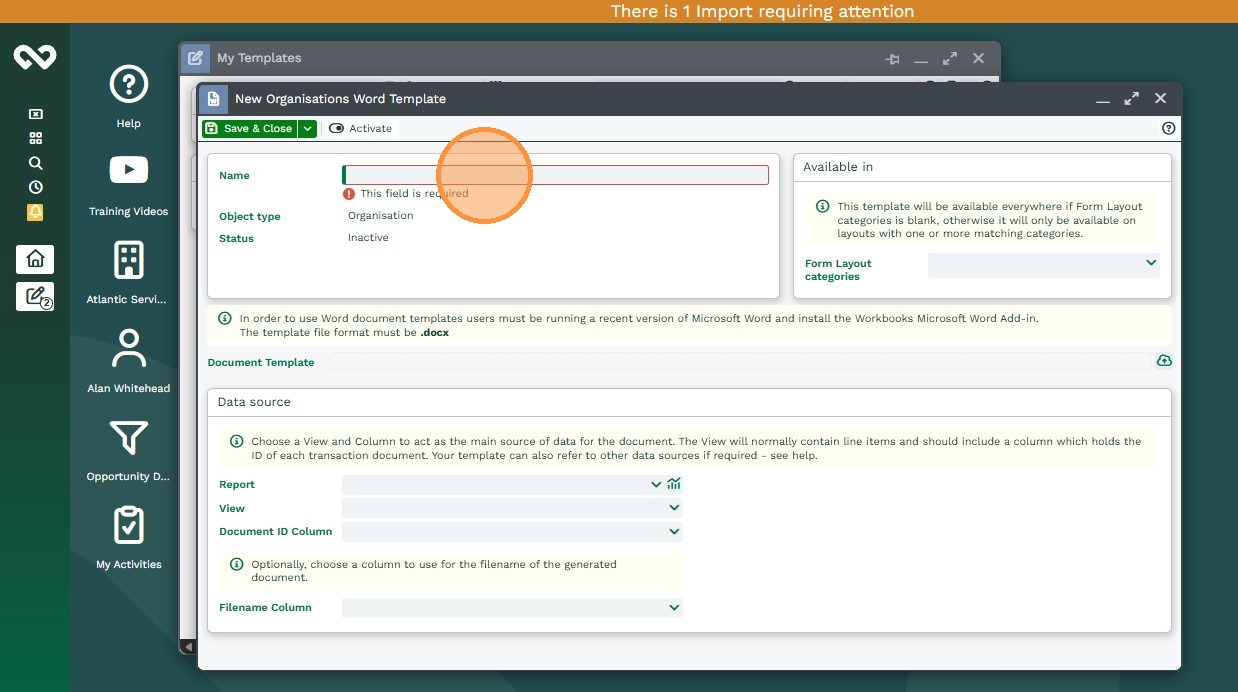
Template Categories: Selecting a Template Category means that this can only appear on Form Layouts with the same template category – leaving this blank means that it will appear on all form layouts.
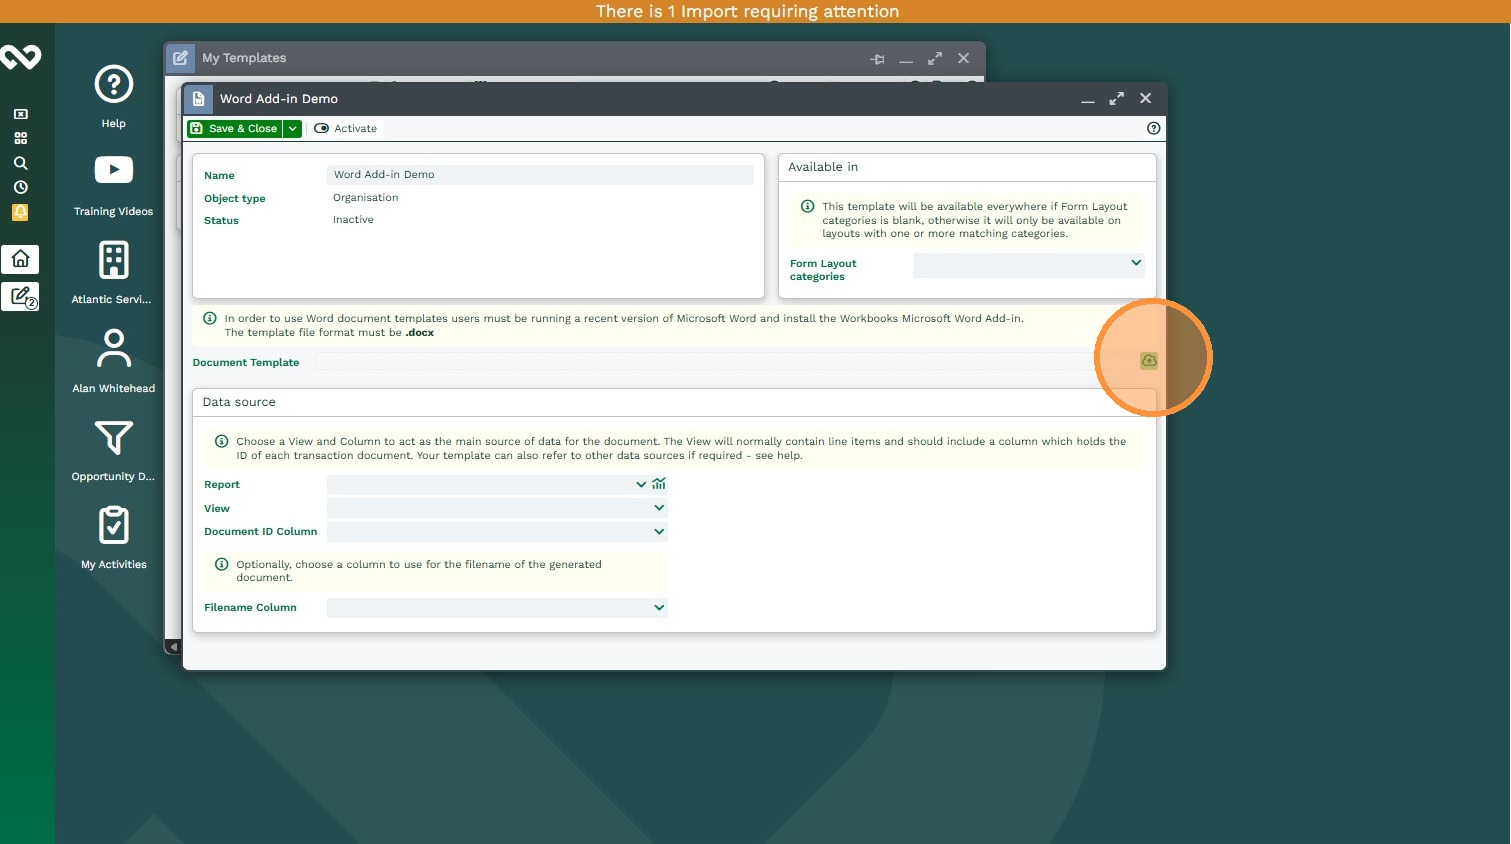
7. Document Template: The word document file that you have configured – remember this must a be a .docx file.
8. Report: The name of the Report used with your template.
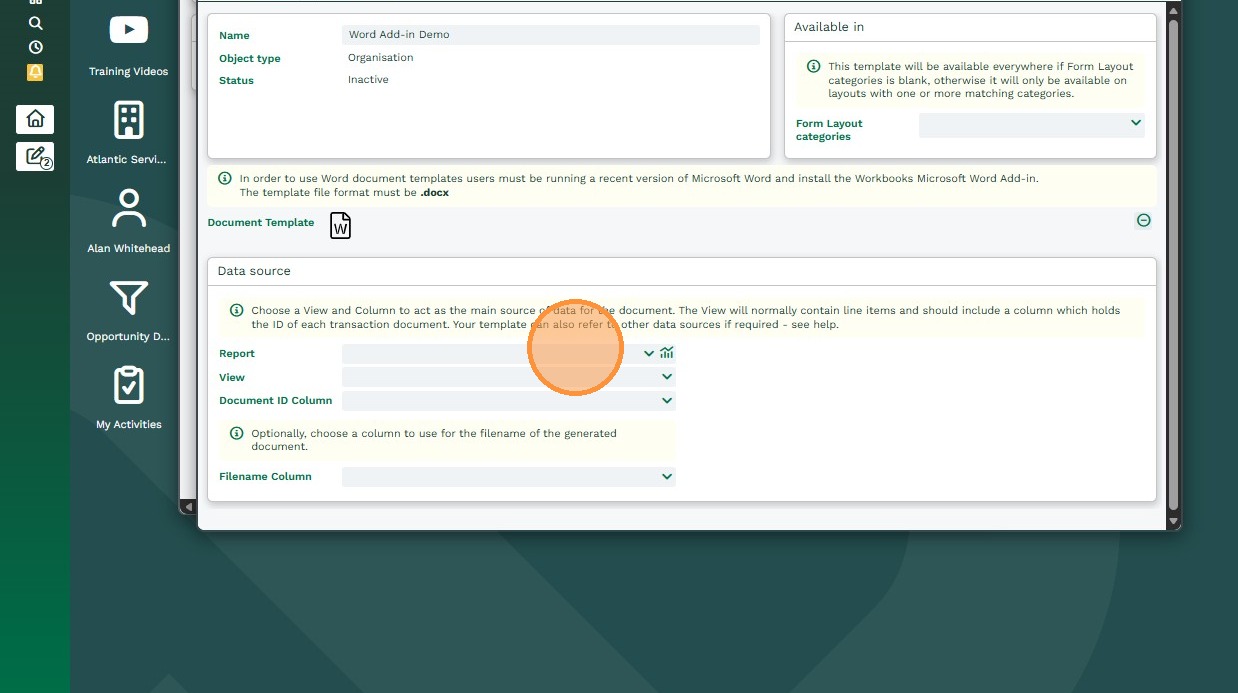
9. View: The name of the view that contains all the columns used within your template.
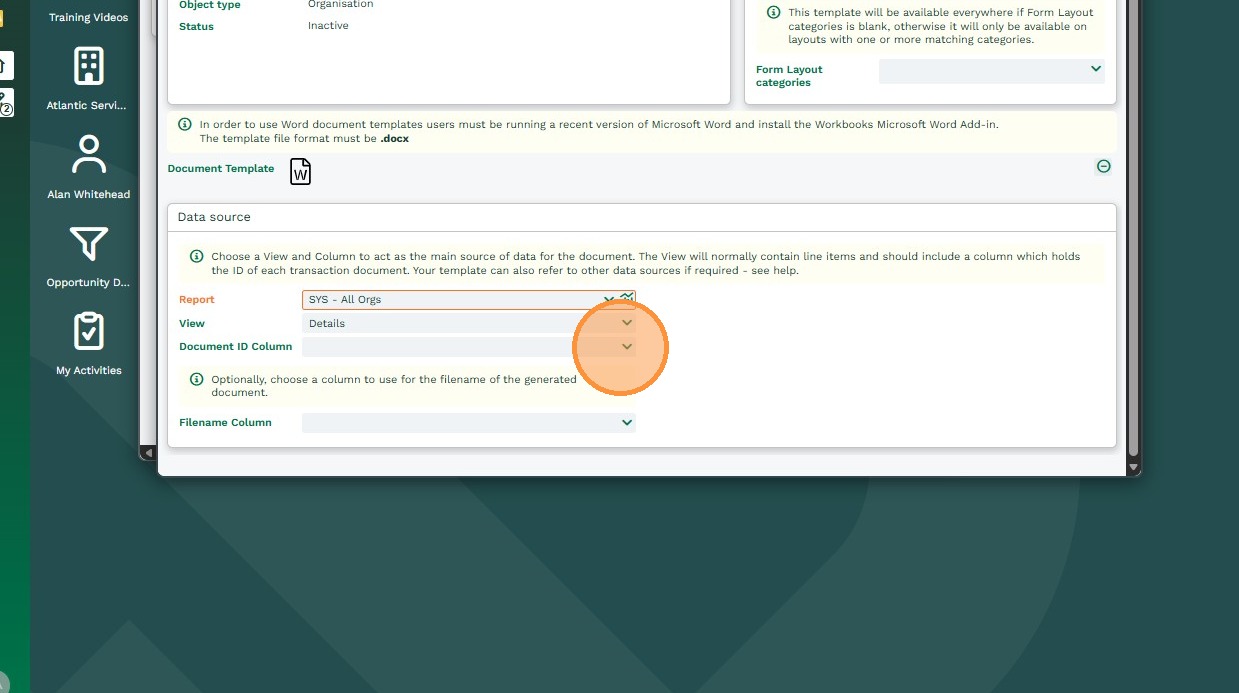
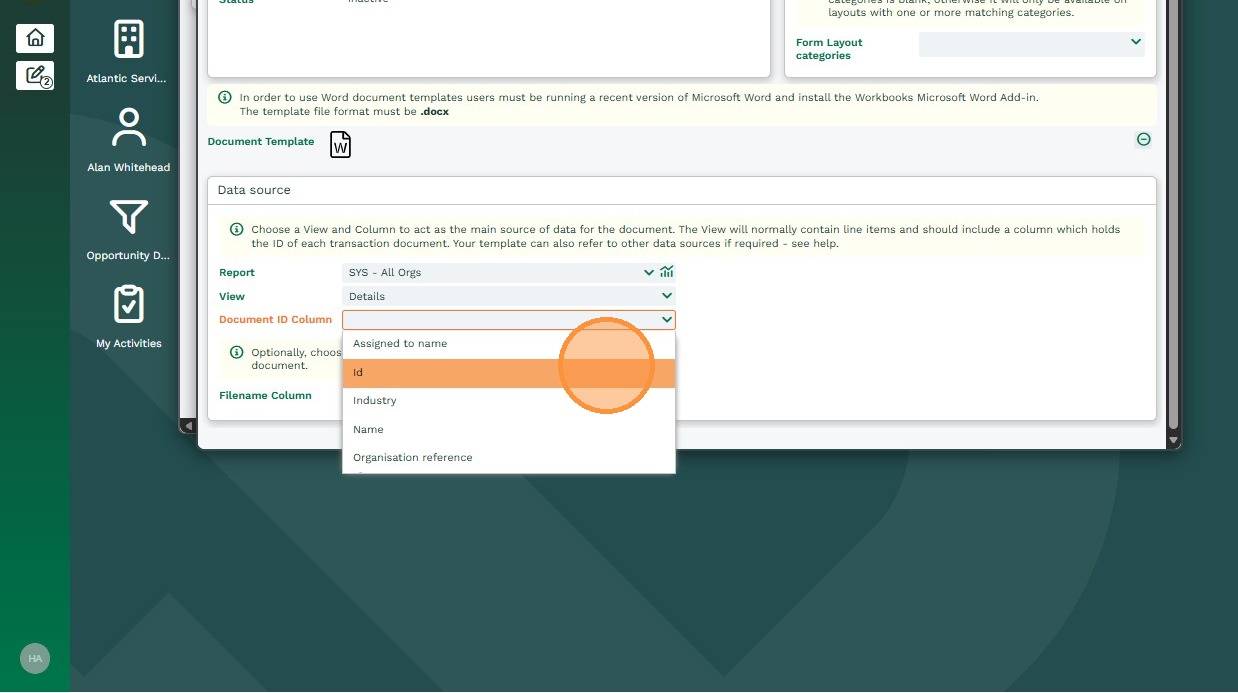
10. Document Id Column: The name of the column that specifies the Record’s Id.
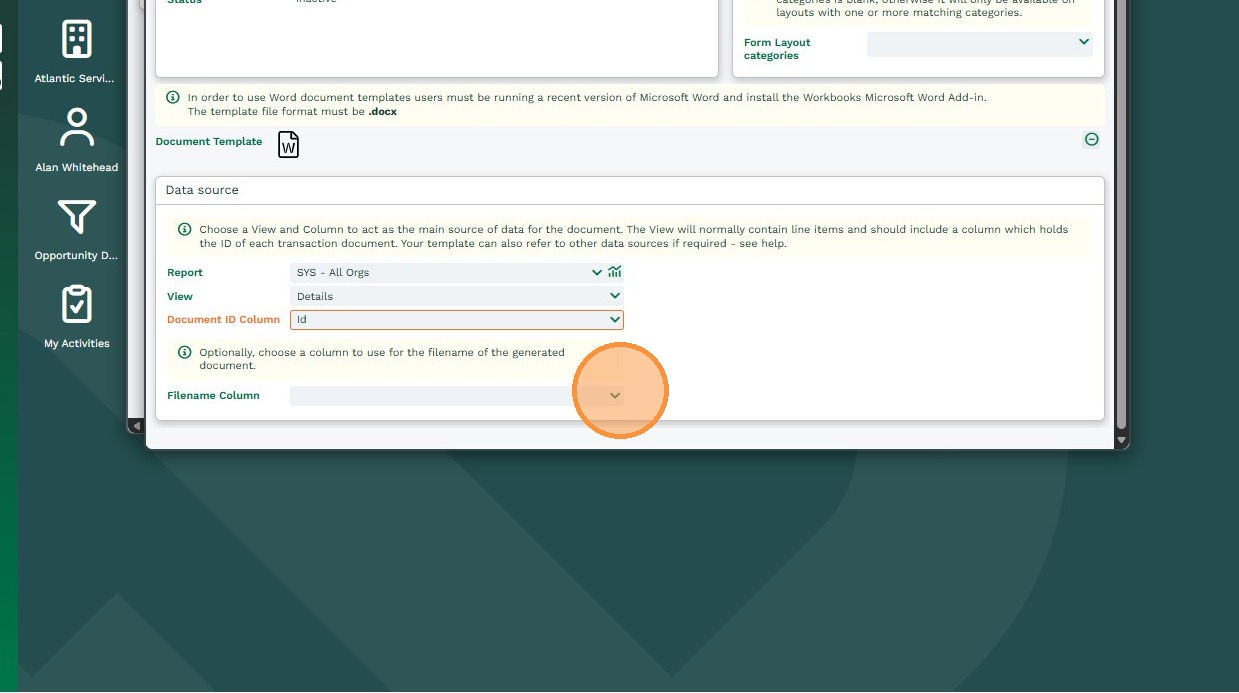
11. Filename Column: This will allow you to select a column in the Report that the add-in will use to name the document. In the example below, this column is an Organisation Name (as the Report is based on an Organisation) so the word document will be have the same title as the Organisation Name. If left blank, the Word Document generated will be titled with an Object Reference (eg.- ORG-117.)
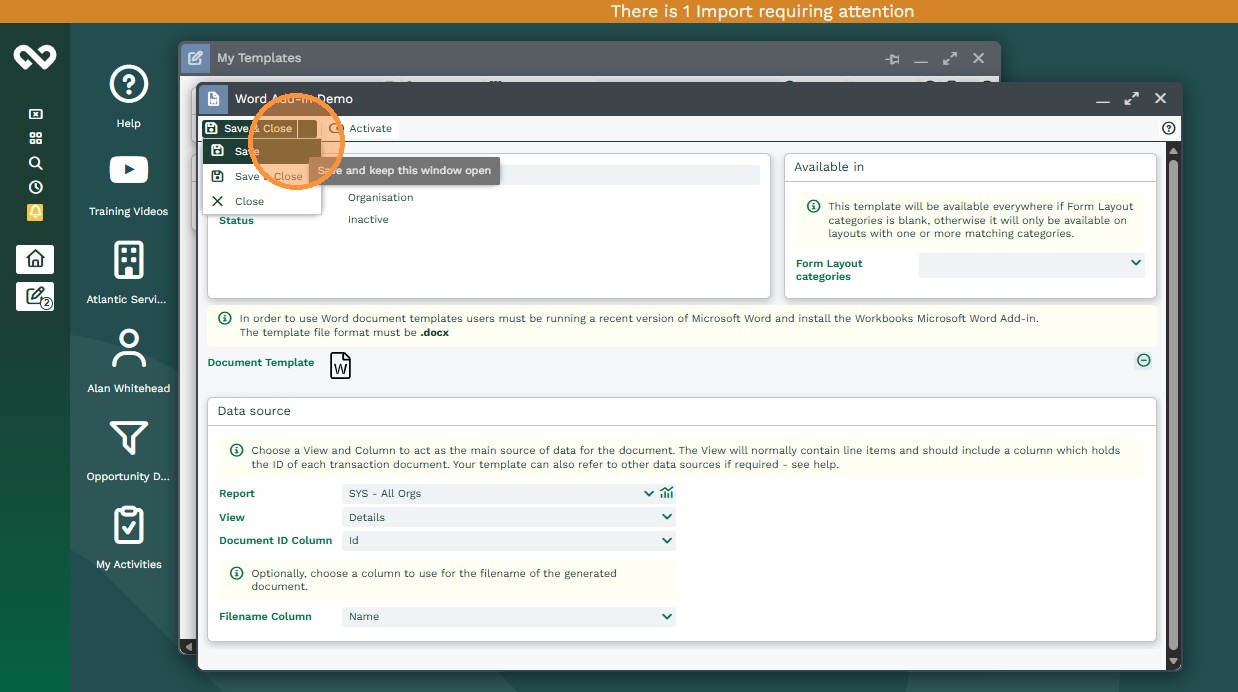
12. Click “Save”
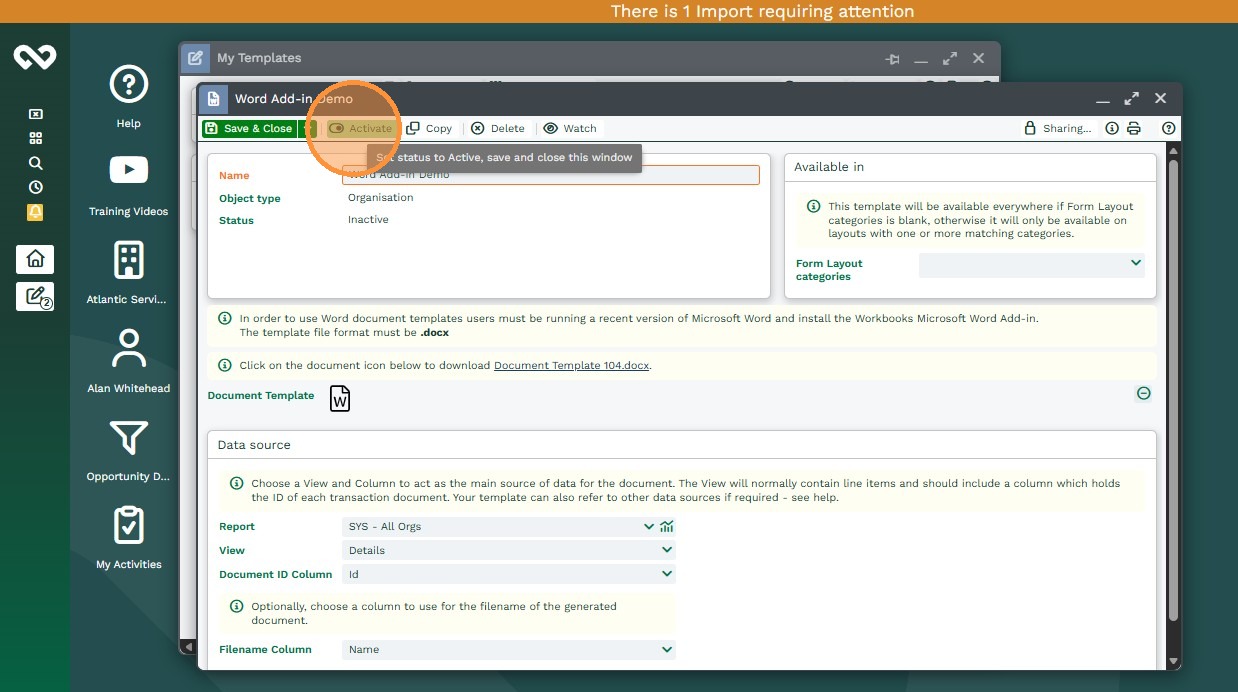
13. Click “Activate”
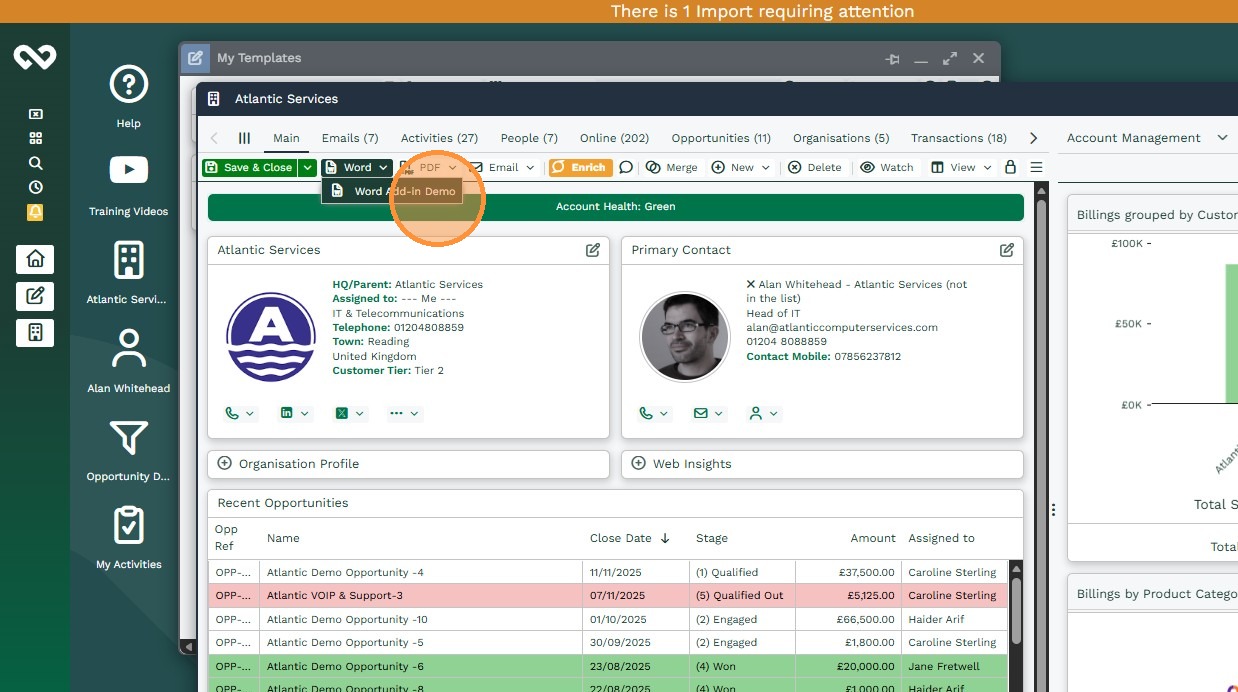
Now when you open a Record of that type you will see a Generate Word button along the toolbar next to the Generate PDF button, here you will be able to select any available Word Document.
Creating a Template Using Multiple Reports or Summary Views
The Word Add-In can use data from multiple Reports. This is achieved by adding syntax to your template in Word, before adding the template to Workbooks. This is to specify the new Report you are using, as well as the View and Id column used within that report. Before the table you want to populate in Word, type the following, amending the text in bold to match your report:
<repeat_table data_view=’Report Name:View Name‘ id_column=’Record Id‘>
The process is the same when using a different summary view on the same report as in the template setup, the Report Name, View and Record Id must be filled in.
For example, I have a report called ‘Word Add-in Test – Employees’. I am using the ‘Details’ view and my template is on Organisation Records, so I am using the ‘Organisation Id’ as the id column.
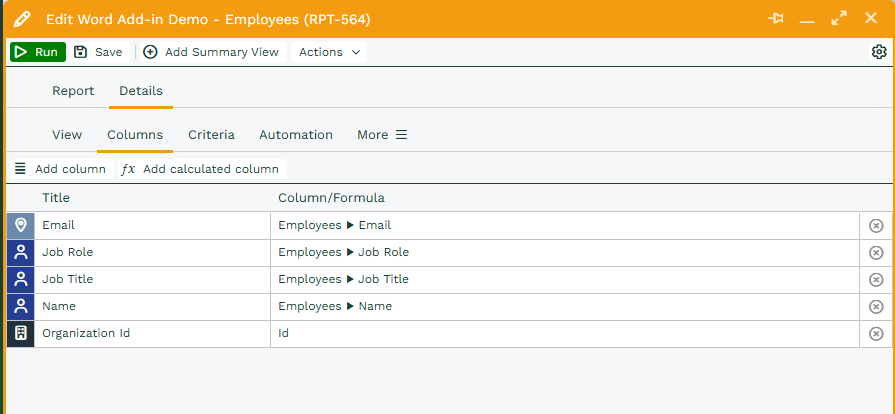
Therefore, the table in my Word Template will look like this:

With the syntax
<repeat_table data_view=’Word Add-in Test – Employees:details’ id_column=’Organisation Id’>
above the table, and
</repeat_table>
below the table.