


Workbooks x Force24(Getting started page 2)
Some of these steps are taken prior to Onboarding, given that an order for Force24 has been submitted.
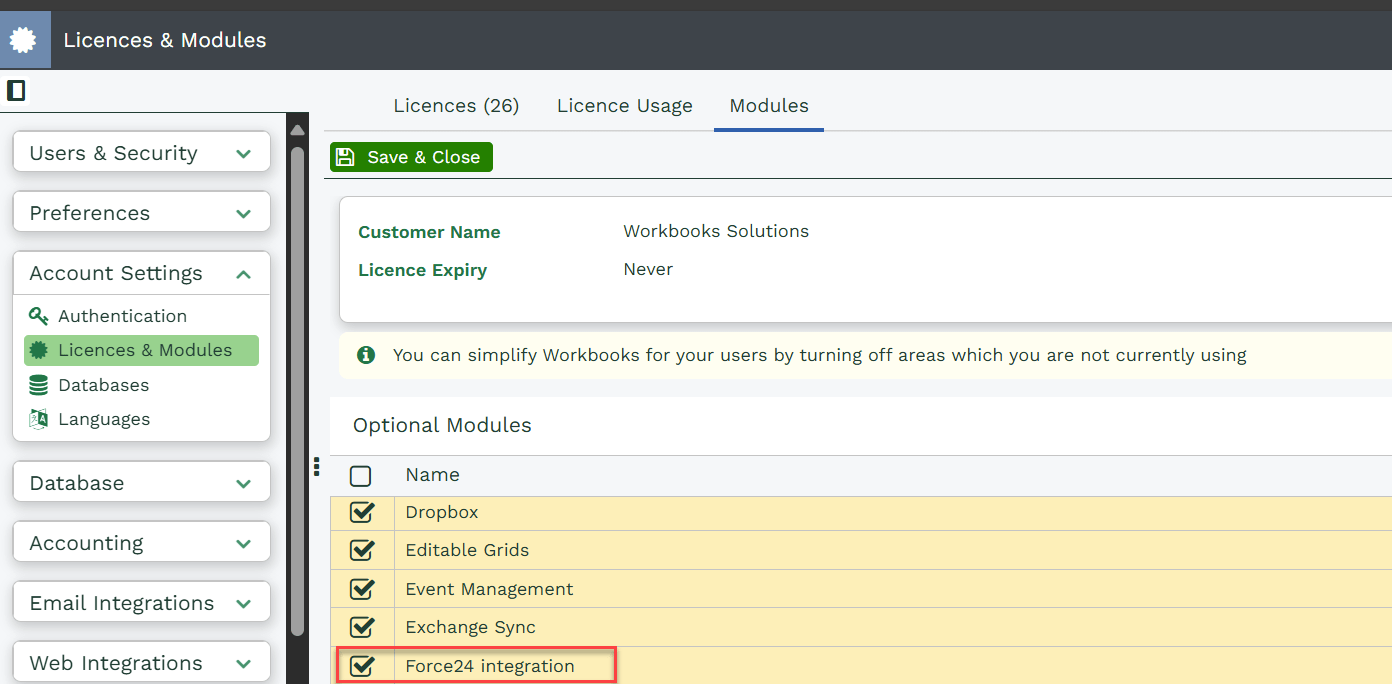
1. Enable Force24 Module in Workbooks
Once you have purchased a Force24 licence, the module will appear in your database which will need to be enabled. To do so please click on Start > Configuration > Account Settings > Licenses & Modules > Modules > Force24 Integration. In doing so, this will create the automated processes used by the integration as well as make the Force24 section appear within the Start menu.
Note
NOTE: It might be worth have the System Admin review if special User Groups need to be created/or amended to allow Users to access Force24 tabs or iFrames in Workbooks.
2. Capabilities needed in Workbooks to access Force24
To have visibility of the Force24 UI, as well as the Force24 configuration, Users will require the necessary Capabilities.
-
- Force24 Full User
-
- Modify Force24 Configuration
-
- Modify Force24 Marketing Configuration

Once the steps above have been completed, the following actions will occur automatically:
-
- The Force24 configuration area will appear: Start > Configuration > Email Integrations > Force24
-
- The Force24 UI within the Workbooks start menu will be visible by following path Start > Marketing > Force24
-
- Force24 tabs will be created and displayed on People records and Mailing Lists
-
- Force24 will be added to the picklist ‘Synchronise Mailing List with’ to allow for Force24 to be selected when setting up a Mailing List within Workbooks
After sending the onboarding email from Workbooks support, we co-ordinate with Force24 to provision your account.
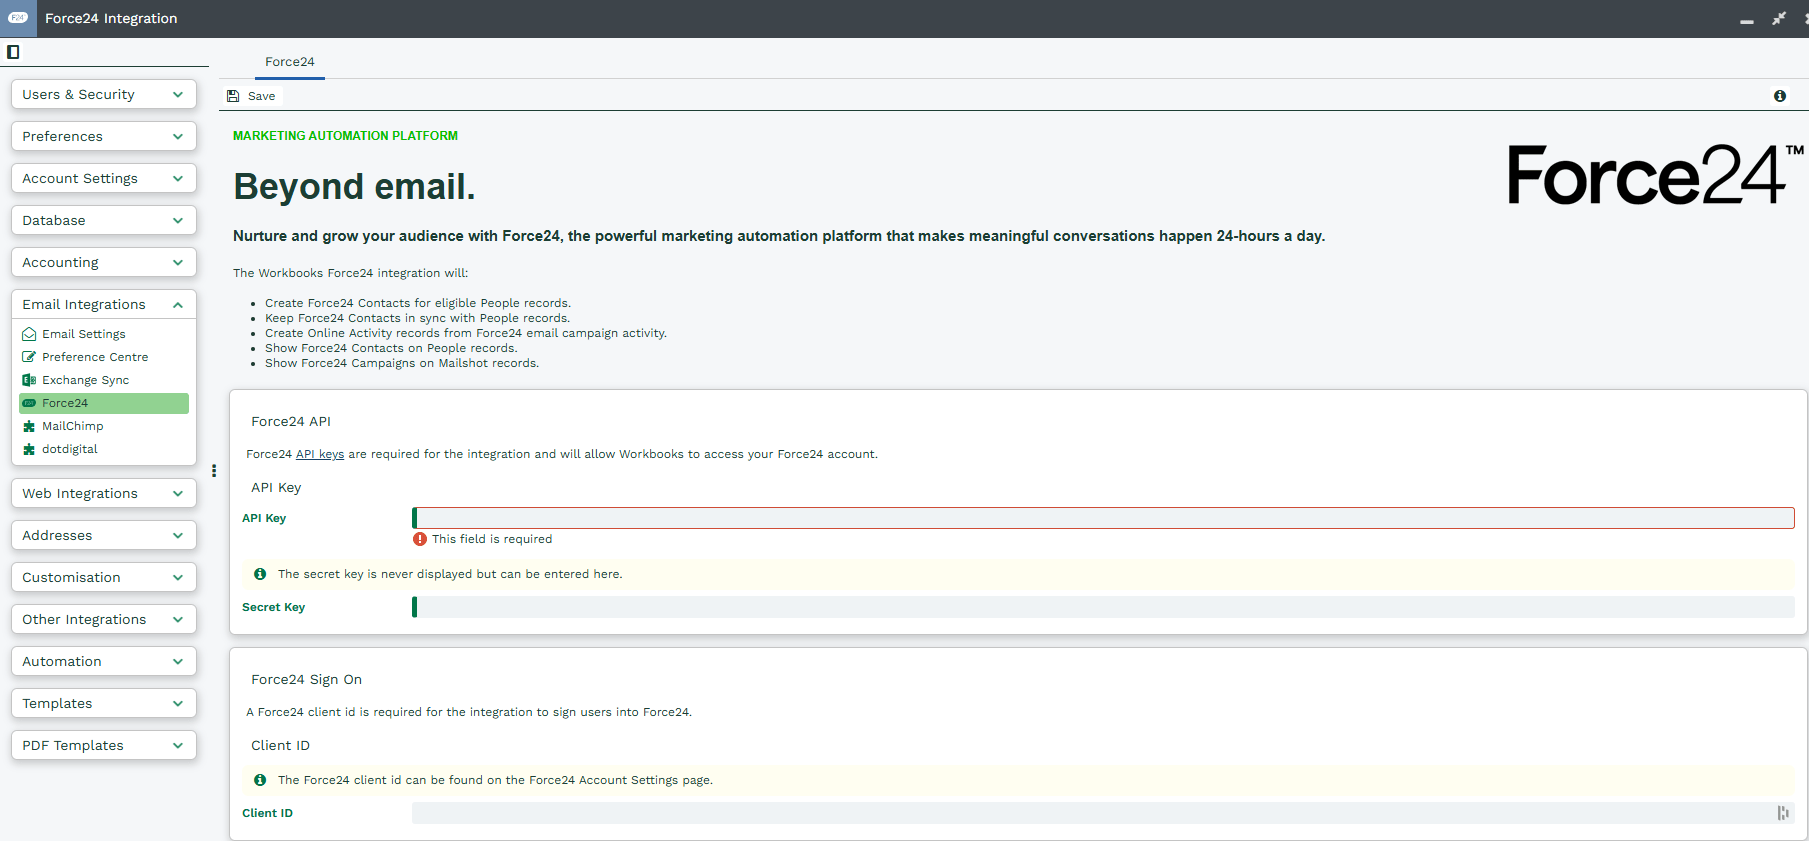
3. Force24 Main tab
The Main User can then obtain the API Key, Secret Key, and Client ID, which must be entered into the Force24 Configuration in your database.
In Force24: Navigate to Settings > Application > New Application. Here, after naming the application and clicking create, you will be able to see two values, ID and Secret.
In Workbooks: Navigate to Start > Configuration > Email Integrations > Force24. Add the API Key (ID) and Secret Key (Secret) from your instance of Force24
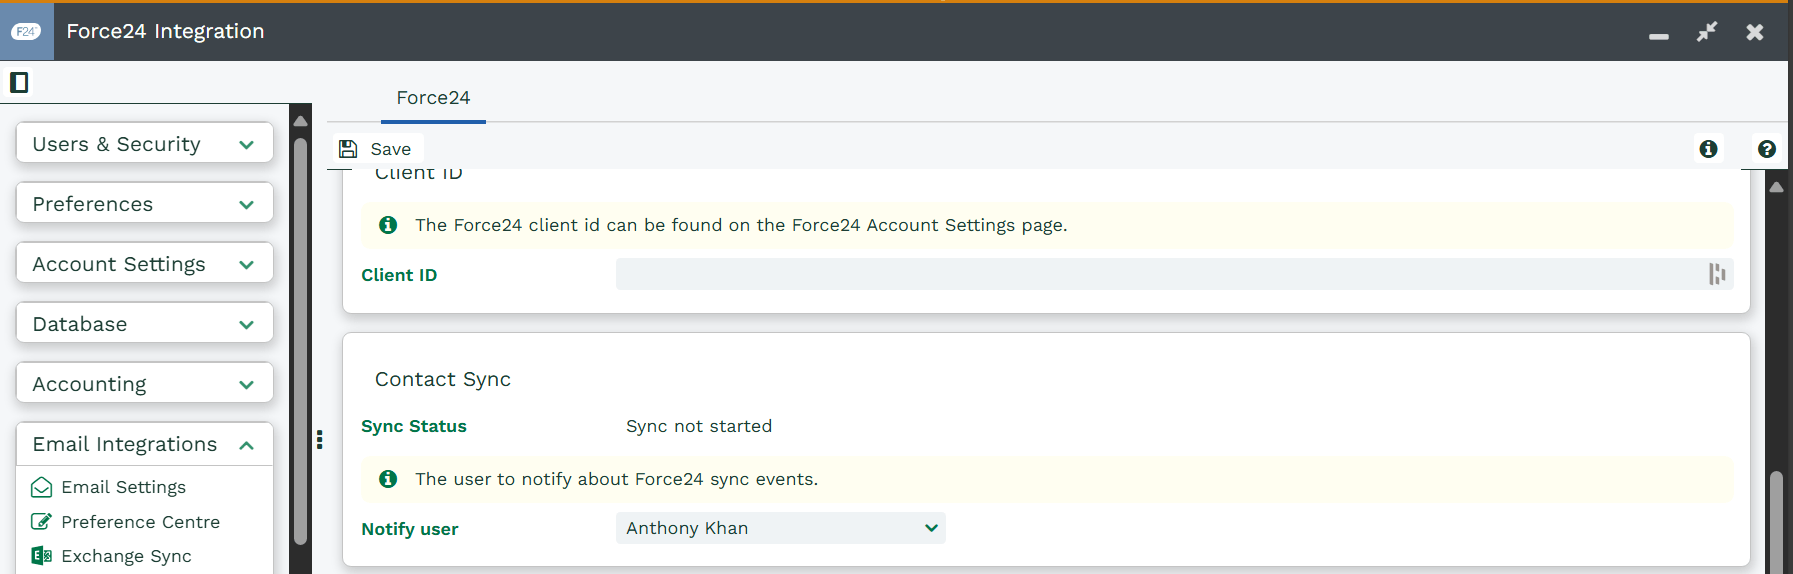
Scrolling down on the screen will present you with additional sections –
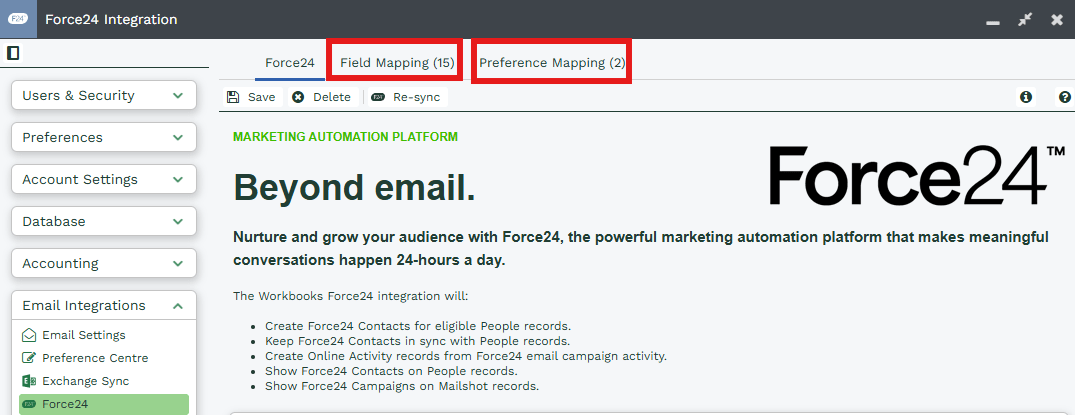
Note
NOTE: Once steps listed in step 3 have been completed, Field and Preference Mappings tab shall appear
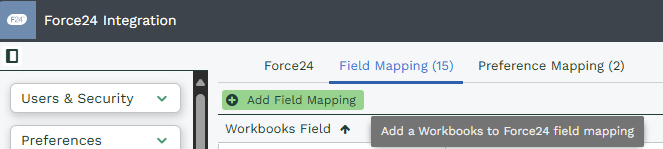
4. Field Mappings
Any additional People data used for segmentation needs to be synced to Force24. To aid this process, you are able to create field mappings between Workbooks Fields and Force24 Fields. To configure this please navigate to Start > Configuration > Email Marketing > Force24 > Field Mapping.
Note
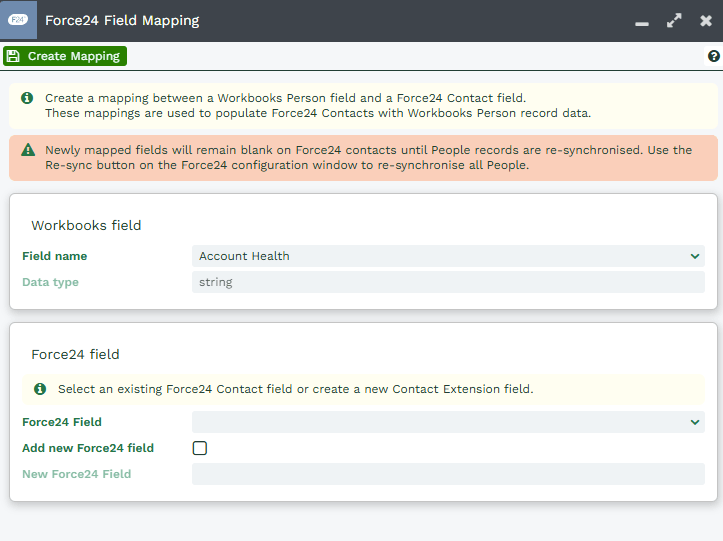
NOTE: You can also create new custom Contact fields either here or directly in Force24.
Following on from the above( Start > Configuration > Email Marketing > Force24 > Field Mapping) > Add Field Mapping as below –
A new window, Force24 Field Mapping opens where you select or configure the actual mappings –
5. Preference Mappings
To set up Email Preferences in Force24:
-
- Navigate to Settings > Account Settings > Opt-Out Sub-Preferences in Force24.
-
- Once configured, go to Start > Configuration > Email Marketing > Force24 > Preference Mapping in Workbooks to create the mappings.