Workbooks on Mobiles and Tablets
Workbooks is accessible on both mobile and tablet devices through two methods:
Using Workbooks on mobile can be especially valuable for users who travel frequently or rely on portable devices. For example, an account manager visiting a customer site can update Customer Care Tasks, or add Notes to an Organisation record directly from their tablet.
For the best experience and full functionality, we recommend installing the Workbooks mobile apps. However, if you prefer to access Workbooks through a browser, please review the following guidance.
Workbooks can be used on mobile and tablet devices via standard login methods, provided you are using a supported browser.
Newer iPads may default to displaying the desktop version of Workbooks. You can switch to the tablet‑optimised version by navigating to:
Preferences > Desktop and Tablet Interface > Look and Feel > tick the checkbox “Prefer desktop computer”

Key differences between Desktop and Mobile/Tablet browser versions
The mobile Workbooks UI is designed to be functionally identical to the desktop Workbooks UI, so that everything you need can be clearly identified and is easily accessible for you.
That being said, there are a few changes that we had to implement in order to make the system run smoothly on mobile devices:
- The number of rows visible in any grid is limited to 25 on a mobile phone; this is to reduce the amount of memory consumed on the mobile device, which should provide a smoother experience for Users.
- The wallpaper on Mobiles will always be the same image and will not mimic the one set on your desktop; this is to save memory and bandwidth. We also do not display your company logo for the same reason.
Start Menu and Shortcuts
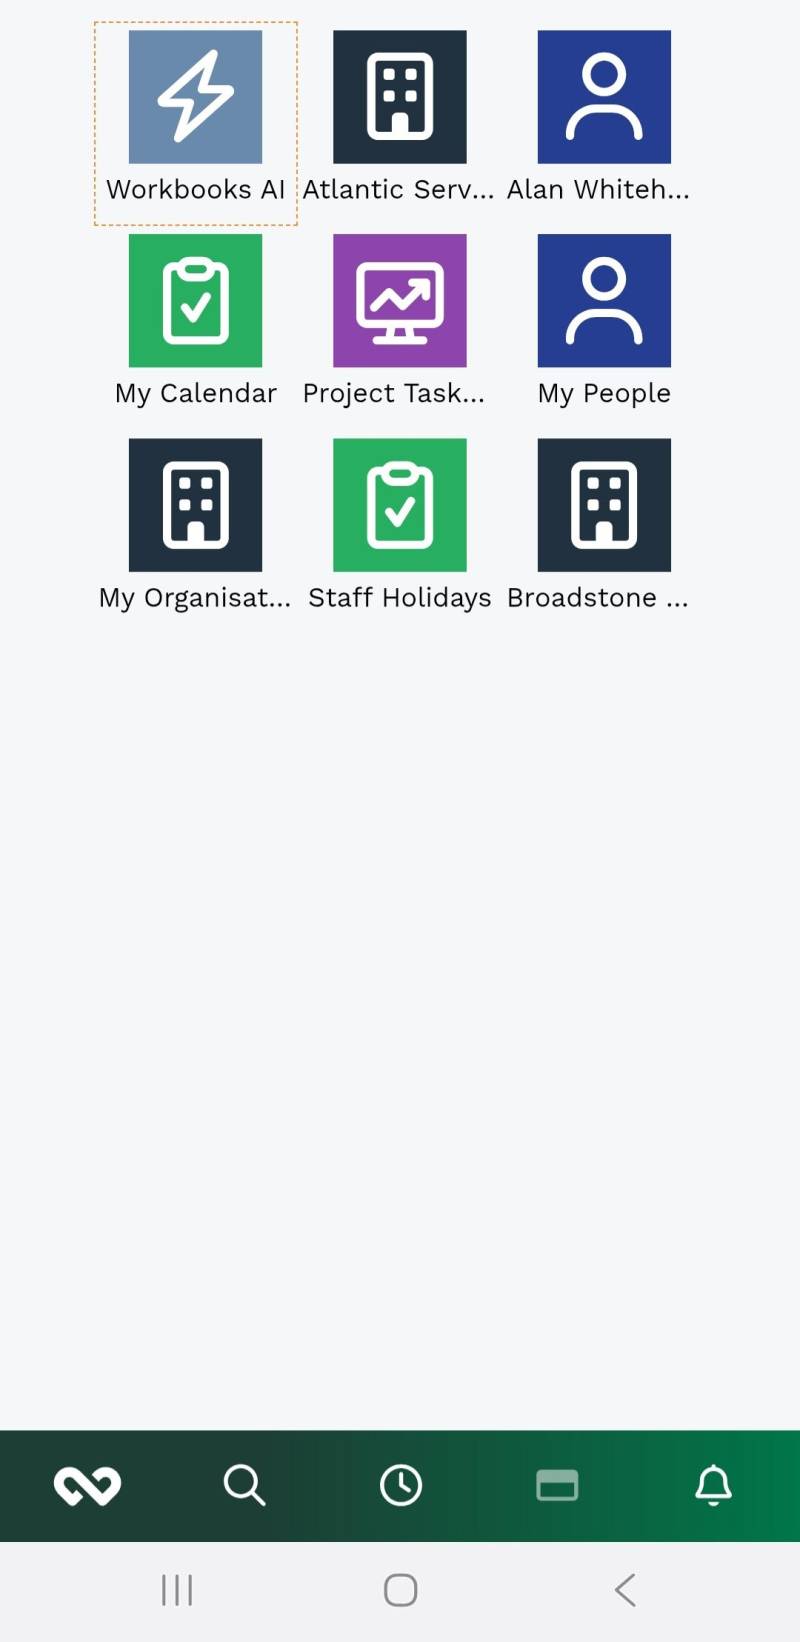
Once you’ve logged into Workbooks on your mobile device, you will see a condensed version of your desktop and the taskbar which consists of the Start button, a Search shortcut, Recent Items, a Window menu that lists your open items, and the Notifications button. The taskbar will appear at the bottom of the page when the phone is in portrait mode, and on the left hand side of the screen when in landscape.
Navigation and Menus
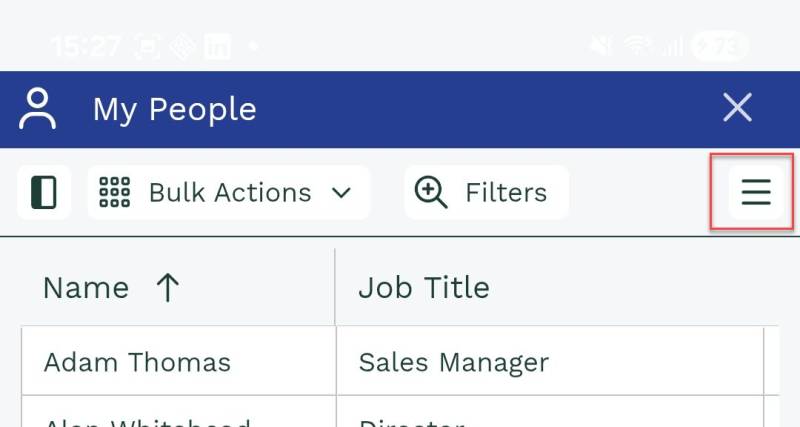
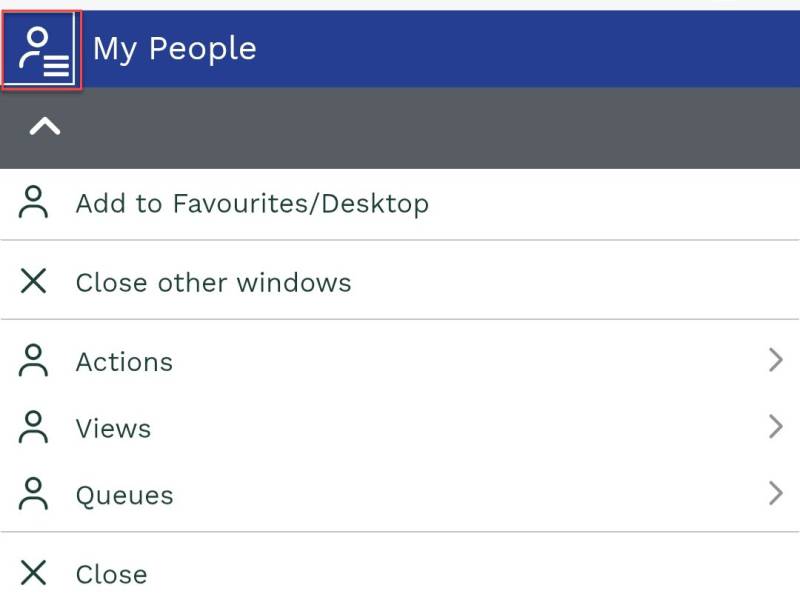
Not all of the usual buttons on a window can be displayed across the smaller screen of a phone or tablet, so those that don’t fit are collapsed into a menu that you can open by tapping on the hamburger icon in the top right of a window:
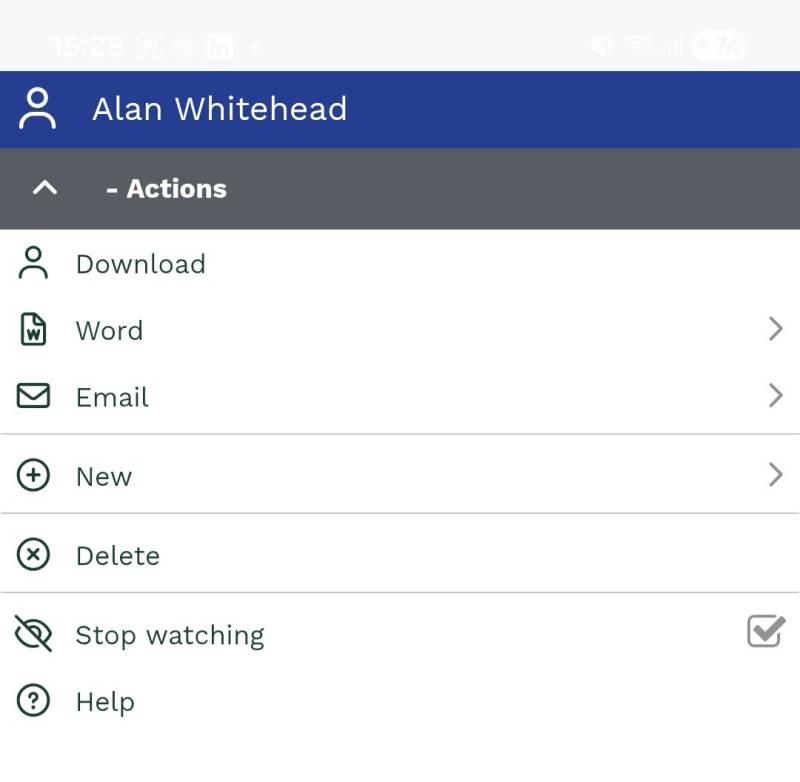
Menus such as this will open in full screen – you can tap on the grey bar on the left to navigate back from a sub menu, or if already at the top level, it will close the menu.
Similarly, on a Landing page the left-hand panel is not shown to save screen space. Instead tap the top-left icon of the window to access the menu, and tap the grey bar to close it:
Switching Between Views
By default, when you click on any Record types, you’ll be taken to the ‘My’ View (e.g. My Organisations, My People), to access other Views you will need to click on the top left hand corner (as above), click on Views, and select the View you would like to display.
Filtering
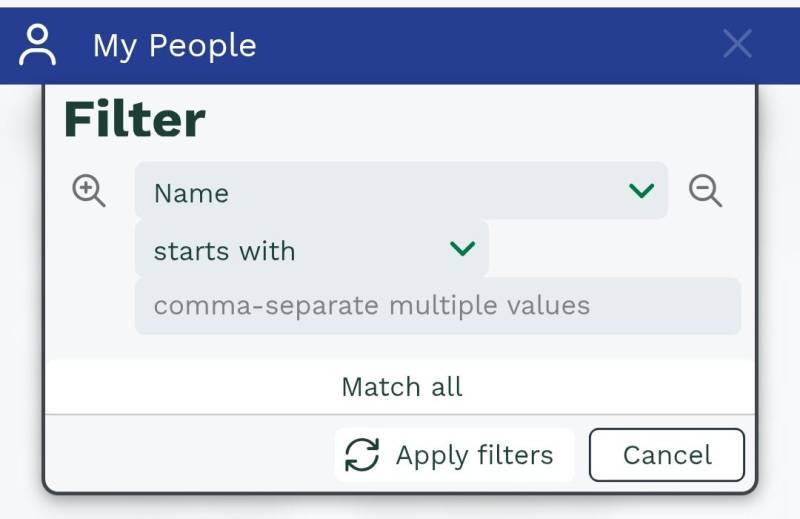
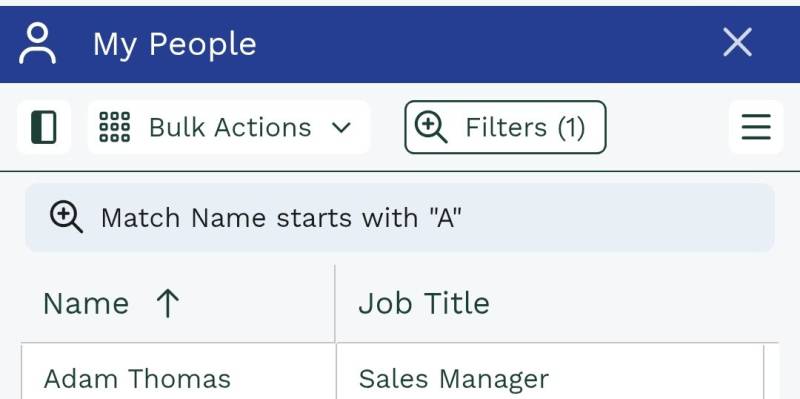
Filters on mobile devices work in exactly the same way as on the desktop version, though the appearance is slightly different. When applying a filter a panel will drop down allowing you to add as many filters as required, once the filters have been applied they will be summarised on a single line above the grid to save space:
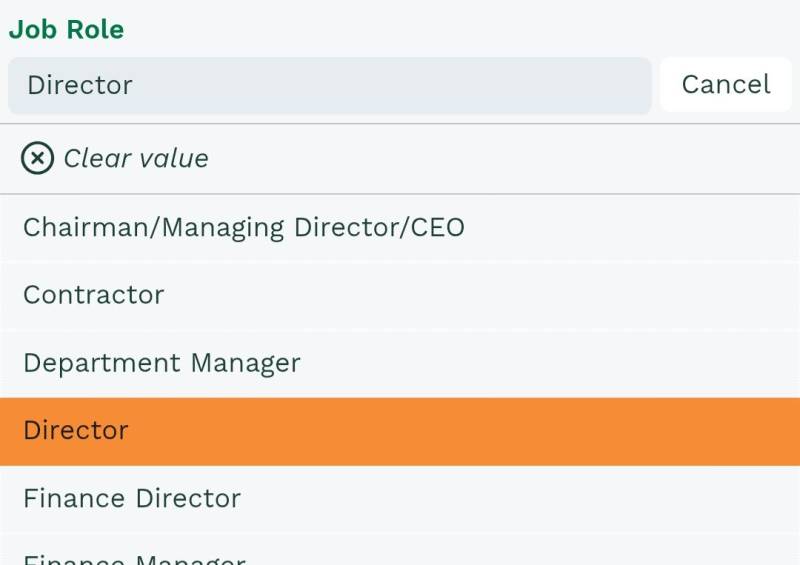
Picklists and Linked Items on a Record will open the dropdown in full screen. The values can then be filtered by typing in the Field at the top in the exact same manner as on the desktop version.
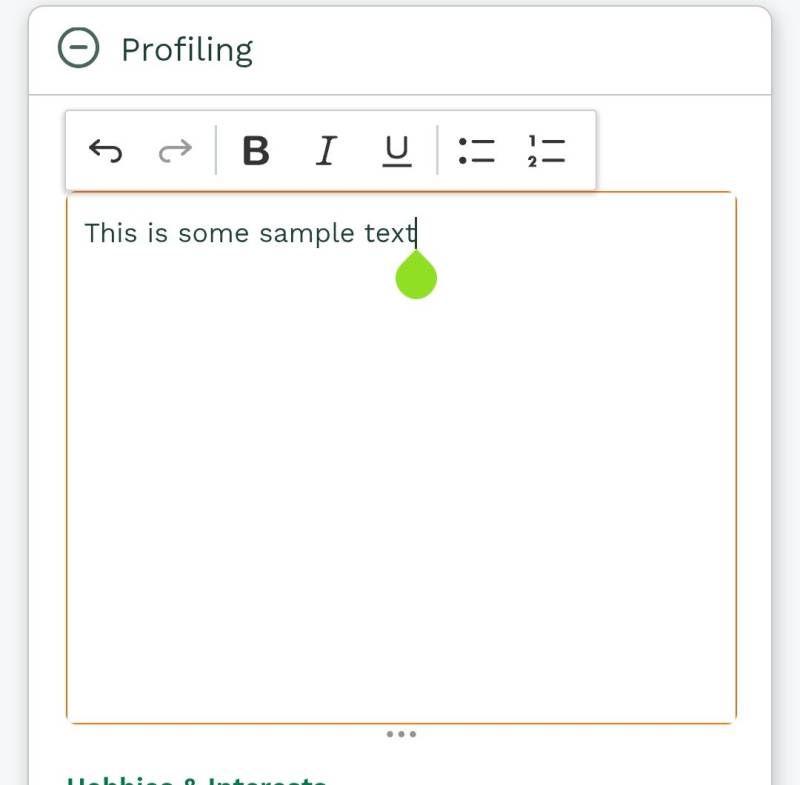
Using the Rich-Text Editor
The Rich-Text Editor on phones offers simplified styling, while more advanced actions such as inserting images and hyperlinks are not available due to the restricted screen space.
To edit the contents of a rich-text field tap the View/Edit button. The field content is then presented in a full-screen view, allowing you to make the desired changes. Tap ‘Done’ when you have finished.