


What to do when a User leaves – Disabling Users
There is a best practice method for removing access to an account for a User, which prevents them from accessing ALL Databases on that account, not just one.
You can find more information on User Management, including what to do when a User leaves, by watching the recording of our our drop-in clinic which you can find here.
NOTE: It is also best practice that if a User is no longer going to use Workbooks you do not rename or delete their User account. Instead we suggest disabling the User using the method below and creating a new User following this guidance.
To remove someone’s access from an account (for example, if someone has left your organisation) click Start > Configuration > Users & Security > Users to bring up a Landing Page showing all of the Users past and present:
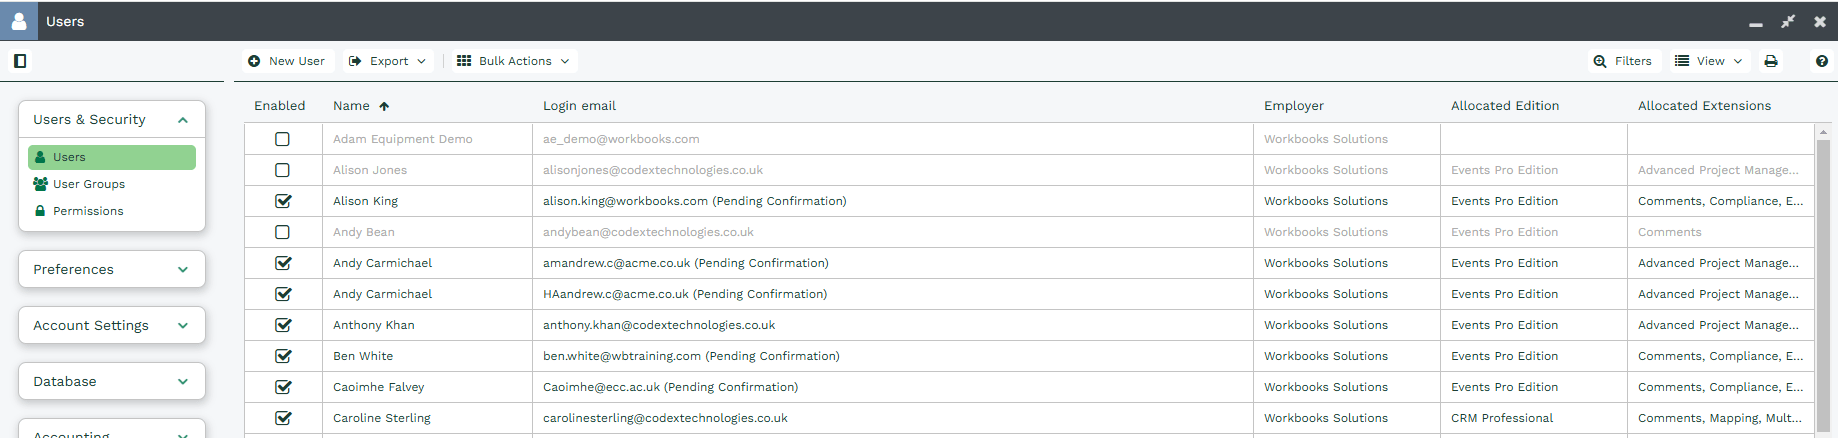
From this View, locate the User from whom you’d like to remove Workbooks access:
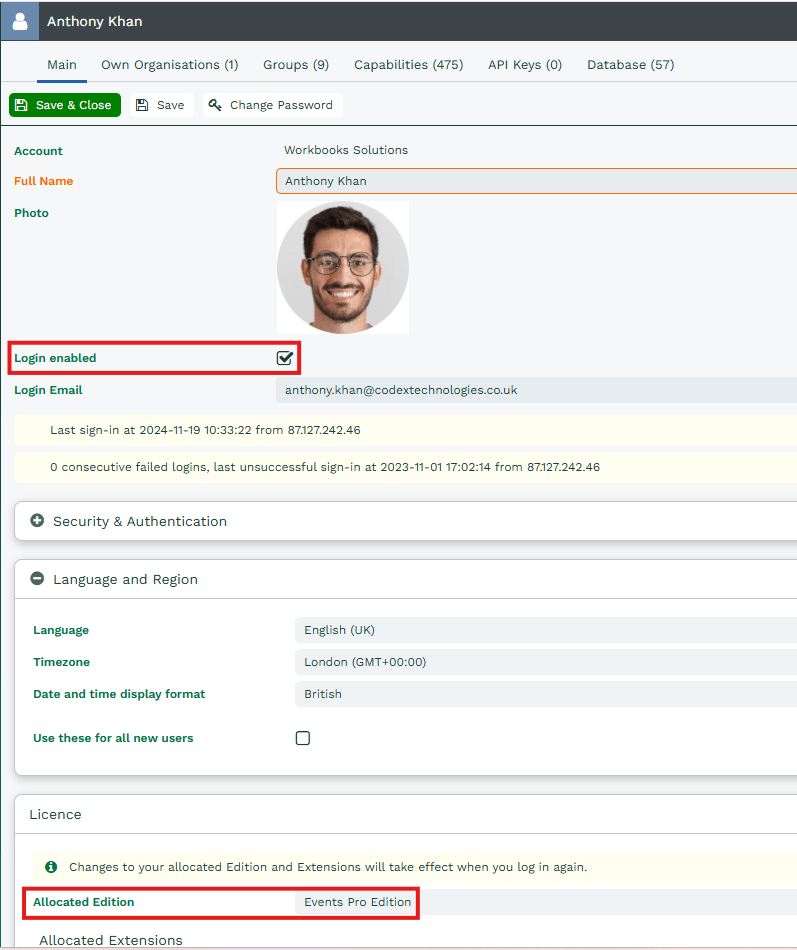
The two highlighted sections show where the record needs to be updated. Untick the Login enabled checkbox and change the Allocated Edition to ‘No Edition (login denied)’.
Any records assigned to a User who is no longer enabled will still show their name in the Assigned to field until that record is either:
- Assigned to another User or a queue on an individual basis, or
- Assigned to another User or a queue by using Bulk Reassign.
Disabling a user may affect any automated processes that rely on that User, such as sending scheduled emails. An information message will appear to notify you when attempting to disable the User.
To avoid disruptions, it is recommended to transfer ownership of any reports, processes, scheduled emails, and bulk actions associated with the user before disabling the account. This can be done by navigating to the Permissions section, represented by the padlock icon at the top right of the record. Members of the System Administrator group should have the necessary permissions to complete this task.
NOTE: If you fail to remove any licences, these licences will not be free for use by other Users.
If the User has any Allocated Extensions, untick these as well so that they are freed-up for allocation to other active Users.

More details on how to manage User licences more effectively, and keeping within the allocated limits, can be found in Licences & Modules or by clicking here.
Disabling User access to a specific Database
To remove someone’s access to a particular Database, for example, a test Database, click Start > Configuration > Users & Security > Users to bring up a Landing Page showing all Users past and present. Select the User that Database access needs to be disabled for, then click on the Database tab which will show all Databases they have access to:

Against each Database is a circle with a white cross. Clicking this will disable access to that particular Database. Once clicked, you will be asked to confirm the action:
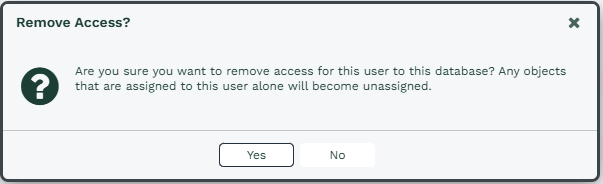
Access to the Database will be removed immediately.
NOTE: As shown in the screenshot above, removing a User’s access from a Database will cause all records that are currently assigned to them to become unassigned. This cannot be undone.