









Email to Case Plugin and Process
The Email to Case plugin makes it easy to set up and manage multiple email-to-case processes from a single interface. It helps you configure the key settings needed to create and update cases from email for support, IT, or sales teams. Email to Case is one of the scripts available in the Workbooks Script Library.
With Email to Case, users send an email to a designated address, Workbooks logs the message against a case, and an acknowledgment email is automatically sent to the sender. This guide walks you through the steps to set up and configure the process.
Microsoft retired Basic Authentication for Exchange Online in October 2022. As the original Email to Case script relied on Basic Authentication, we’ve developed a new version that uses Microsoft OAuth for secure authentication.
We’ve also created the Email to Case plugin, which makes it easier to install, configure, and manage Email to Case processes.
This guide explains how to:
- Install the Email to Case plugin
- Migrate an existing Email to Case setup from Basic Authentication to OAuth
- Set up Email to Case for the first time using OAuth
To learn more about Microsoft’s retirement of Basic Authentication, click here.
To convert your current Email to Case script authentication to Oauth
These instructions are for existing Email to Case users who need to switch from Basic Authentication to OAuth.
To use OAuth, you’ll first need to install the Email to Case plugin. Then you can reauthenticate your existing Email to Case process using OAuth.
To get started:
- Follow Steps 1 and 2 in the Setting up a new Email to Case script section to install the Email to Case plugin
- Open the plugin and select your existing Email to Case configuration
- Change the Authentication Method from Username and Password to OAuth
- Follow the Setting up a new Email to Case script guide from Step 5 onwards to complete the OAuth authentication process
Once completed, your existing Email to Case process will use OAuth instead of Basic Authentication.
Setting up a new Email to Case script
Install the Email to Case plugin
1. Go to Configuration > Plugins > Add Plugin
2. Select Email to Case (Plugin Email to Case) and install it
3. Close and reopen the Configuration page
4. Under Email & Integration, select Email to Case Settings
The Email to Case Settings page lets you manage all of your Email to Case configurations from one place.
Create a new Email to Case configuration
1. Click Add
2. Complete the settings as described below:
- Name – Enter the name for your process, such as “Email2Case – Support” / IT / Sales etc.
- Email Address – Enter the email address to fetch the mail from. (this will usually be the shared email address for your teams (i.e support@workbooks.com, sales@workbooks.com)
- Server IP/Web Address – Enter the IP or web address for your server. For example, outlook.office365.com.
- Server Port – Enter the port used by your server. Typically, this is port 993.
- Authentication Method – Choose the authentication method type to match your server configuration. We recommend ‘OAuth’ if possible, as Microsoft will be permanently disabling ‘Username and Password’ authentication come October 2022. Click here for further reading on this.
- Validate SSL Certificate – Enter ‘Yes’ unless your IT Administrator has specific setup that requires this to be disabled.
- Mail From – Enter the Address used by the script to automatically respond to process emails with. Usually, it makes the most sense to match email address entered previously so that replies to the automated emails come back to the email to case inbox.
- Largest Message Size – Enter an integer to limit the size of an email that should be copied into Workbooks VS creating a placeholder. If the number is larger than 999, then the integer will represent the email size in bytes above which the full email should not be copied into Workbooks.
- Folders –
- IMAP Folder – The folder on your email server to fetch emails from. Normally this is INBOX.
- Created IMAP Archive Folder – Processed emails are put here if a case was created (If a case reference in the subject did not match a Workbooks case and we chose to create a new case instead).
- Processed IMAP Archive Folder – Processed Emails are put here if a case was neither created nor updated. These should be manually dealt with in your email client.
- Updated IMAP Archive Folder – Processed Emails are put here if a case was updated (If a case reference in the subject matched a Workbooks case).
4. Click Add in the bottom-right corner to save your settings and allow the plugin to create the Email to Case process.
5. If you selected Username and Password as the authentication method, continue to Step 6. If you selected OAuth, complete the additional authentication steps below to connect the mailbox and authorize access before continuing.
- Select your email to case process in the plugin menu
- Alongside the OAuth status field, it should say ‘Authorization Required’. Click the Authorize button.
- This will open a new window in your browser asking for you to login to your office 365 account. Log in using the credentials for the address you choose as your email account during the setup. It might also ask you for the mobile number attached to this mailbox for users of 2FA.
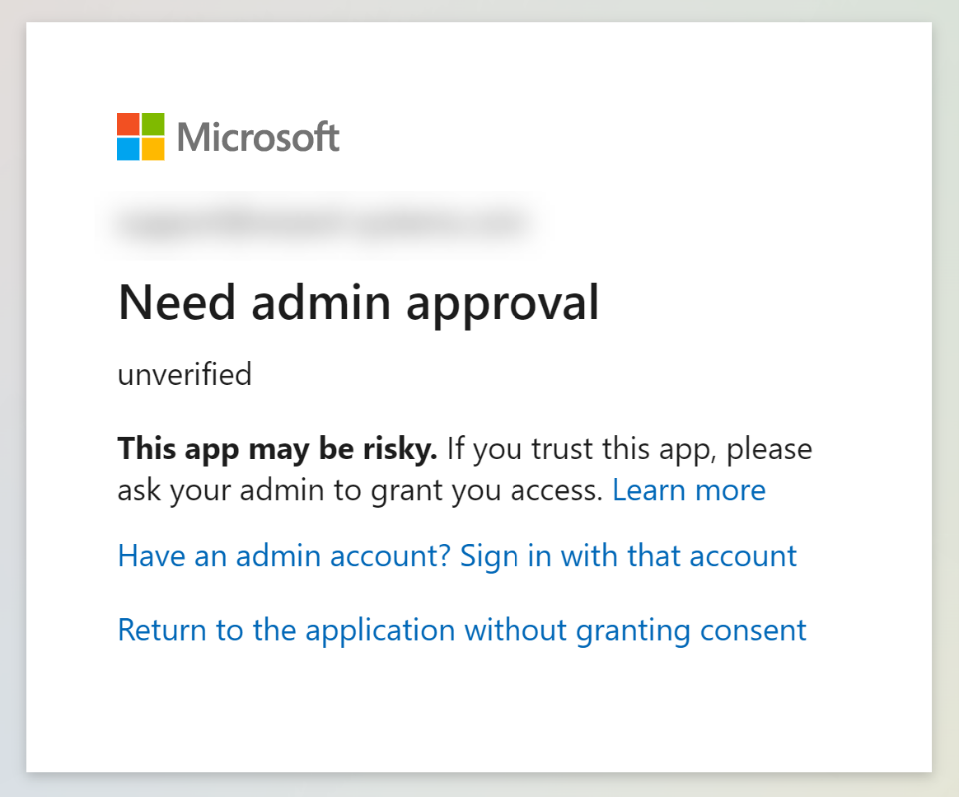
- Depending on your organizations security setup, you might encounter an additional screen “Need admin approval”. If this occurs, continue the process and log in with an admin account as requested. You will find that once this is completed, the plugin will still say ‘Authorization Required’. You will need to repeat the process again by clicking the ‘Authorize’ button again. The 2nd time however, you shouldn’t encounter the “Need admin approval” message and can continue as normal.
- If successful, you should be presented with a screen that says “Authorization successful. You can close this window now.” Equally, in the email to case menu, the process should now show as “Authorized” once refreshed.
6. After this, you should be able to see the process set to ‘Inactive’ in the email2case plugin menu. By default, email to case will be setup as disabled and you will need to enable it under Automation – Processes – Scheduled Processes, or in the email to case plugin menu.
7. Further settings can be altered for your Email to Case process for advanced setups. You can find these settings be navigating to the process itself and checking the Parameters tab.
Note
Don't forget, the 'Email Disposition No Case' parameter needs to be set to 'create' within the process parameters for Email to Case to start creating cases.
Check the process logs to confirm the process is running and not experiencing any errors.