


Email Settings
An Introduction to Email Settings, including how to set up an Email Account in Workbooks.
Tip
Take the time to set up at least one Email Account before trying to send email from within Workbooks.
In order for Users to be able to send emails from within Workbooks, at least one Email Account should be set up for them (just as you would for an email client). The configuration of this account needs to identify the SMTP mail server and credentials to be used. Users can create their own Email Accounts (within Preferences) or System Administrators can create Email Accounts for Users and then share the configuration with the User.
Sending Emails using Office 365
Using Office 365 has a number of advantages:
- Users can send via multiple email addresses
- You can apply outbound email policies centrally in Office 365
- Receiving servers will see that your email is coming from a trusted source
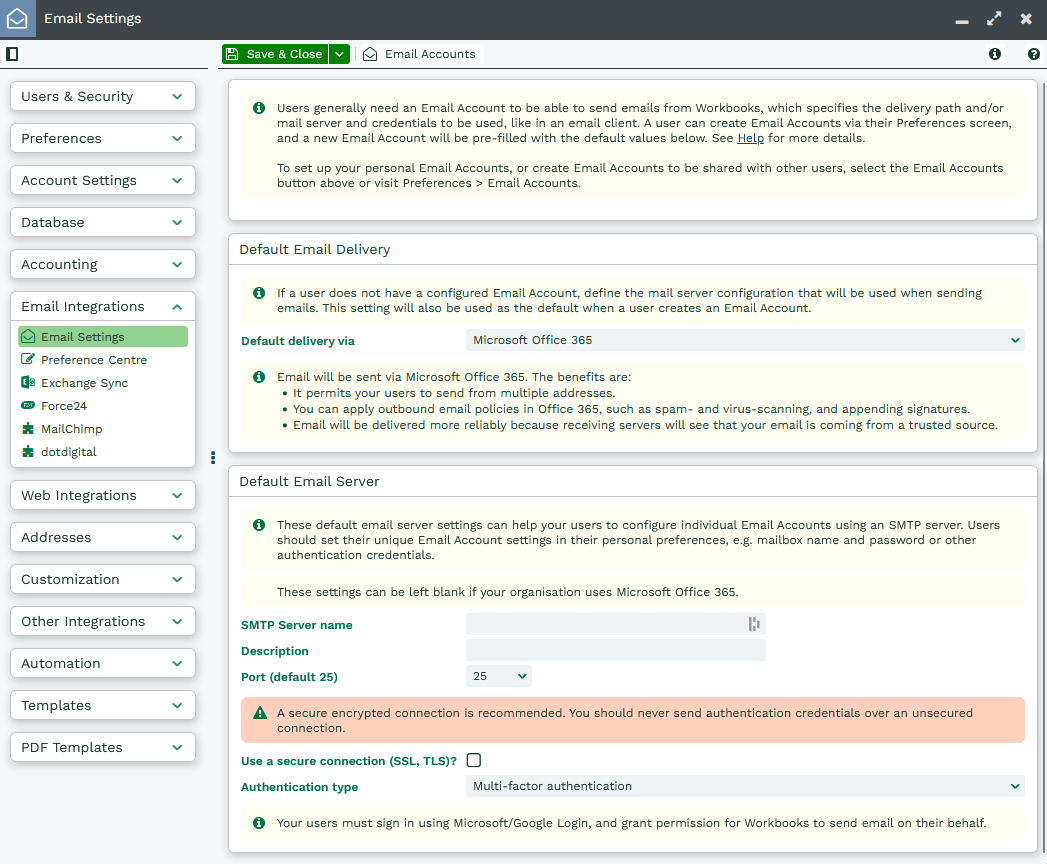
Selecting Microsoft Office 365 as the delivery type will default the Authentication Type to Multi-factor authentication, which cannot be changed.
Users then set up their own Email Accounts, either under Start > Preferences > Email > Email Accounts, or they will be prompted to do so when they first try to create a new Email. In a new window, users will also be prompted to log in using Microsoft Login, and will need to grant permission for Workbooks to send email.
Sending emails using an SMTP Email Server
Using your SMTP server to send messages has a number of advantages including:
- Email is delivered via your configured email server.
- You have more flexibility – your users can be set up to send from multiple ‘alias’ email addresses.
- Your email will be delivered more reliably since anti-spam measures typically treat email from your own server with more care.
NOTE: The ability for users to set up one or more alias addresses is controlled by Capabilities. If you want your users to be able to set up alias addresses make sure they have the following Capabilities: View Email Credentials and Manage Email Credentials.
Selecting SMTP Email Server as the delivery type will allow you to choose whether you want to use username/password or no authentication as the authentication type.
More information on setting up your email server can be found here.
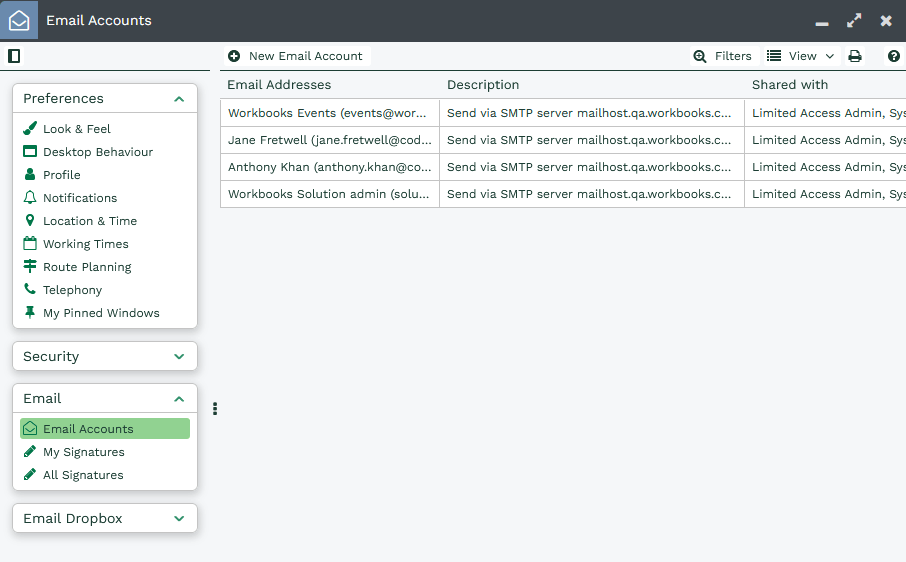
If you are a System Administrator you can set up an Email Account for a user by clicking Email Accounts > New Email Account at the top of the page. Make sure to update the Sharing Permissions of the Email Account to make it accessible to the relevant users.
Users can set up their own Email Accounts by clicking Start > Preferences > Email > Email Accounts > New Email Account.
Setting up the User Email Accounts
Any of the methods above will show a screen similar to the one below when you click Email Accounts > New Email Account.
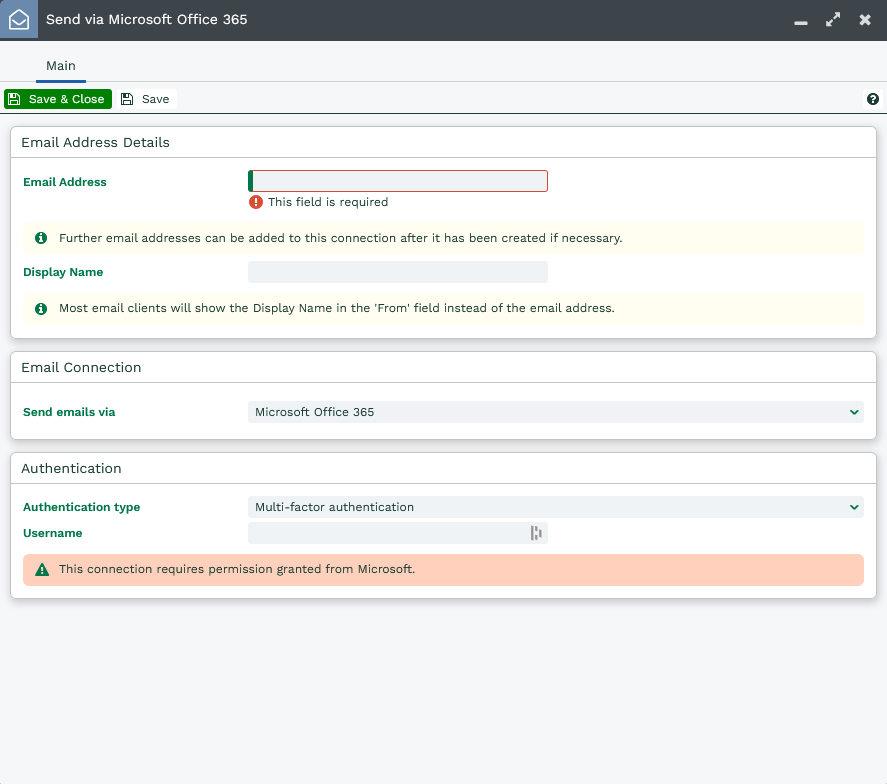
Some of these fields are already populated with information if their System Administrator has set up some default setting such as the SMTP Server name. If not, populate the fields shown and remember to extend the Sharing Permissions to the appropriate User or User Group by clicking the Sharing Permissions padlock icon in the top right and editing the permissions accordingly.
Users will also be prompted with this setup screen if they haven’t already set up an email account and attempt to send an email via Emails > New Email.
NOTE:
- When you enter your password, ensure you then click ‘Save & Close’, as otherwise Workbooks will clear the password field for security reasons and you will get authentication errors if you try to send.
- If you need to use authentication in order to send email and your password for your email changes at any time, you will need to update your email account settings in Workbooks to ensure that it uses the same password.
Sending emails using Workbooks
If no Email Account has been set up for a User, it’s possible to use a ‘fallback’ delivery mode, which routes outbound emails constructed within Workbooks via the Workbooks email server. This is not recommended except as a shortcut when you are first evaluating Workbooks, or if the only emails you send from Workbooks are internal, as Workbooks is not a recognised Email Server and emails often end up in Spam.
More information on setting up email via Workbooks Server can be found here.
NOTE: If you’re using Workbooks free edition you are not licensed to send emails via the Workbooks server.
Below is a video of our drop-in clinic on Email Settings.