


Tips & Tricks on the Desktop
This page provides helpful tips & tricks for using Workbooks on the Desktop, such as, renaming shortcuts, collapsing buttons and more. You’ll also be able to watch the recording of our drop-in clinic for more tips and tricks about navigating around Workbooks, which you can find here.
- Manage open windows
- Snap windows to left/right
- Stack taskbar icons
- Changing the size of Workbooks UI
- Keyboard shortcuts
Manage Open windows
Manage Open Windows gives you a clear overview of everything currently open on your screen. Minimized windows appear along the bottom, making it easy to select any window to bring it into focus or close ones you no longer need.
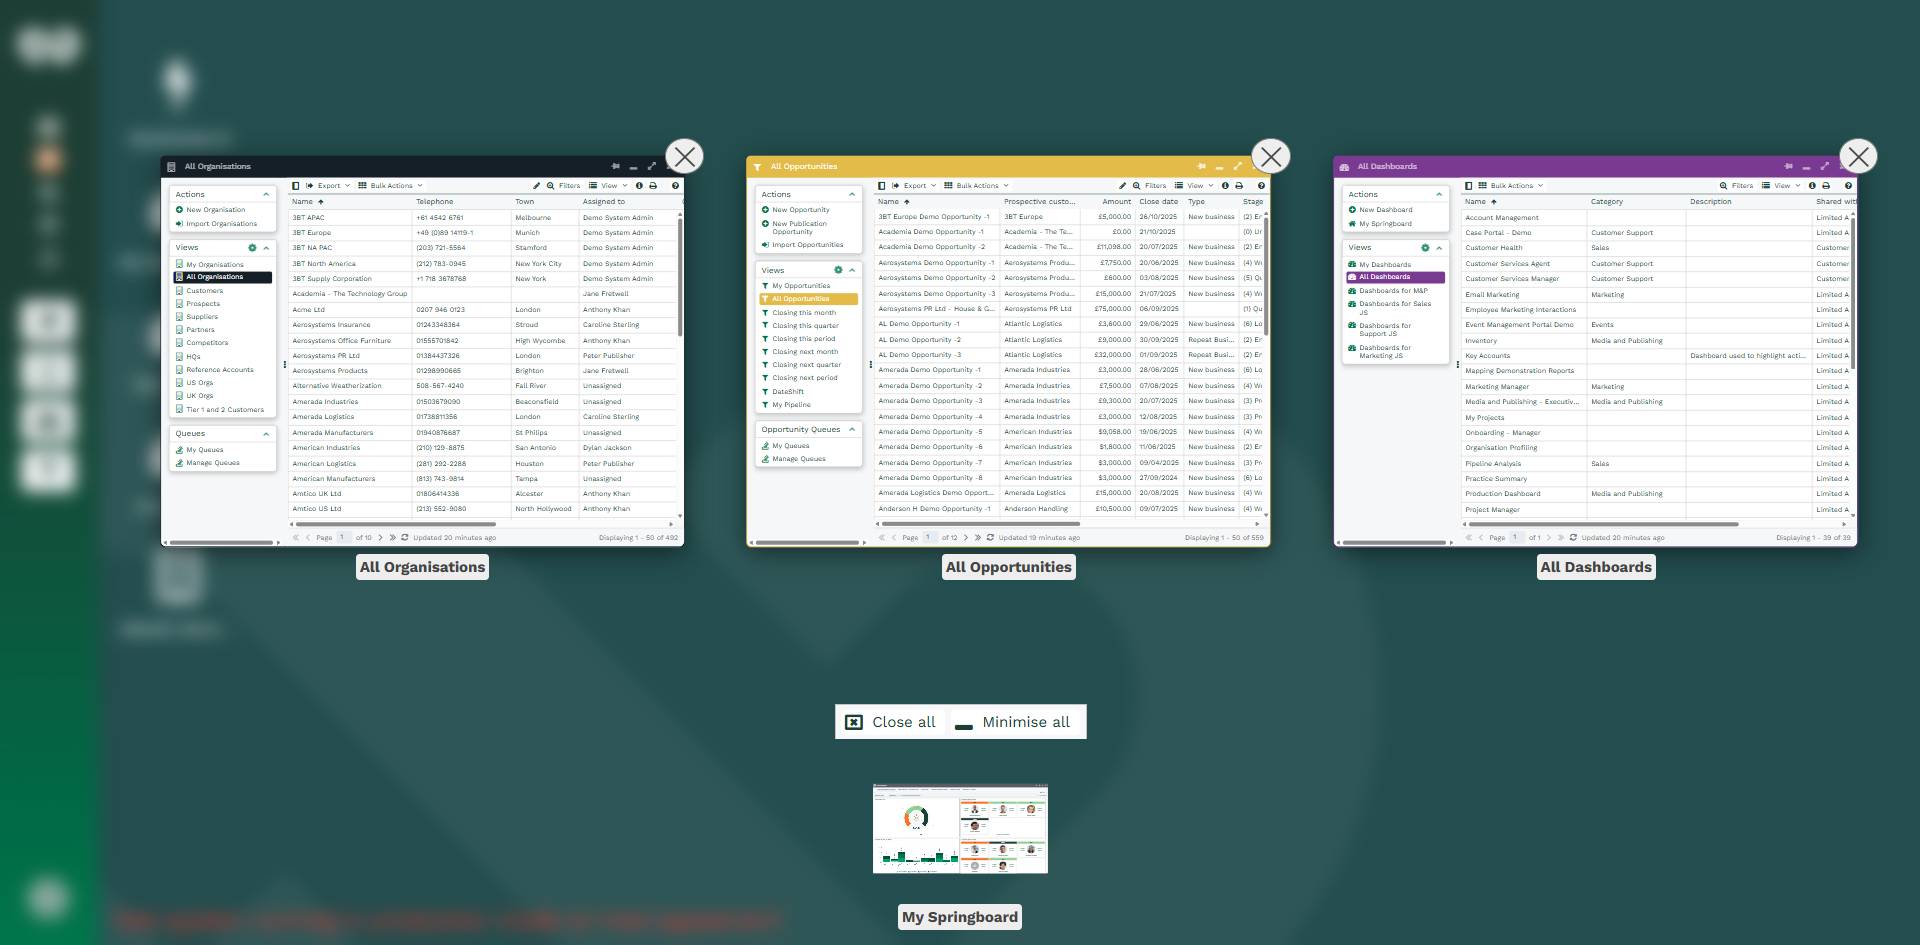
Clicking the blurred background exits Manage Open Windows and returns you to the windows you had open previously.
Child windows, such as the Information window, also appear in Manage Open Windows.
Snap window to left/right
You can snap windows to the left or right of the screen using the left/right arrows under the icon in the top left of the window, or by right clicking the icon in the taskbar.
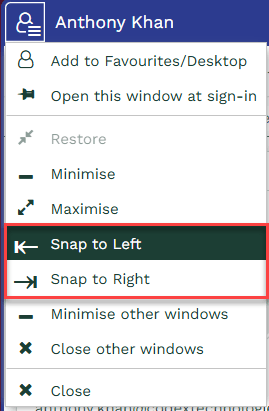
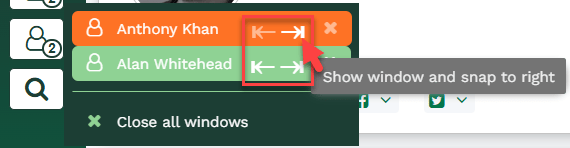
By default, snapping a window takes up 50% of the screen. Once snapped, you can manually resize it. If you then snap another window to the opposite side, it will automatically fill the remaining space.
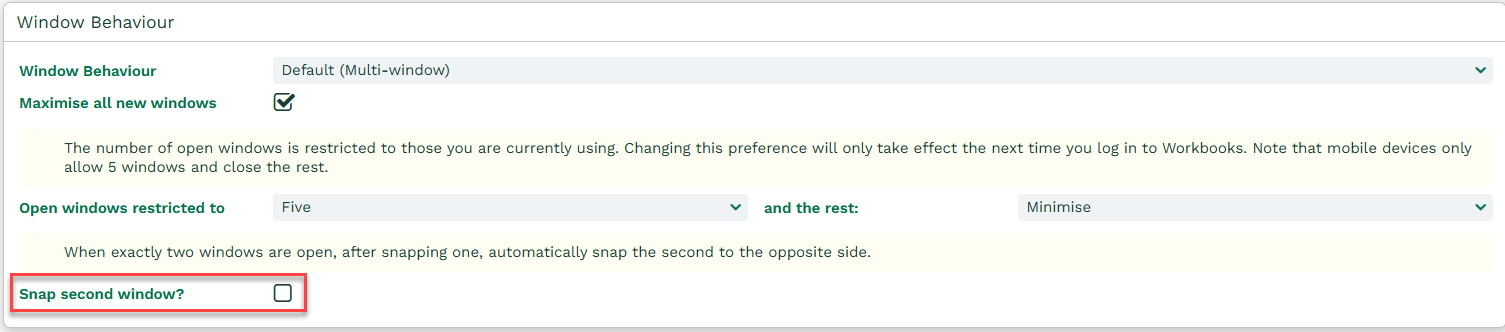
When two windows are open, you can choose whether the second window snaps automatically by adjusting the option within your Preferences.
Rich Text Editor
The text editor toolbar default layout is a stripped-down version that includes all the essentials. This shows up as a pop up, when clicking in the rich text field.

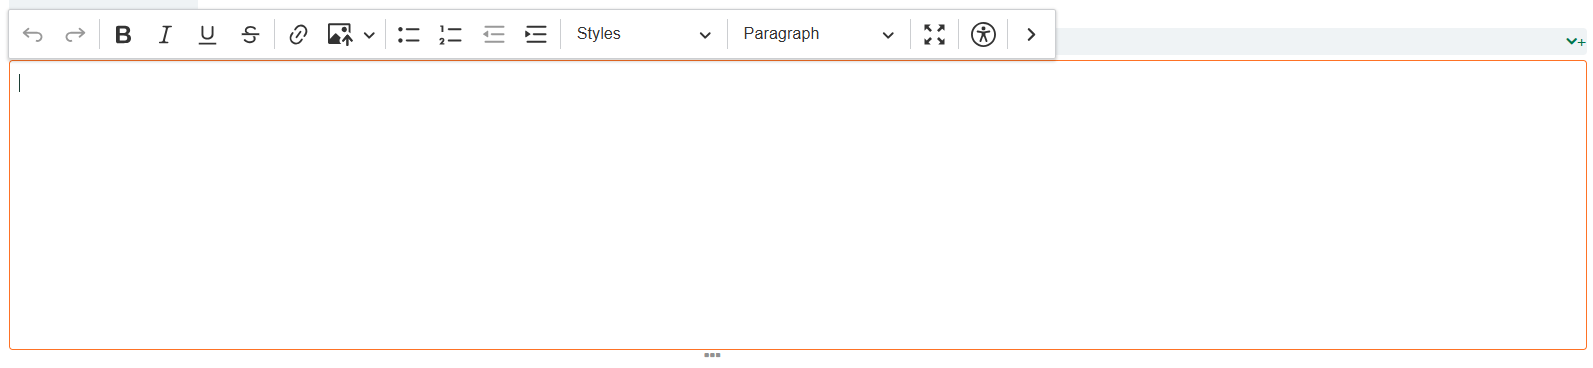
If you need more options, the toolbar can be expanded by clicking on the ![]() arrow button at the right end of the toolbar and if you want the Rich Text Field to become full screen, you can click on the four diagonal arrows to expand the text field.
arrow button at the right end of the toolbar and if you want the Rich Text Field to become full screen, you can click on the four diagonal arrows to expand the text field.

The expanded toolbar as displayed in the above screenshot includes functions like:
- Ability to enter the value as HTML by clicking on the ‘Source’ button (within the expanded toolbar)
- Store images from your device, Upload library or from a URL.
- Embed Media from certain websites:
- Dailymotion
- Spotify
- YouTube
- Vimeo
- X
- Google Maps
- Flickr
- Accessibility shortcut
- Find and replace text
- Choose between different Block and Text styles
- Insert table
Images can be copied directly into the rich text field by using drag and drop from your desktop or copying and pasting images using Ctrl + V. This makes working with emails much easier as the image that has been copied into an email will now appear in the rich text field for easy viewing.

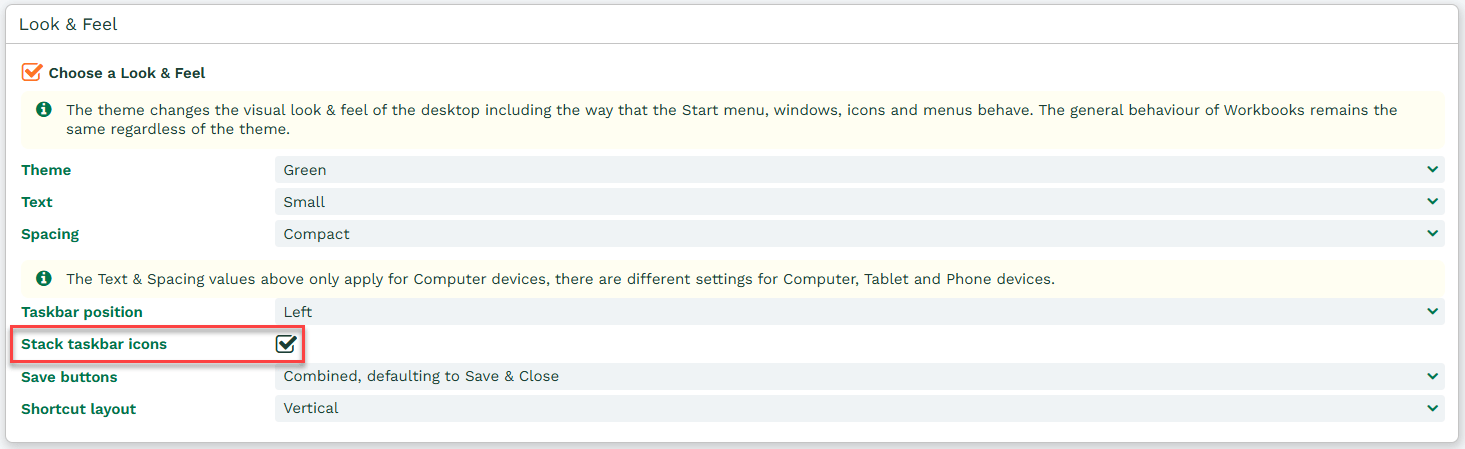
Stack taskbar icons
If you prefer each open window to appear separately in the taskbar with the full window name displayed, clear the Stack taskbar icons checkbox in Preferences. This option works best when the taskbar is positioned at the top or bottom of the screen. When the taskbar is on the left, disabling stacked icons increases the taskbar width.
Changing the size of the Workbooks UI
If you find that the text and icons in the Modern Theme are too large, then you can zoom out on your browser and it will scale accordingly.
Keyboard Shortcuts
While editing text in a Rich Text Editor, there are some keyboard shortcuts that make it easier to edit text, without needing to use the toolbar.
| control+B | Make selected text Bold |
| control+I | Make selected text Italic |
| control+U | Make selected text Underline |
| control+L | Make selected text a Link |
| control+Z | Undo |
| control+Y | Redo |
| alt+shift+0 | Insert the user’s name, and the current date and time. (This also works in plain text areas). |
| alt+shift+1 | Make selected text Subscript |
| alt+shift+2 | Make selected text Superscript |
| control+S | Opens the Start Menu with your cursor in the search bar |