Authentication with QuickBooks Online
NOTE: You may have reached this page from the QuickBooks Online App store. Your QuickBooks Online connection has now been terminated.
The QuickBooks Online integration is mostly managed by Zapier, however, there are some features that require direct access to the QuickBooks Online API and thus you will be required to allow Workbooks to authenticate on your behalf to QuickBooks Online. Workbooks require access to your QuickBooks Online account to retrieve data about QuickBooks Sales Tax Codes. We provide a simple UI within a Product record so that you can look up the Id required to populate the Sales Tax Code on a Line Item when creating Invoices in QuickBooks.
At the point of POSTing an Invoice, if the Line Item has a specified QuickBooks Online Sales Tax Code, this will be passed to QuickBooks automatically by Zapier if you have mapped this field as part of your configuration. You will be required to authenticate separately when setting up Zap Templates.
Granting Access to Workbooks
The first time you click the QuickBooks Sales Tax Lookup tab on a Product record, you will be asked to connect to QuickBooks. Click the “Connect to QuickBooks” button and new window will pop open in your browser to login to QuickBooks.
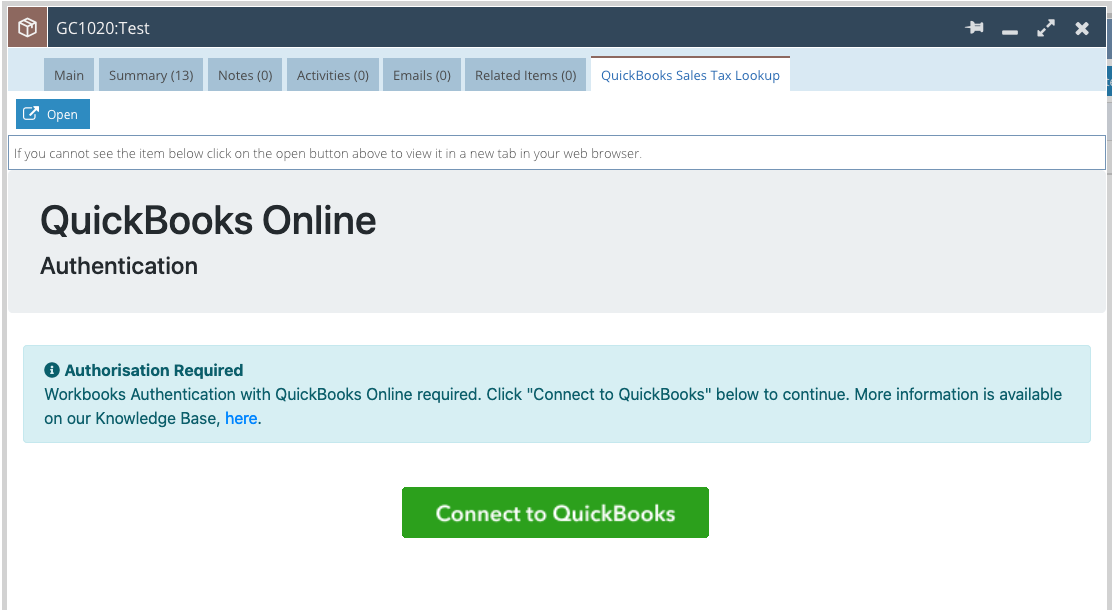
It may be blocked by a pop-up blocker, so ensure that you have allowed Workbooks to do so. Within the pop-up, sign in to your QuickBooks Online account when prompted, then click “Connect” to allow Workbooks to authenticate with your QuickBooks Online account:
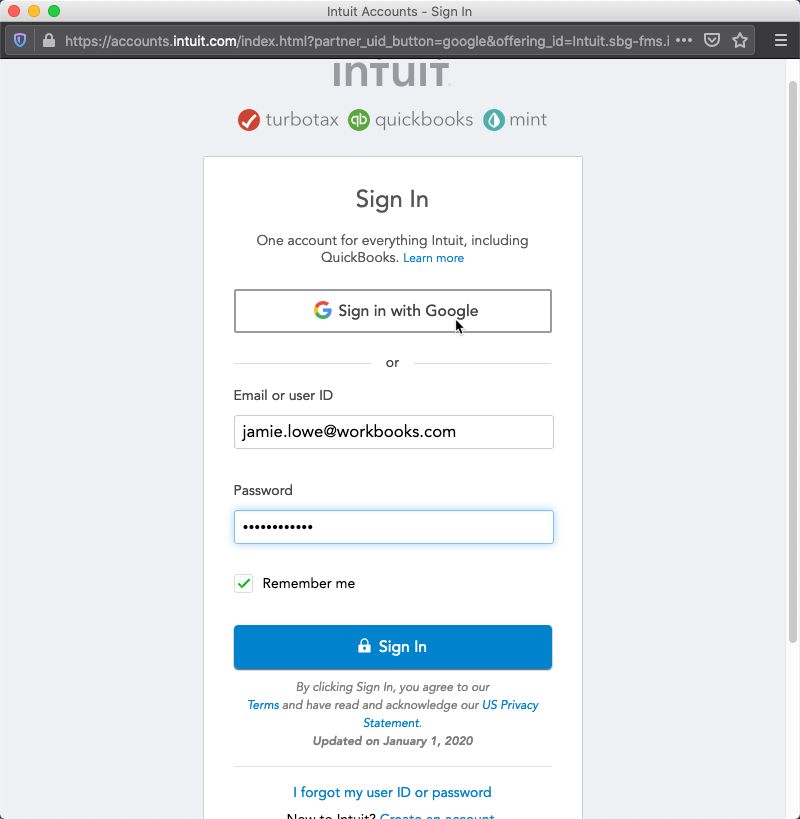
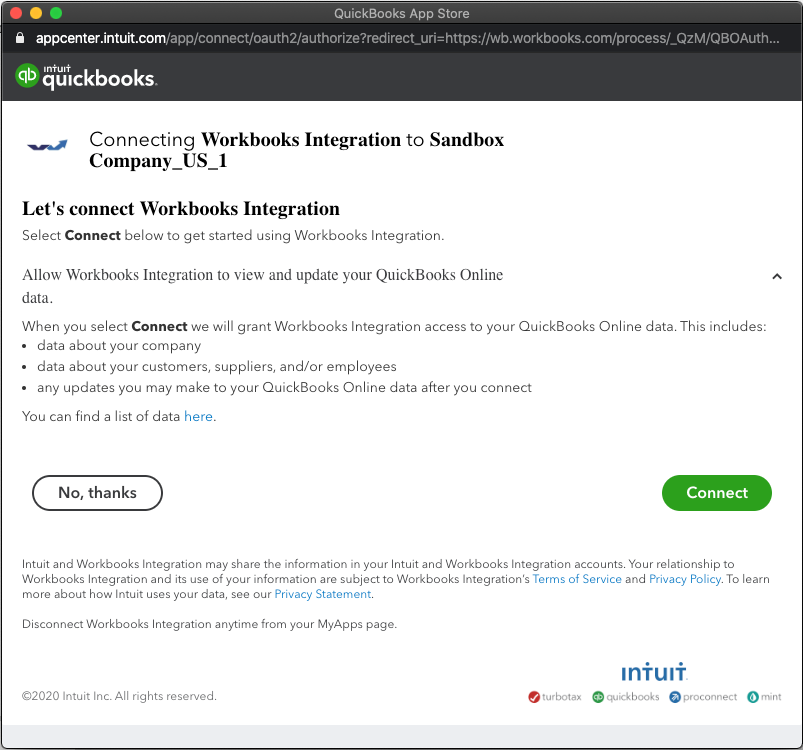
Once connected, you will see the following message which will close automatically after 5 seconds. Access will remain active until you choose to revoke the Workbooks application or 100 days of inactivity. At which point, you will need to complete this process again.
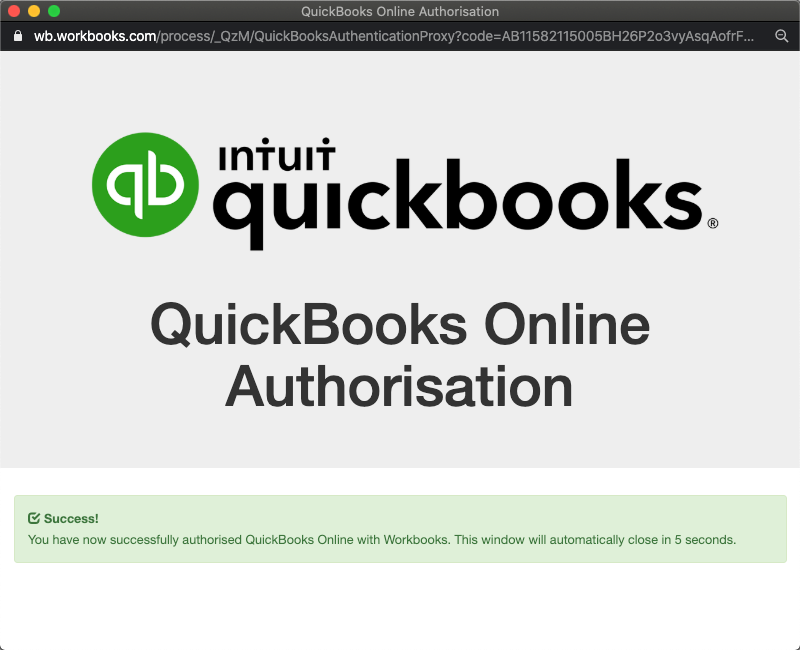
This window will automatically close after a few seconds. Click the link to refresh and display your QuickBooks Sales Tax Codes. See here for more information on this functionality.
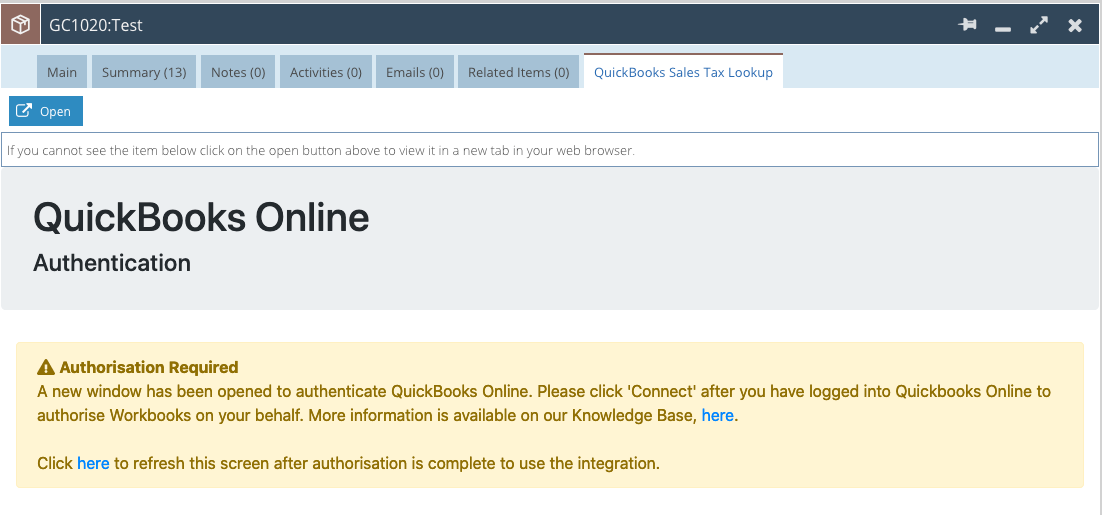
Revoking Workbooks Access
You can revoke Workbooks access to your QuickBooks Online instance at any point as required. Simply click the link within the QuickBooks Sales Tax Lookup tab.
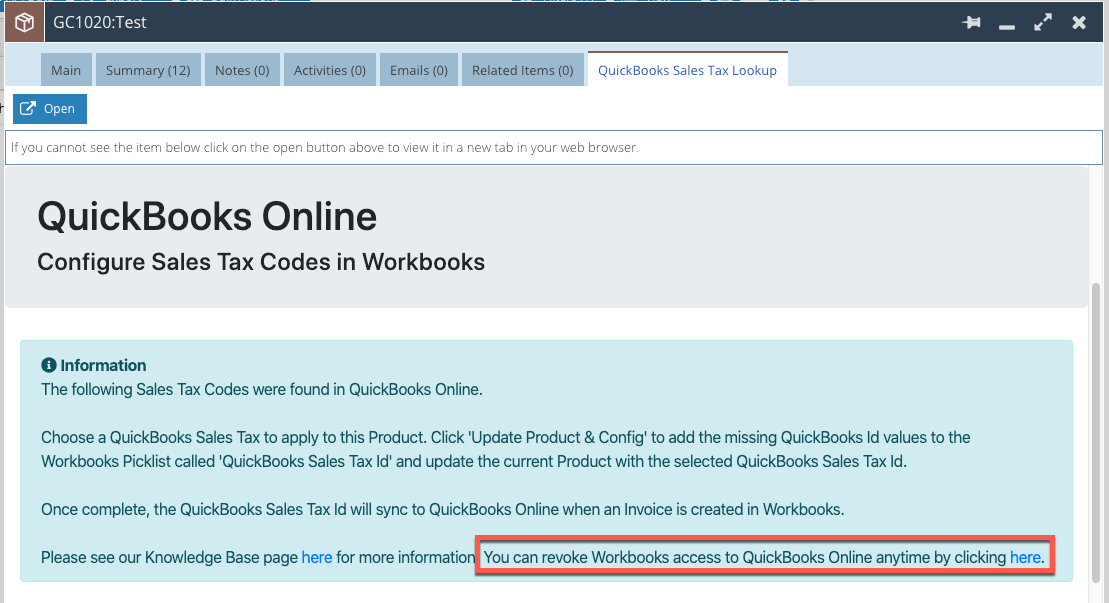
Upon clicking the link, you will see the following screen confirming that Workbooks access has been revoked.
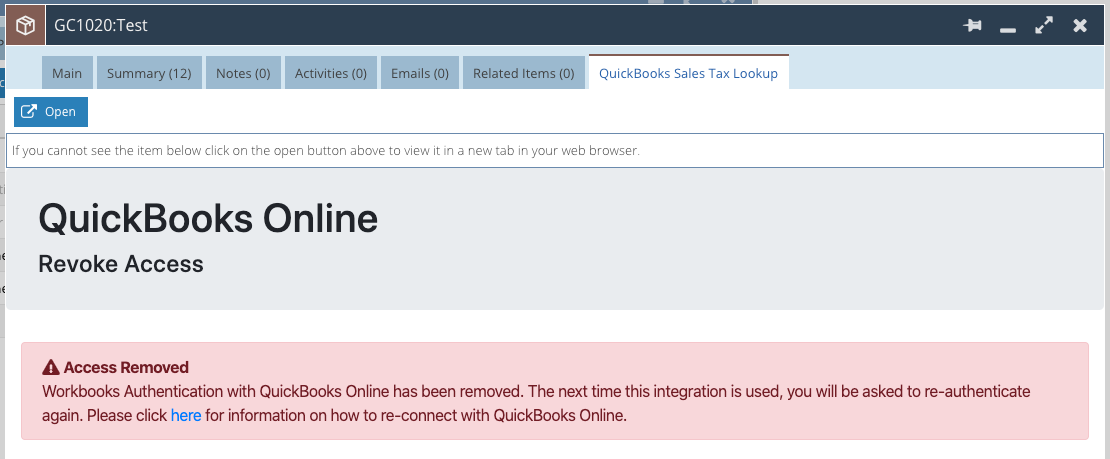
The next time you click on the QuickBooks Sales Tax Lookup tab within a Product record, you will be asked to authenticate with QuickBooks Online again.