Workbooks enables you to send emails directly to your business contacts and record these emails against the relevant records so that you have a history of your communication

NOTE: Users of the free edition cannot send emails via the Workbooks server and so must first configure their database to send email via their own external mail server. If you try to send an email before the configuration has been set you'll see a dialogue box prompting you to make the necessary changes. Click here for more information on configuring these settings.
NOTE: In order to create and send emails, you must have the relevant capabilities. Please contact your System Admin for more information.
Emails are an integral part of day-to-day business practices, whether they are used as your main form of contacting clients, or solely as a marketing tool, it is difficult to imagine a CRM that does not handle emails. Workbooks includes a fully developed email system with all of our paid licenses; this includes the use of email templates, sending emails from an alias email address, configuring signatures, and including dynamic information that can be pulled straight from your Workbooks records.
There are three ways to create emails within Workbooks:
Go to the Emails Landing Page (Start > Emails) to see all the emails sent to or from Workbooks by any user.
If you're creating the email from a Person record as per the third method above (and there is a valid email address for that person), their name will automatically appear in the To field. You can add more people to the To, Cc and Bcc fields by typing the recipient's name or select it using the dropdown list that appears as you start to type a name.
You can add People, Leads, and Mailing Lists to any of the recipient columns. To send an email to a Mailing List simply type the name of the list into the To field as you would for a Person or Lead.
NOTE: It isn't possible to add a Person or Lead as a recipient if they do not have an email address. You can however, enter in just the email address. When you click enter Workbooks will give you the option to add that email as a record to your database as a Person or Lead.
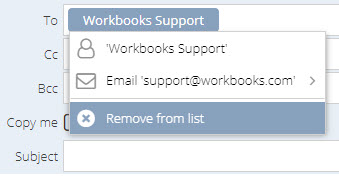
Once you have added your recipient(s) to your email, you can click on their name to bring up the below options:
While you can compose your email manually by typing into the rich text field on the email record, Workbooks supports two alternative methods of writing emails, Templates and Snippets.
Templates are designed to be used for frequent scenarios, and can pull through data from the recipient records so that they behave dynamically. You can find more information on Templates and how to use them here.
Snippets on the other hand, are chunks of text that your Users can pick and choose from so that they can create tailored, yet standardised emails that fit to more specific situations. You can find more information on Snippets and how to use them here.
If your User has a default Email signature configured, it will appear at the bottom of the email.
The Email Assistant is a side panel that appears when creating new emails. Within the Email Assistant you can apply Email Templates, Snippets, and Signatures, as well as access the landing pages associated with each of those objects. This functionality is designed to make writing emails simpler and quicker for your Users, and provide them with straight-forward, standardised information to send to your clients.
Navigating the Email Assistant panel
When you begin writing a new email, the Email Assistant will appear as a side panel on the right-hand side of the email window. The panel is split into three sections; Templates, Snippets, and Signatures, which can be expanded individually to view a list of the available objects of that type. You have the opportunity to preview each item by clicking on the eye next to each object and if you need to create or edit templates and snippets you can open the Manage Templates landing page directly from the Email Assistant.
In order to apply any of the objects in the Email Assistant to your email, simply click on the name of the object in the list and it will be inserted into the email field where your cursor is
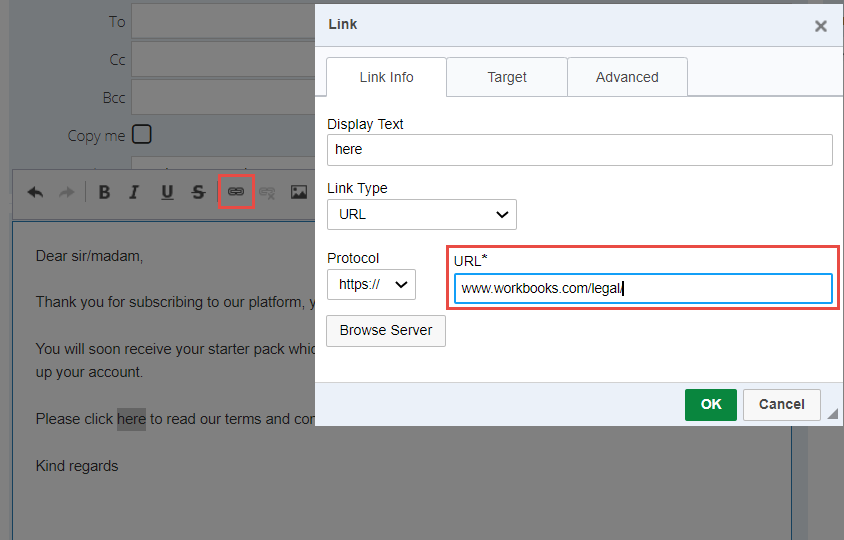
Within your email, you can include links to URLs or to files stored within your Upload Library. To do this, highlight the word(s) or image(s) that you want to be linked and click on the Link symbol in the formatting toolbar:
This can be done in the following ways:
1. Click on the image icon from the editor bar, click Browse tab and select the image from your local computer
2. Drag and Drop an image directly into the email from your local files.
3. Click on the image icon from the editor bar, enter the URL for where the image is hosted, or click Browse Server to select an image from your Upload Library.
You can control the appearance of the image by editing the Width, Height, and Align fields.
You can also copy & paste directly into the rich text field of an email.
To attach a file (or files) to your email, open the Attachments tab and click Upload Attachments. Click Browse and choose the file you want. To add another file, click the plus symbol. When you've identified all the files you want to attach, click Upload.
NOTE: You can find a Forum article which explains the size limits of Emails and Attachments here.
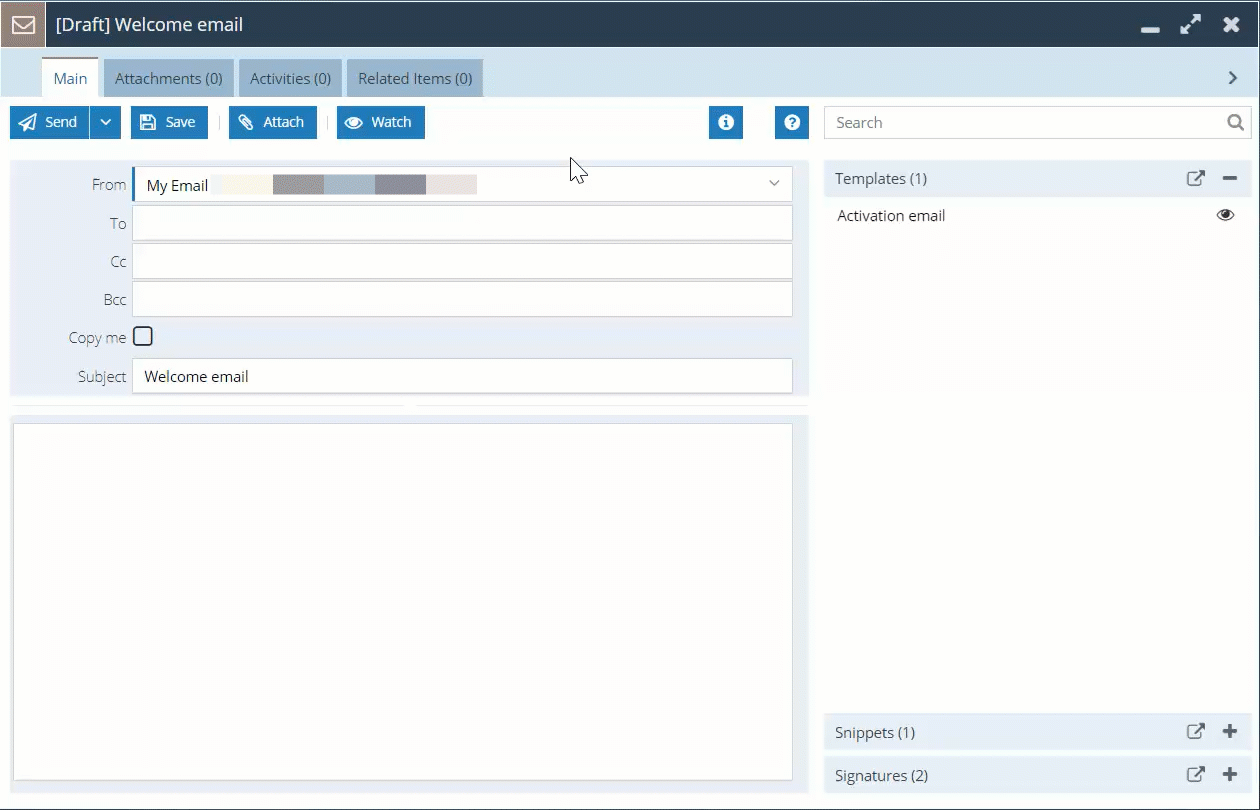
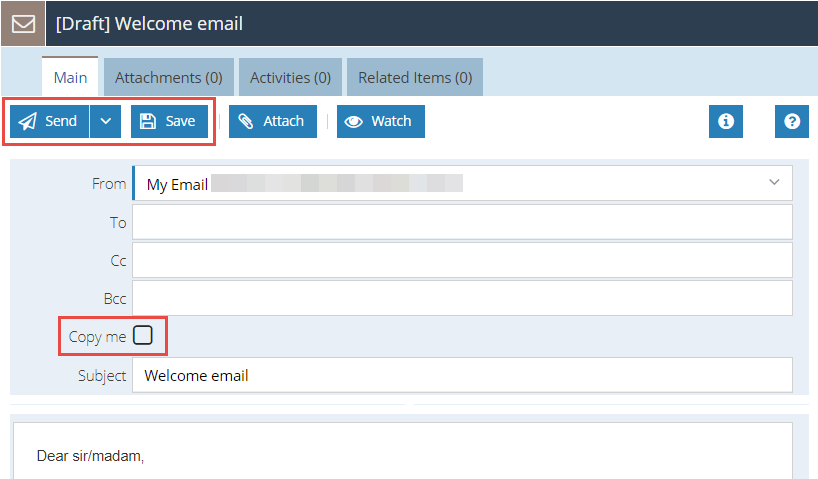
When you are ready, you can send your email or save it in draft format and return to complete it later. You'll find the Save and Send buttons on the Main tab here, and if you want a copy of the email to be sent to your email client, tick Copy me:
You may decide that the email would be best sent at a later date, in which case you can use the 'Send Later' option that appears from the dropdown arrow on the Send button. This will open a dialogue prompting you to choose which date and time you would like the email to be sent at. Upon doing this, the email will close and you will find it in your Outbound Emails list, where you can cancel the send if you change your mind later - doing this will revert the email back to a Draft.
Your email will be stored in the Emails tab of any record it was sent to, as well as being accessible from the Emails Landing Page. In addition, the Summary and Emails tabs on an Organisation record show any emails sent to or from Employees of that Organisation.